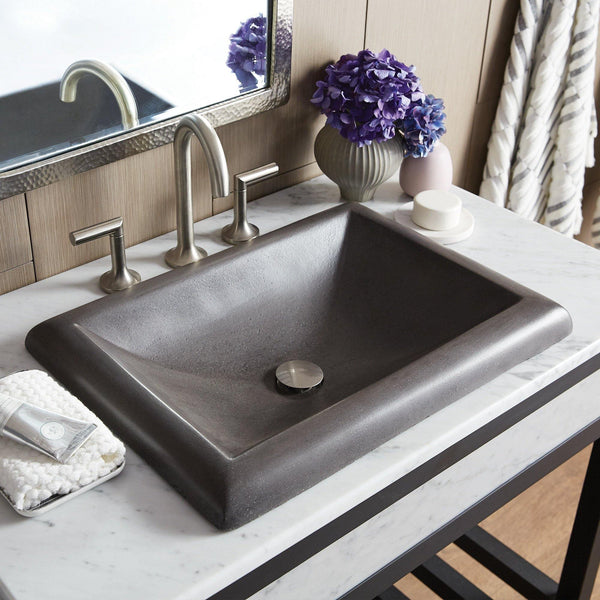
Replacing a wall-mounted bathroom sink may seem like a daunting task, but with the right tools and knowledge, it can be a straightforward DIY project. Whether you’re upgrading to a new sink or simply need to replace a damaged one, this comprehensive guide will walk you through the process step by step.
Introduction
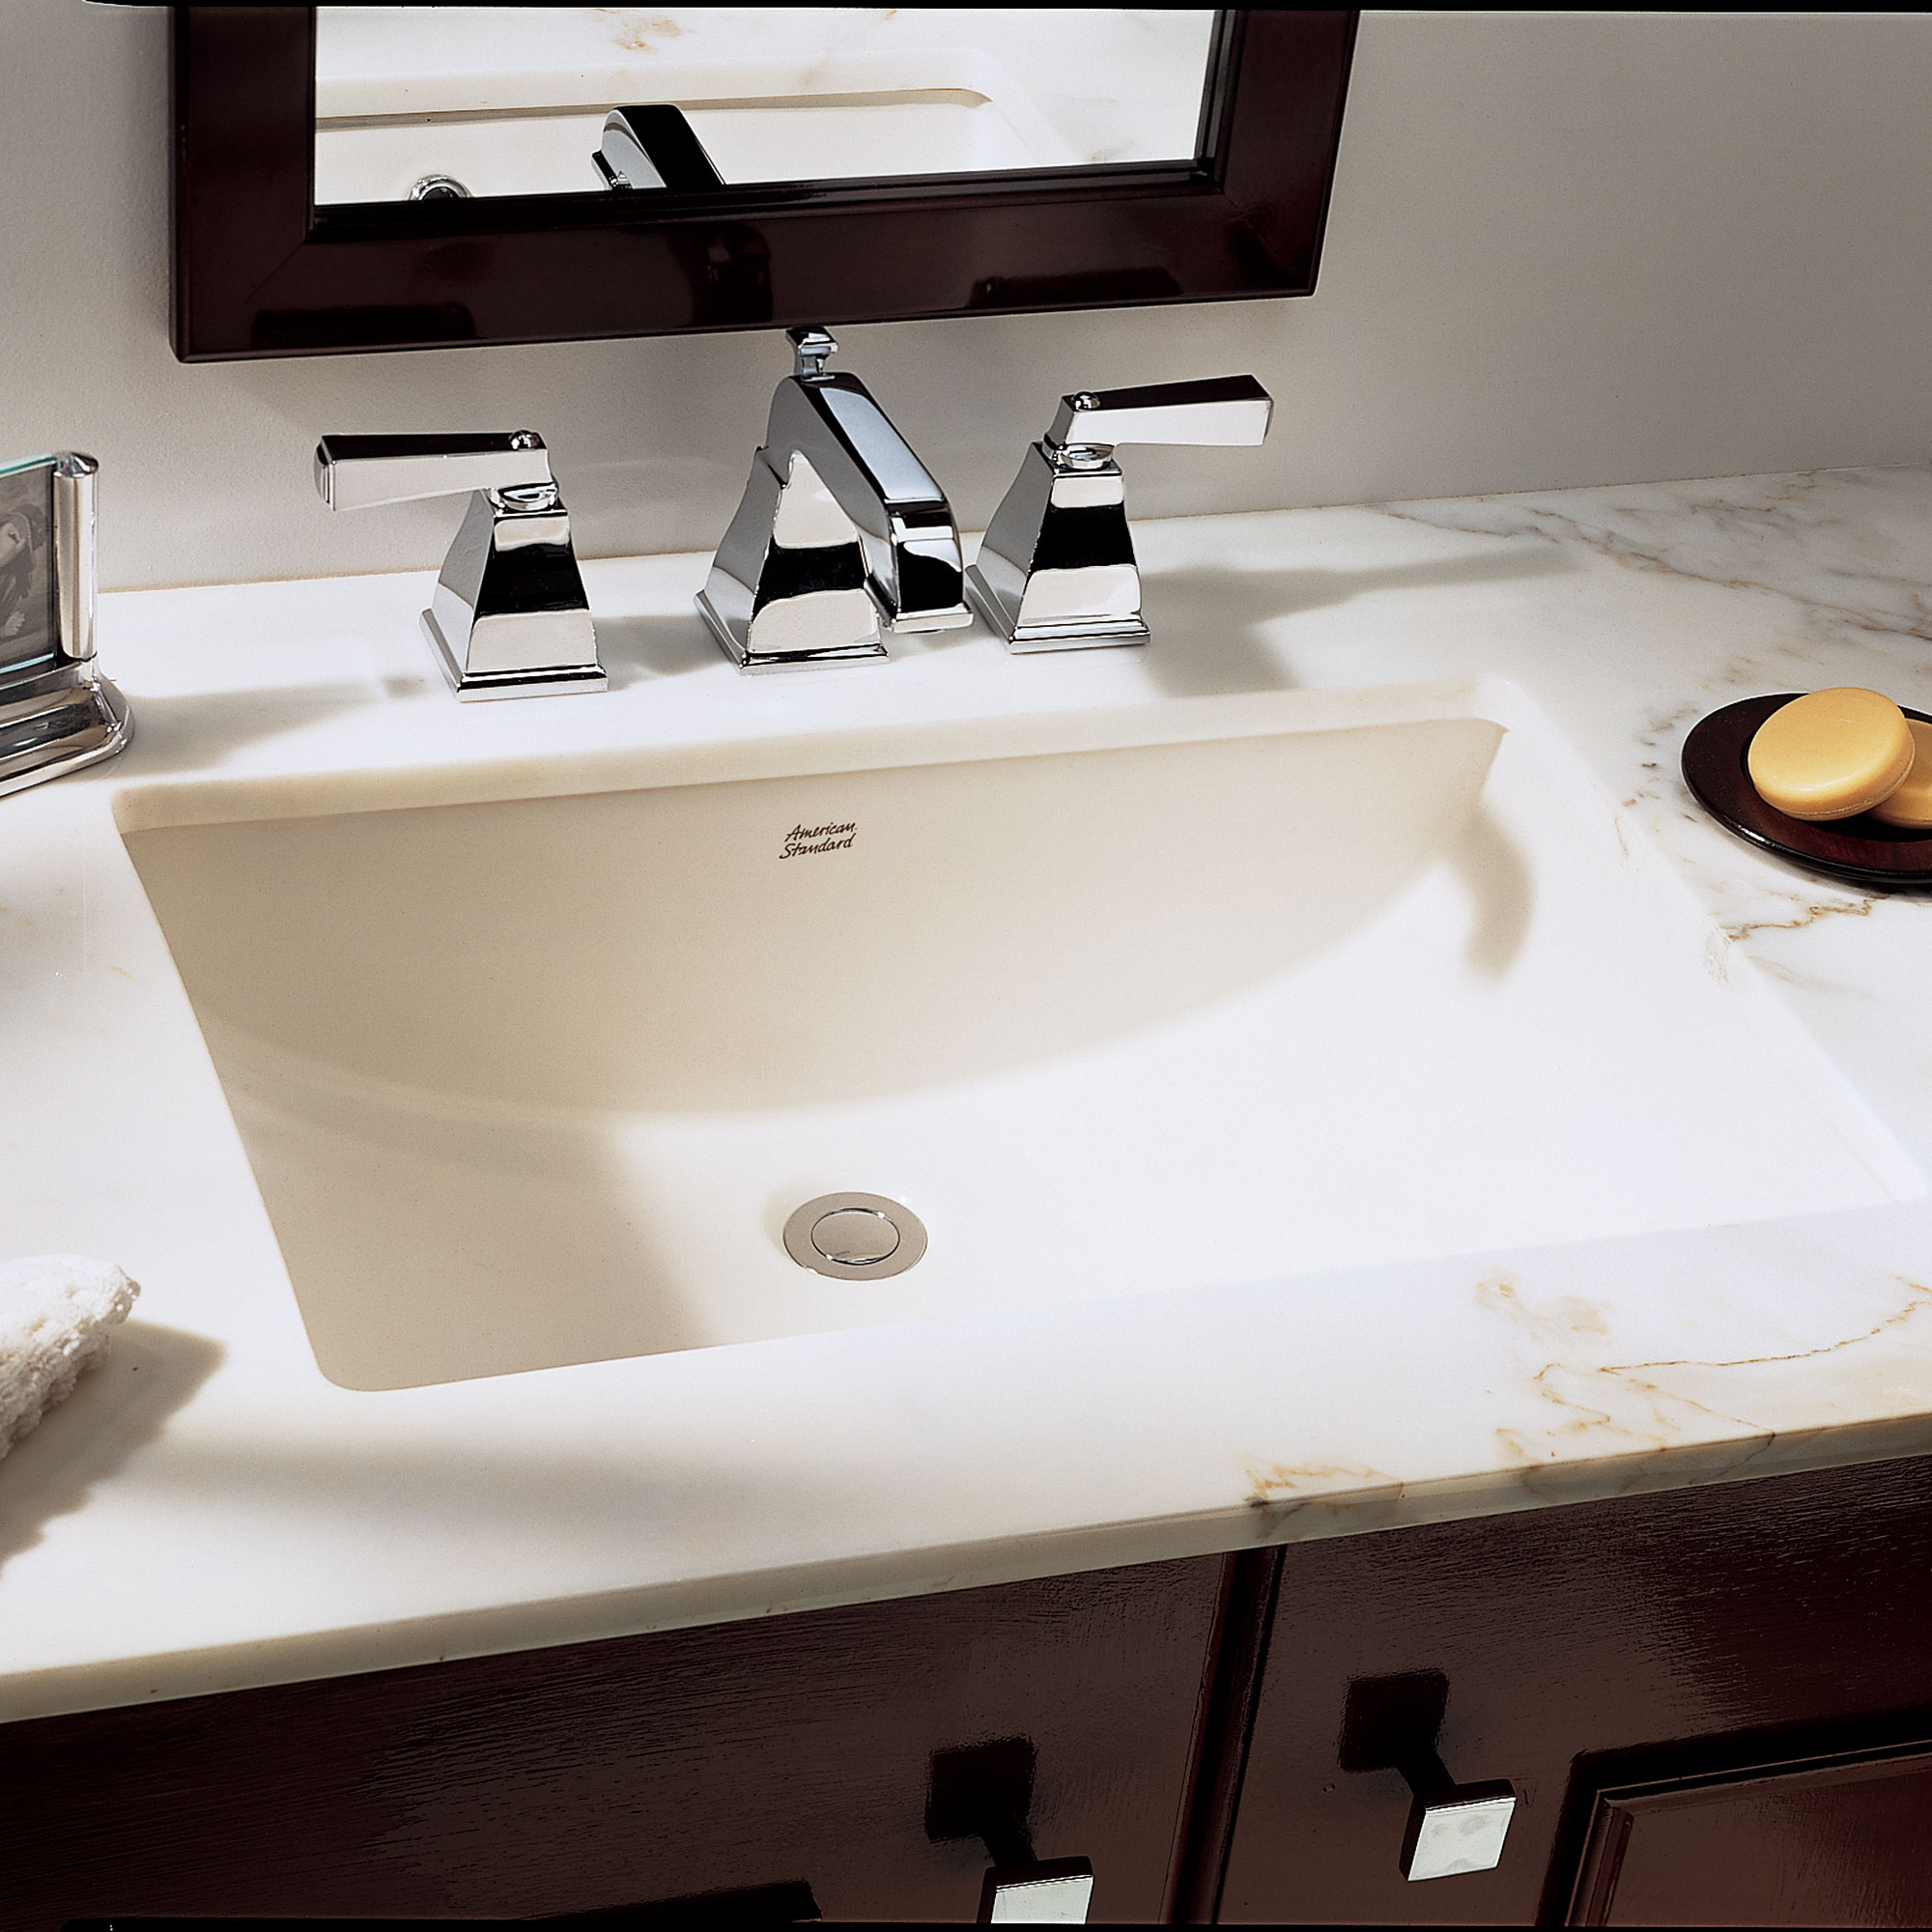
Wall-mounted bathroom sinks offer a sleek and modern look, making them a popular choice for both small and large bathrooms. However, over time, these sinks may need to be replaced due to wear and tear, damage, or simply for aesthetic reasons. By following these instructions, you can remove your old sink and install a new one in just a few simple steps.
Assessing the Situation
Before you begin the replacement process, it’s essential to assess the condition of your current sink and gather the necessary tools and materials. Here’s what you’ll need:
Tools and Materials
- Adjustable wrench
- Basin wrench
- Screwdriver
- Plumber’s tape
- Silicone caulk
- Replacement sink
- Wall-mounting bracket (if necessary)
- Drain assembly
- Faucet set
- Pop-up lift mechanism
Step 1: Removing the Old Sink

Removing the old sink is the first step in the replacement process. Follow these instructions carefully to ensure a smooth removal:
Turn off the Water Supply
- Locate the Shut-Off Valves: The shut-off valves are typically located under the sink, either on the wall or the pipes leading to the sink. In some cases, you may find the main shut-off valve for your home located in a basement, utility room, or outside near the water meter.
- Identify the Valves: Once you’ve located the shut-off valves, identify which ones control the water supply to the bathroom sink. These valves are usually small, knob-like handles that you can turn clockwise to shut off the water flow.
- Turn Off the Valves: Using your hand or a wrench if necessary, turn the shut-off valves clockwise until they are fully closed. This action stops the flow of water to the sink, preventing any leaks or spills while you work on removing the old sink.
- Test the Water Flow: After turning off the valves, open the faucets on the sink to confirm that the water supply has been successfully shut off. If no water comes out, you have successfully turned off the water supply.
- Consider Shutting Off the Main Valve: If you cannot locate or access the shut-off valves under the sink, you may need to shut off the main water supply for your home. This valve is typically located near the water meter and controls the flow of water to the entire house. Turn the main shut-off valve clockwise to stop the water supply to the entire home.
Drain the Water Lines
- Open the Faucets: Begin by opening the faucets on the bathroom sink. This action allows any water that is currently in the pipes to flow out of the faucet and into the sink basin.
- Release Pressure: If you have shut off the main water supply for your home, it’s essential to release any pressure in the plumbing system. You can do this by opening other faucets in the house, such as those in the bathtub or shower. By opening multiple faucets, you allow air to enter the pipes, relieving pressure and facilitating the drainage process.
- Wait for Water to Drain: Allow some time for the water to drain completely from the pipes. Depending on the size of your plumbing system and the amount of water in the lines, this process may take a few minutes.
- Check for Residual Water: After opening the faucets and waiting for the water to drain, visually inspect the sink basin and surrounding area for any signs of water. Look for drips or leaks that may indicate residual water in the pipes.
- Repeat if Necessary: If you notice any residual water or if the faucets continue to drip, repeat the process of opening the faucets and waiting for the water to drain. It’s essential to ensure that the plumbing system is completely empty before proceeding with the removal of the sink.
Disconnect the Plumbing
- Locate the Connections: Begin by identifying the various connections that need to be disconnected. These typically include the supply tubes that deliver water to the faucet, the P-trap that connects the sink drain to the plumbing system, and any additional components such as the faucet and drain assembly.
- Use the Right Tools: To disconnect the plumbing, you’ll need the appropriate tools, such as an adjustable wrench and a basin wrench. These tools will allow you to loosen and remove the nuts and bolts that hold the plumbing components together.
- Disconnect the Supply Tubes: Start by using an adjustable wrench to loosen the coupling nuts that connect the supply tubes to the faucet. These nuts are usually located underneath the sink and may be attached to the hot and cold water valves. Once the nuts are loosened, carefully remove the supply tubes from the faucet.
- Remove the P-Trap: Next, use a wrench to loosen the slip nuts that hold the P-trap in place underneath the sink. The P-trap is a curved section of pipe that traps debris and prevents odors from entering the bathroom. Loosen the slip nuts and carefully remove the P-trap from the plumbing system.
- Disconnect Additional Components (Optional): Depending on the design of your sink, you may need to disconnect additional components such as the faucet and drain assembly. Use a screwdriver or wrench to remove any bolts or screws holding these components in place, and carefully detach them from the sink.
- Inspect for Leaks: Once you have disconnected all of the plumbing components, take a moment to inspect the connections for any signs of leaks or damage. Look for cracks, corrosion, or worn-out seals that may need to be replaced before installing the new sink.
Remove Additional Components (Optional)
- Evaluate the Components: Before proceeding with removal, assess which additional components need to be detached from the old sink. These may include the faucet, drain assembly, pop-up lift mechanism, and any decorative or functional elements attached to the sink.
- Prepare the Workspace: Clear the area around the sink to provide ample space for removing the components. Lay down a soft surface, such as a rug or pad of newspapers, to protect the sink and surrounding area from scratches or damage.
- Disconnect the Faucet: If you plan to reuse the existing faucet, you’ll need to disconnect it from the sink. Use a screwdriver or wrench to remove any bolts or screws securing the faucet to the sink. Once these fasteners are removed, carefully lift the faucet away from the sink and set it aside.
- Remove the Drain Assembly: The drain assembly consists of various components, including the drain body, stopper, and lift mechanism. Depending on the design of your sink, you may need to unscrew or detach these parts from the sink. Use a wrench or screwdriver to loosen any fasteners holding the drain assembly in place. Once loosened, carefully lift the assembly out of the sink and set it aside.
- Detach Other Components: Depending on the sink’s design, there may be additional components such as decorative trim, handles, or soap dishes attached to the sink. Use appropriate tools to remove any bolts, screws, or adhesive securing these components to the sink. Take care to avoid damaging the sink or surrounding area during removal.
- Inspect and Clean: After removing the additional components, take a moment to inspect them for any signs of damage or wear. Clean the components thoroughly to remove any debris, soap scum, or mineral deposits that may have accumulated over time. This ensures that the components are in good condition for reuse or disposal.
Step 2: Installing the New Sink

Once you have removed the old sink, you can proceed with installing the new one. Follow these steps carefully to ensure a proper installation:
Prepare the New Sink
- Inspect the Sink: Before starting any installation steps, carefully inspect the new sink to ensure that it is free of defects or damage. Check for any cracks, chips, or imperfections in the porcelain or ceramic surface. Additionally, confirm that all necessary components, such as mounting brackets and hardware, are included with the sink.
- Assemble Drain and Faucet: If the new sink does not come pre-assembled with the drain and faucet, you’ll need to install these components before mounting the sink. Follow the manufacturer’s instructions to assemble the drain body, stopper, and lift mechanism. Install the faucet set according to the provided guidelines, ensuring that all connections are secure and watertight.
- Check Compatibility: Verify that the new sink is compatible with the existing wall-mounting bracket or determine if a new bracket is required. Measure the dimensions of the sink and compare them to the dimensions of the bracket to ensure a proper fit. If necessary, purchase a new bracket that matches the sink’s specifications.
- Prepare Mounting Surface: Before mounting the sink, ensure that the wall surface is clean, dry, and free of any debris or obstructions. Remove any old caulk or adhesive residue from the previous sink installation to create a smooth surface for mounting the new sink.
- Optional: Install Support Legs: Depending on the design of the new sink and your personal preference, you may choose to install support legs for added stability. Adjustable legs can be attached to the front of the sink to provide additional support and prevent sagging over time. Follow the manufacturer’s instructions to install and adjust the legs as needed.
- Apply Caulk: To create a watertight seal between the sink and the wall, apply a bead of silicone caulk along the perimeter of the sink where it will contact the wall. Use a caulking gun to apply the caulk evenly, ensuring full coverage along the joint.
- Double-Check Connections: Before mounting the sink, double-check that all drain and faucet connections are secure and properly aligned. Tighten any loose fittings or connections to prevent leaks and ensure a reliable plumbing system.
Mount the Sink
- Position the Sink: Carefully lift the new sink and position it over the wall-mounting bracket or support system. Align the sink with the bracket to ensure proper placement and alignment.
- Check for Level: Use a spirit level to check if the sink is level horizontally. Place the level on the rim of the sink and adjust the position as needed until it is perfectly level. This step is essential to ensure that the sink sits evenly and securely on the wall.
- Secure the Sink: Once the sink is properly aligned, use screws or bolts to secure it to the wall bracket or support system. Depending on the design of the sink and bracket, you may need to insert screws through pre-drilled holes in the sink or use mounting hardware provided by the manufacturer.
- Optional: Install Support Legs: If additional support is required or desired, you can install support legs under the front of the sink. Position the legs evenly and adjust them to the desired height using a spirit level. Secure the legs in place using screws or bolts provided with the legs or sink.
- Tighten Connections: Double-check that all screws, bolts, and connections are securely tightened to ensure the sink is firmly attached to the wall. Loose connections can lead to instability and potential damage to the sink or plumbing system over time.
- Apply Caulk: Once the sink is securely mounted, apply a bead of silicone caulk along the joint between the sink and the wall. This creates a watertight seal and prevents water from seeping behind the sink, protecting the wall from moisture damage.
- Clean Up: Remove any excess caulk or debris from the sink and surrounding area using a damp cloth or sponge. Wipe down the sink to remove any fingerprints or smudges and leave the installation area clean and tidy.
Seal the Sink
- Select the Caulk: Choose a high-quality silicone caulk specifically designed for use in bathrooms. Silicone caulk is durable, flexible, and resistant to mold and mildew, making it ideal for sealing sinks and other fixtures in wet environments.
- Prepare the Surface: Before applying the caulk, ensure that both the sink and the wall surface are clean and dry. Use a mild detergent and water to clean any dirt, grime, or residue from the surfaces. Allow the surfaces to dry completely before proceeding.
- Apply the Caulk: Load a tube of silicone caulk into a caulking gun and cut off the tip of the nozzle at a 45-degree angle. Apply a continuous bead of caulk along the joint between the sink and the wall, starting at one end and working your way around the entire perimeter of the sink. Use steady pressure on the caulking gun to ensure a consistent bead of caulk.
- Smooth the Caulk: After applying the caulk, use a damp finger or a caulk-smoothing tool to smooth out the bead of caulk and create a neat, uniform seal. Run your finger or the smoothing tool along the caulk line, pressing gently to flatten and shape the caulk. This helps ensure good adhesion and a professional-looking finish.
- Remove Excess Caulk: Use a damp cloth or sponge to wipe away any excess caulk from the sink and surrounding area. Pay close attention to the edges of the sink and the wall to remove any smudges or drips of caulk before it dries.
- Allow the Caulk to Cure: Allow the caulk to cure according to the manufacturer’s instructions before using the sink or exposing it to water. Typically, silicone caulk requires at least 24 hours to fully cure and form a strong, waterproof seal.
- Inspect the Seal: Once the caulk has cured, inspect the seal around the sink to ensure that it is intact and free of any gaps or imperfections. If necessary, touch up any areas where the caulk may have pulled away or cracked during curing.
Reconnect the Plumbing
- Prepare the Components: Before reconnecting the plumbing, ensure that all components are clean and free of debris. Inspect the supply lines, P-trap, faucet, and drain assembly for any signs of damage or wear that may require replacement.
- Reconnect the Supply Lines: Begin by reconnecting the supply lines that deliver water to the faucet. Use an adjustable wrench to tighten the coupling nuts securely onto the threaded fittings on the faucet. Ensure that the hot and cold water lines are correctly connected to the corresponding valves.
- Reattach the P-Trap: Next, reattach the P-trap underneath the sink to connect the drain pipe to the plumbing system. Slide the slip nuts onto the threaded ends of the drain pipe and tighten them securely using a wrench. Ensure that the P-trap is positioned correctly and does not interfere with other components or obstruct the flow of water.
- Connect Additional Fixtures: If you removed any additional fixtures such as the faucet or drain assembly, reconnect them to the sink following the manufacturer’s instructions. Use the appropriate tools to tighten any bolts, screws, or fasteners securely to ensure a watertight seal.
- Check for Leaks: Once all plumbing components are reconnected, turn on the water supply and check for any leaks or drips. Inspect the connections at the supply lines, P-trap, faucet, and drain assembly for signs of leakage. Tighten any loose fittings or connections as needed to eliminate leaks.
- Test the Functionality: Turn on the faucet and allow water to flow through the sink to test the functionality of the plumbing system. Check for proper water pressure and drainage, and ensure that there are no unusual noises or vibrations coming from the sink.
- Adjust as Needed: If you encounter any issues during testing, such as leaks or drainage problems, troubleshoot the problem and make any necessary adjustments to the plumbing components. This may involve tightening connections, adjusting the positioning of the P-trap, or replacing damaged parts.
- Final Inspection: Once you are satisfied with the functionality of the plumbing system, visually inspect the connections one final time to ensure that everything is secure and properly aligned. Wipe down any excess water or debris from the sink and surrounding area to complete the installation.
Conclusion
Replacing a wall-mounted bathroom sink may seem like a daunting task, but with the right tools and knowledge, it can be a straightforward DIY project. By following the steps outlined in this guide, you can remove your old sink and install a new one with ease. Remember to take your time, follow safety precautions, and consult a professional if you encounter any difficulties. With a little effort, you can enjoy a fresh, updated look in your bathroom in no time.