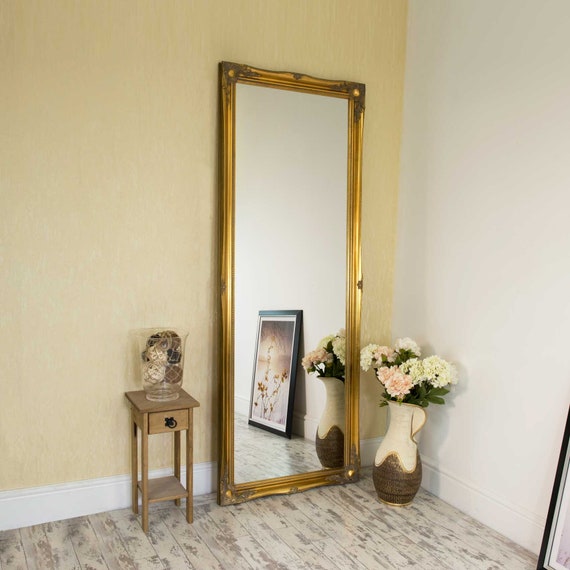
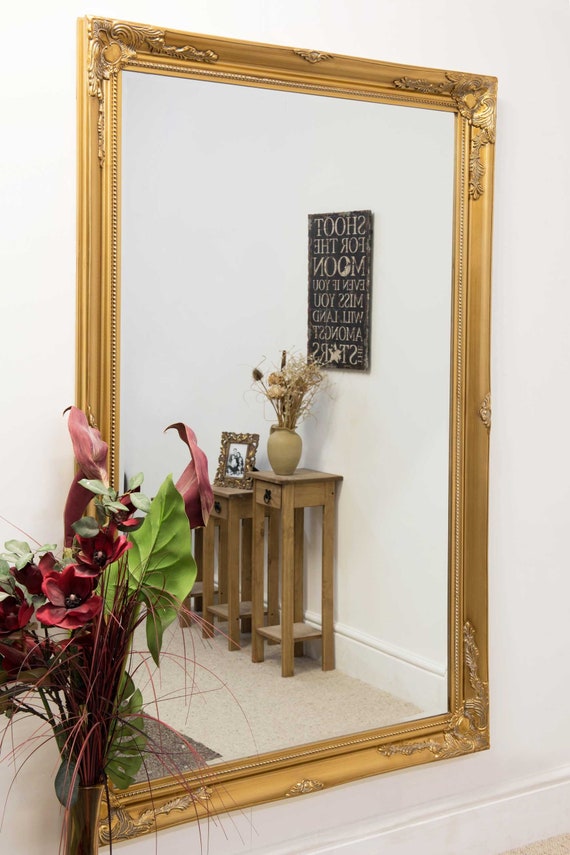
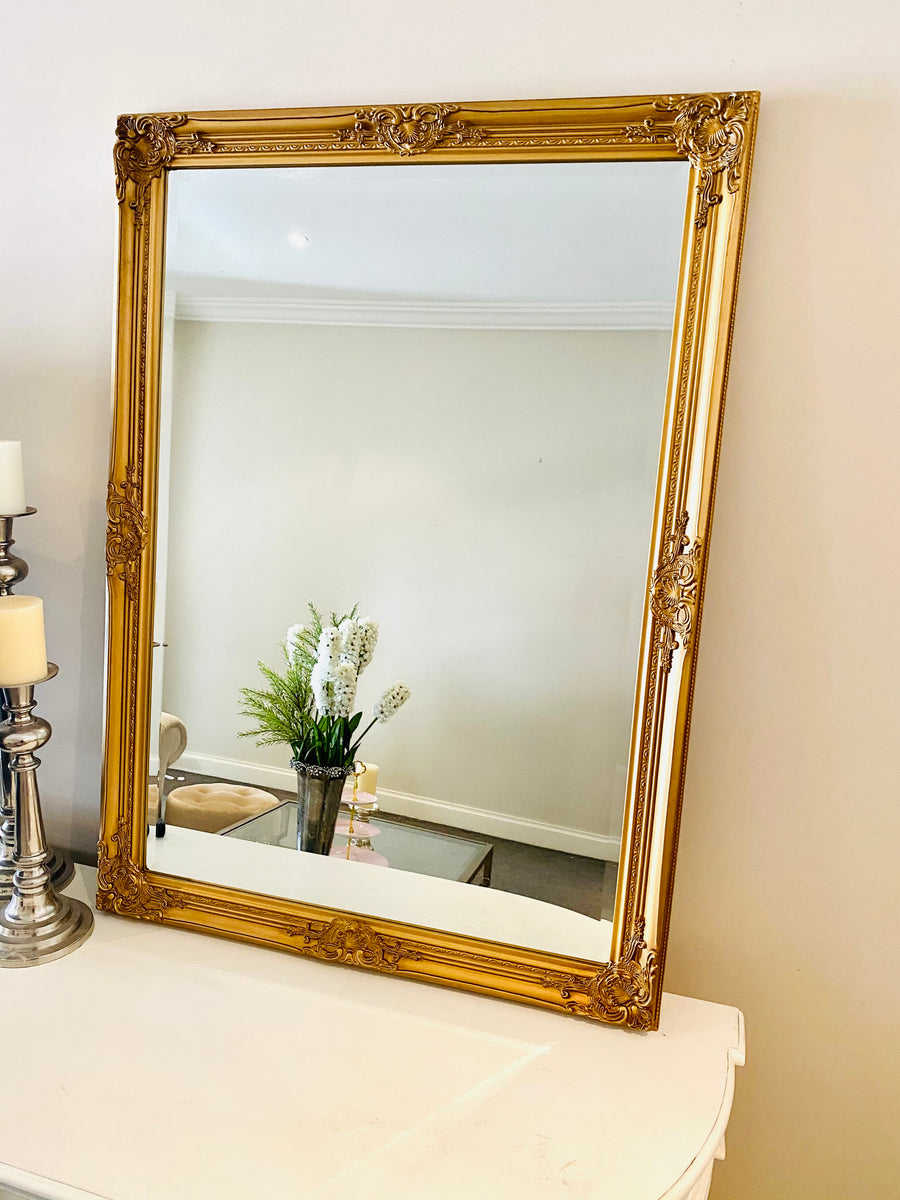
In interior design, mirrors serve not only as functional pieces but also as decorative elements that can enhance the aesthetics of any space. While gold-framed mirrors exude elegance and sophistication, they can often come with a hefty price tag. However, with the right techniques and materials, you can easily transform an ordinary mirror into a stunning gold masterpiece. In this guide, we’ll walk you through the step-by-step process of making a mirror gold, from preparation to application, allowing you to achieve that luxurious look without breaking the bank.
Understanding the Process

Before diving into the intricacies of mirror painting, it’s essential to understand the underlying principles of the process. Painting a mirror gold involves more than just applying a coat of paint. It requires careful preparation, the right materials, and precise execution to achieve a professional-looking finish. By familiarizing yourself with these fundamental concepts, you’ll be better equipped to tackle the project with confidence and success.
Materials Needed
To get started, gather the following materials:
- Mirror: Choose a mirror with a frame that you want to paint gold. Ensure that the frame is clean and free of any dirt or debris.
- Gold Paint: Opt for a high-quality gold paint specifically designed for use on wood or metal surfaces. Consider using metallic gold paint for a shiny, reflective finish.
- Paintbrushes: Select brushes of various sizes to accommodate different areas of the frame.
- Painter’s Tape: Use painter’s tape to mask off any areas of the mirror that you don’t want to paint.
- Primer: If the frame has a glossy or smooth surface, apply a primer before painting to ensure better adhesion.
- Sandpaper: Keep fine-grit sandpaper on hand to smooth any rough spots on the frame before painting.
- Drop Cloth or Newspaper: Lay down a drop cloth or newspaper to protect your work surface from paint spills.
Preparation
Before painting, it’s crucial to prepare the mirror and frame properly to ensure optimal results. Follow these steps to prepare the surface:
- Clean the Mirror: Thoroughly clean the mirror and frame with a mild detergent and water solution to remove any dirt, grease, or residue. Allow it to dry completely before proceeding.
- Sand the Frame: If the frame has a glossy or smooth finish, lightly sand it with fine-grit sandpaper to roughen the surface and promote better paint adhesion. Wipe away any dust with a clean, dry cloth.
- Mask Off the Mirror: Use painter’s tape to carefully mask off the edges of the mirror where it meets the frame. This will prevent any paint from accidentally getting onto the mirror surface.
- Prime the Frame: If necessary, apply a coat of primer to the frame to create a smooth, even base for the paint. Allow the primer to dry completely according to the manufacturer’s instructions.
Painting Process

With the surface properly prepared, you’re ready to start painting the mirror gold. Follow these steps for a flawless finish:
Step 1: Apply the Base Coat
The first step in painting your mirror gold is to apply the base coat of paint. This lays the foundation for the rest of the painting process and sets the tone for the final result. Here’s how to do it:
- Preparation: Ensure that your work area is well-ventilated and free from dust or debris that could affect the paint application. Lay down a drop cloth or newspaper to protect your surfaces.
- Paint Selection: Choose a high-quality gold paint specifically formulated for use on wood or metal surfaces. Metallic gold paint offers a reflective finish that mimics the appearance of genuine gold.
- Brush Selection: Use a small paintbrush with fine bristles to apply the paint to the frame. A brush of appropriate size will allow for precise application and better control over the paint.
- Application Technique: Dip the paintbrush into the gold paint, ensuring that it is evenly coated but not overloaded. Begin applying the paint to the frame in smooth, even strokes, working from one side to the other. Take care to cover the entire surface of the frame, including any intricate details or crevices.
- Even Coverage: Aim for even coverage with the base coat, ensuring that the underlying surface is completely obscured by the gold paint. Avoid leaving any bare patches or streaks that could detract from the final finish.
Step 2: Build Layers
Once the base coat has dried to the touch, it’s time to build layers of paint to deepen the color and achieve a more opaque finish. Building layers helps to enhance the richness and vibrancy of the gold paint, resulting in a more luxurious look. Follow these steps to build layers effectively:
- Drying Time: Allow the base coat to dry completely before applying additional layers of paint. This ensures that each layer adheres properly and prevents smudging or blending of colors.
- Additional Coats: Apply a second coat of gold paint using the same technique as before. Work in small sections, overlapping each stroke slightly to ensure even coverage. Continue adding coats until you achieve the desired level of richness and depth in the gold color.
- Consistency: Maintain a consistent application technique and paint thickness across all layers to ensure uniformity in the final finish. Avoid applying too much paint at once, as this can lead to drips or unevenness in the surface.
- Drying Time Between Coats: Allow each layer of paint to dry completely before adding the next coat. This typically takes a few hours, but drying times may vary depending on factors such as temperature, humidity, and paint thickness.
- Inspecting for Coverage: After each coat has dried, inspect the frame for any areas that may require additional coverage. Touch up any missed spots or uneven areas with a small paintbrush, ensuring a seamless finish.
Step 3: Touch Up
Once you’ve built up the desired number of layers and achieved the perfect gold hue, it’s time to inspect the frame for any imperfections and touch up as needed. Here’s how to do it:
- Close Inspection: Carefully examine the frame from all angles, paying close attention to any areas where the paint may be thin or uneven. Use a bright light source to highlight any imperfections that may not be visible in normal lighting conditions.
- Precision Touch Up: Use a small paintbrush to touch up any missed spots or uneven areas with additional paint. Take your time and work methodically to ensure that the touch-ups blend seamlessly with the surrounding paint.
- Patience and Precision: Touching up the paint requires patience and precision to achieve a flawless finish. Take breaks as needed to rest your hand and maintain a steady hand while painting.
Step 4: Remove Masking
Once the paint has dried completely and you’re satisfied with the final result, carefully remove the painter’s tape from the edges of the mirror. Here’s how to do it:
- Gentle Removal: Slowly peel back the painter’s tape from the edges of the mirror, taking care not to disturb the newly painted surface. Pull the tape away at a 45-degree angle to prevent any paint from lifting or chipping.
- Inspect for Damage: As you remove the tape, inspect the edges of the mirror for any signs of paint damage or lifting. If you notice any areas where the paint has lifted or peeled, use a small paintbrush to touch up the affected areas.
- Clean Edges: Once all the tape has been removed, use a damp cloth to gently clean the edges of the mirror and remove any residue left behind by the tape. Allow the mirror to dry completely before displaying it in your desired location.
Finishing Touches

Sealant Application
Applying a clear sealant over the painted surface is essential for protecting the finish and increasing its durability. A sealant creates a protective barrier that shields the paint from scratches, fading, and damage caused by everyday wear and tear. Here’s how to apply a sealant to your gold mirror:
- Select the Right Sealant: Choose a clear sealant specifically formulated for use on painted surfaces. Look for a sealant that offers UV protection and is suitable for indoor use.
- Application Method: Use a clean paintbrush or foam brush to apply the sealant to the painted surface of the mirror frame. Apply the sealant in thin, even coats, working from one side to the other to ensure complete coverage.
- Allow for Drying Time: Follow the manufacturer’s instructions regarding drying times and recoat intervals. Typically, sealants require several hours to dry completely between coats.
- Multiple Coats: For maximum protection, apply multiple coats of sealant to the painted surface. Allow each coat to dry completely before applying the next coat.
- Smooth Finish: After applying the final coat of sealant, inspect the surface for any imperfections or brush strokes. Use a fine-grit sandpaper to lightly sand any rough spots or brush marks, then wipe away any dust with a clean, dry cloth.
Reassembling Hardware
If you removed any hardware or fixtures from the mirror frame during the painting process, now is the time to reassemble them. Use a screwdriver or drill to securely fasten any screws, brackets, or hooks back into place. Ensure that all hardware is properly aligned and tightened to prevent any accidents or damage to the mirror.
Displaying the Mirror
Once the sealant has dried completely and any hardware has been reassembled, it’s time to proudly display your newly transformed gold mirror in your desired location. Whether you choose to hang it on the wall or place it atop a dresser or vanity, consider the following tips for optimal display:
- Choosing the Right Location: Select a prominent location for your gold mirror where it will be the focal point of the room. Consider positioning it opposite a window or light source to maximize its reflective properties.
- Creating Visual Interest: Experiment with different arrangements and groupings to create visual interest and enhance the overall aesthetic of the space. Consider pairing your gold mirror with other decorative accents or artwork to create a cohesive look.
- Lighting Considerations: Pay attention to the lighting in the room and how it interacts with the mirror. Positioning the mirror strategically can help to amplify natural light and create the illusion of more space.
- Maintenance and Care: Regularly dust and clean your gold mirror to keep it looking its best. Use a soft, lint-free cloth or feather duster to remove any dust or debris from the surface, taking care not to scratch or damage the paint.
Conclusion
Painting a mirror gold is a simple yet effective way to elevate its appearance and add a touch of luxury to your home decor. By following the step-by-step guide outlined above and exercising patience and attention to detail, you can achieve professional-looking results that rival even the most expensive gold-framed mirrors on the market. So why wait? Unleash your creativity and transform your ordinary mirror into a stunning gold masterpiece today!
