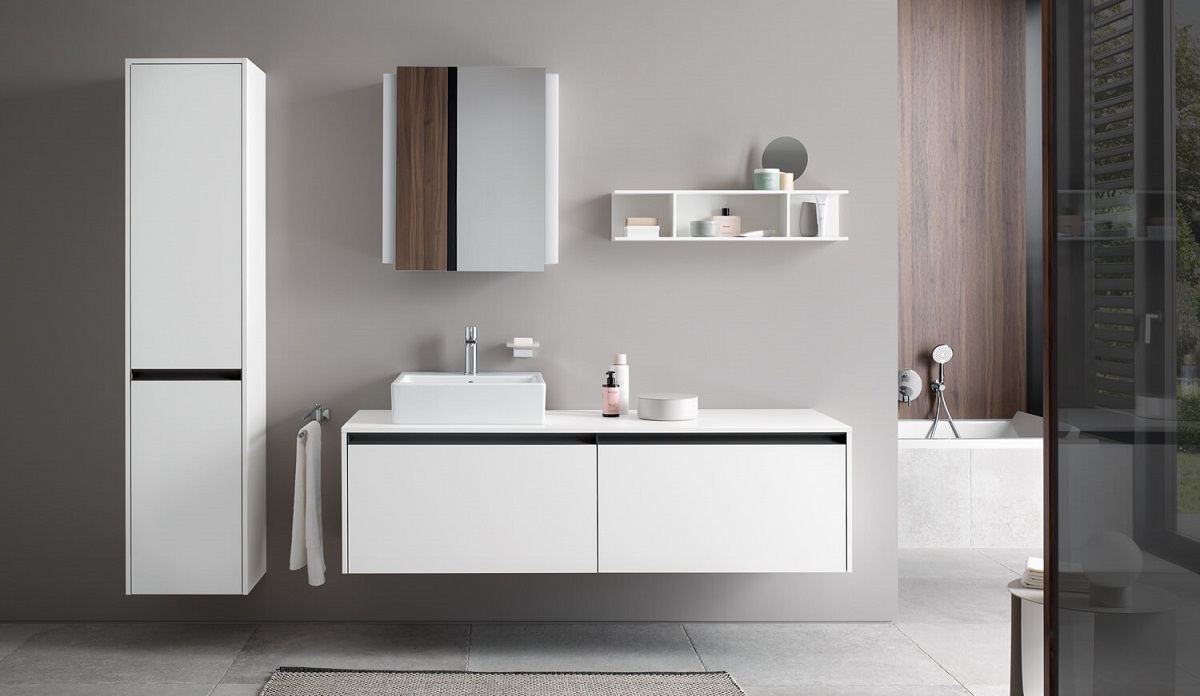
Installing a wall-mounted vanity can transform the look and functionality of your bathroom. Not only does it create a modern and sleek aesthetic, but it also maximizes space and makes cleaning easier. In this comprehensive guide, we’ll walk you through the process of installing a wall-mounted vanity, covering everything from preparation to finishing touches.
Why Choose a Wall-Mounted Vanity?

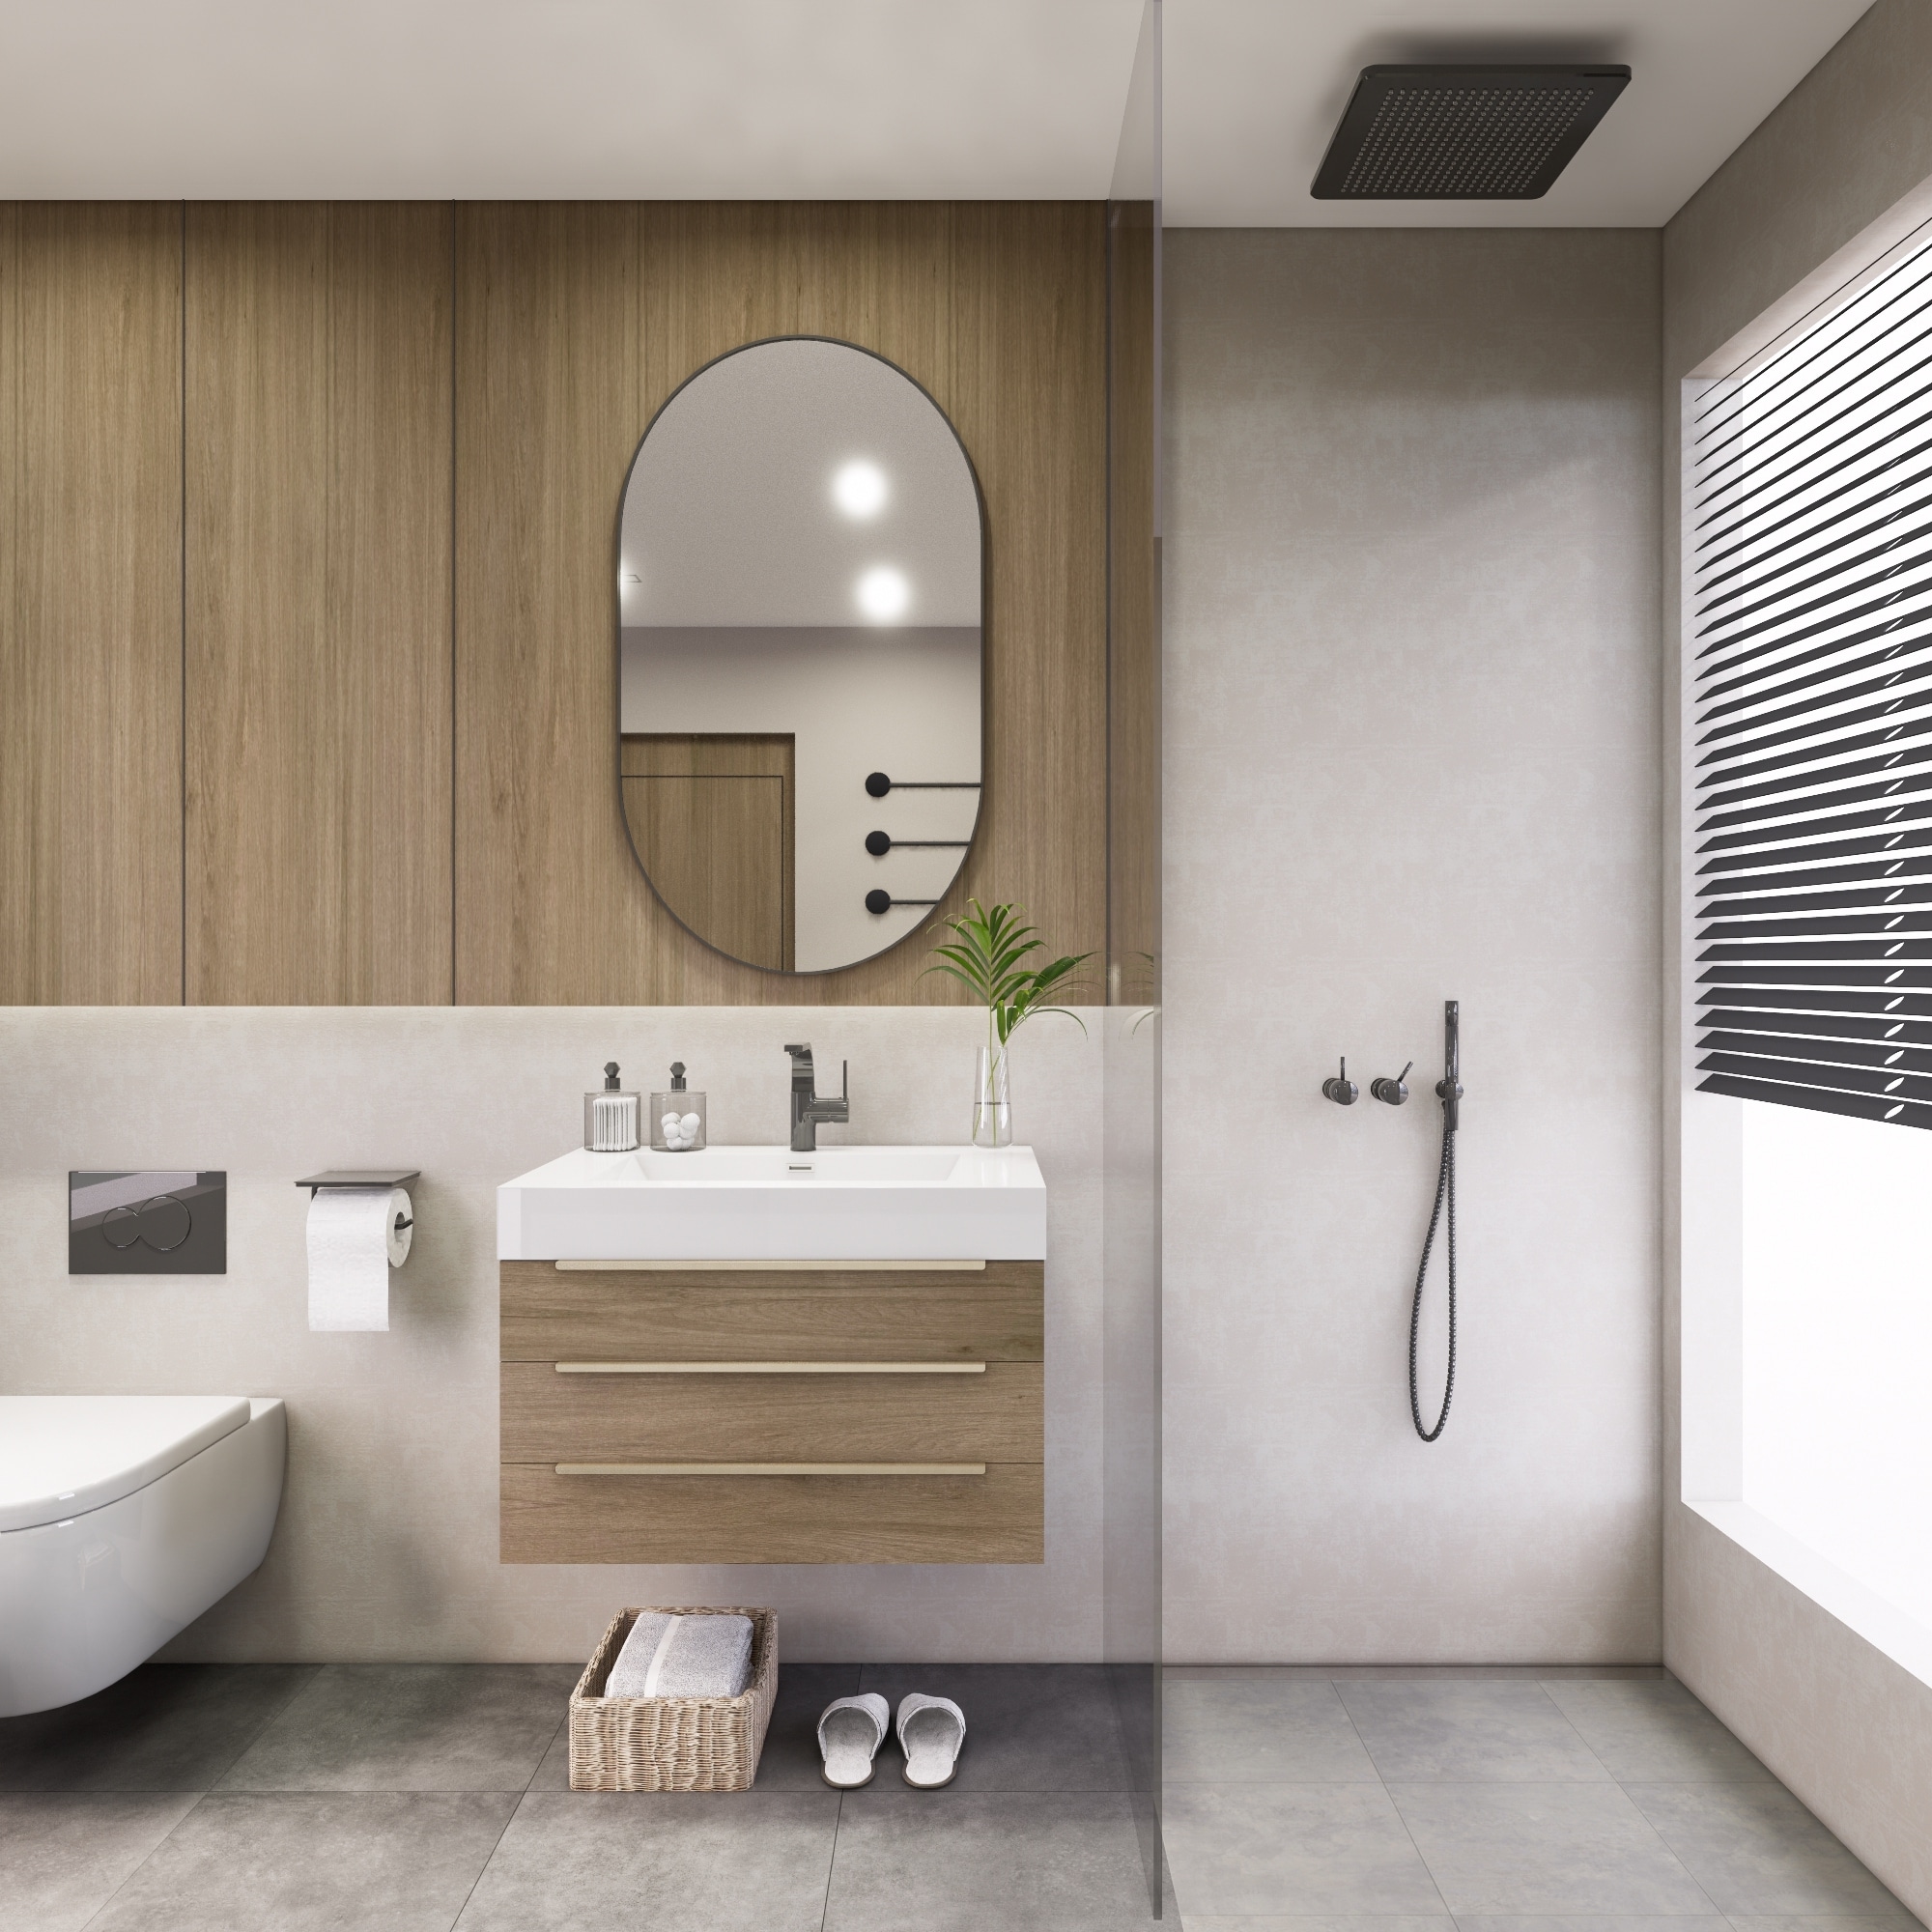
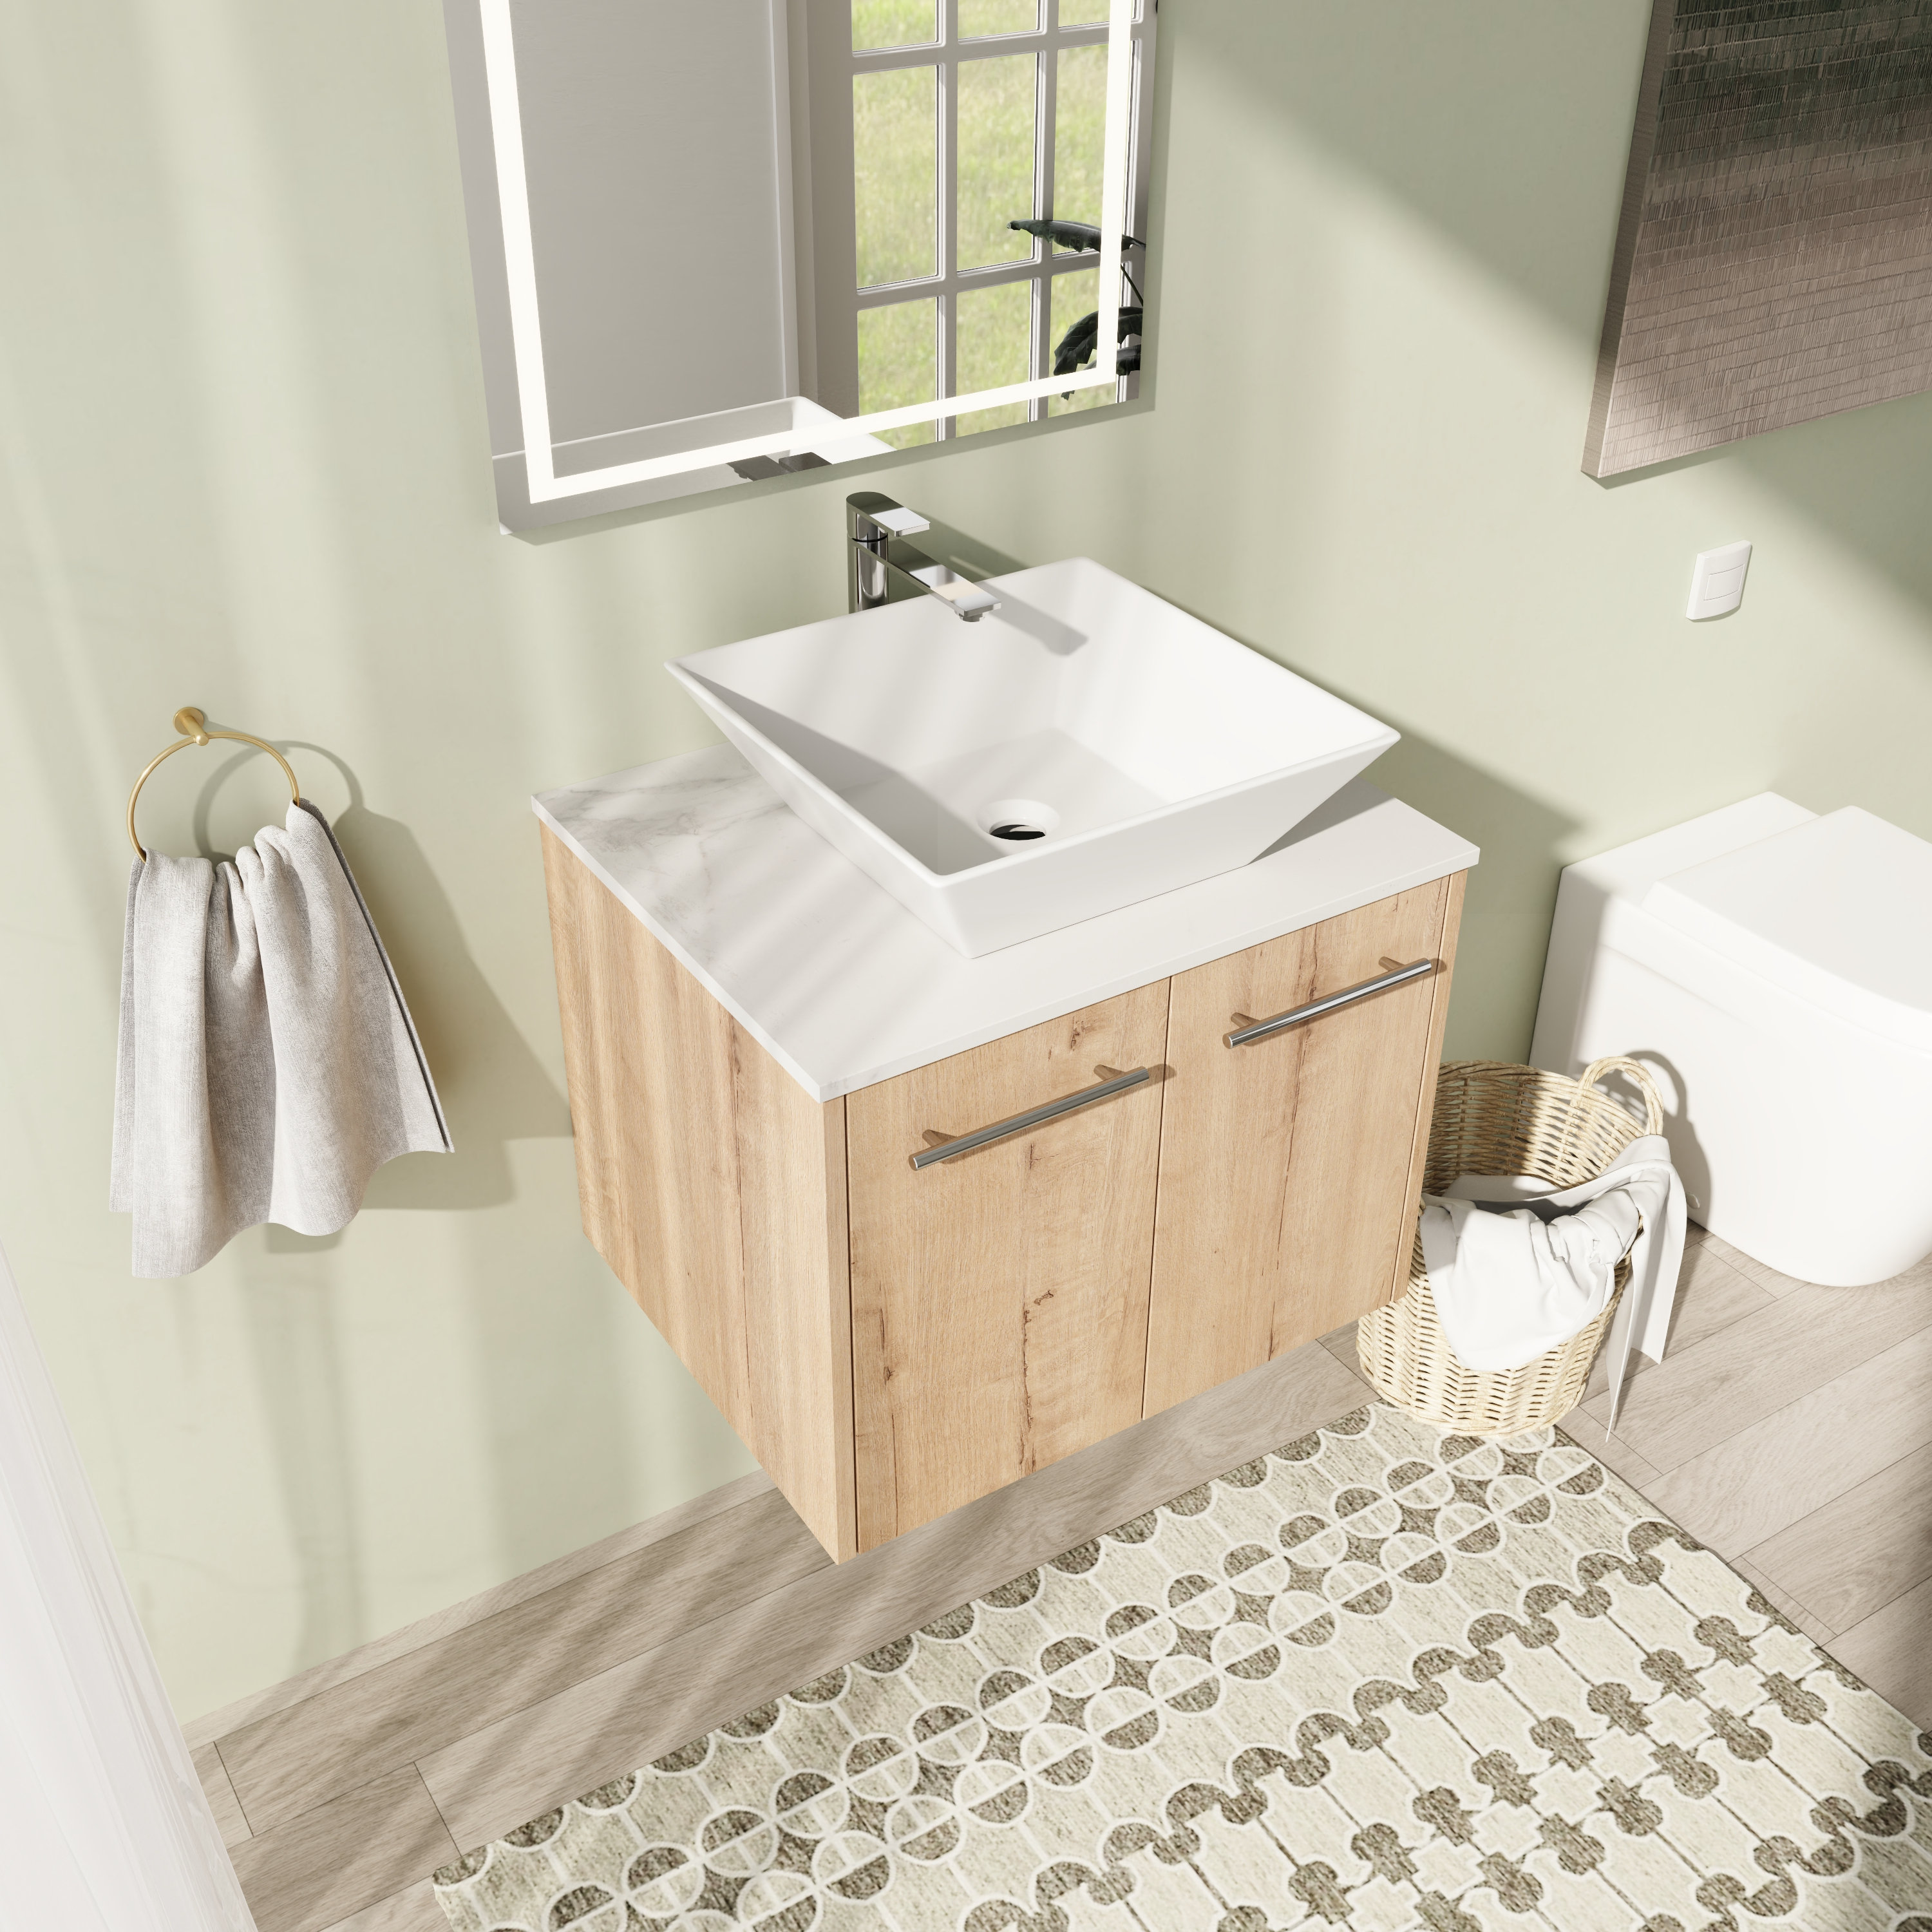
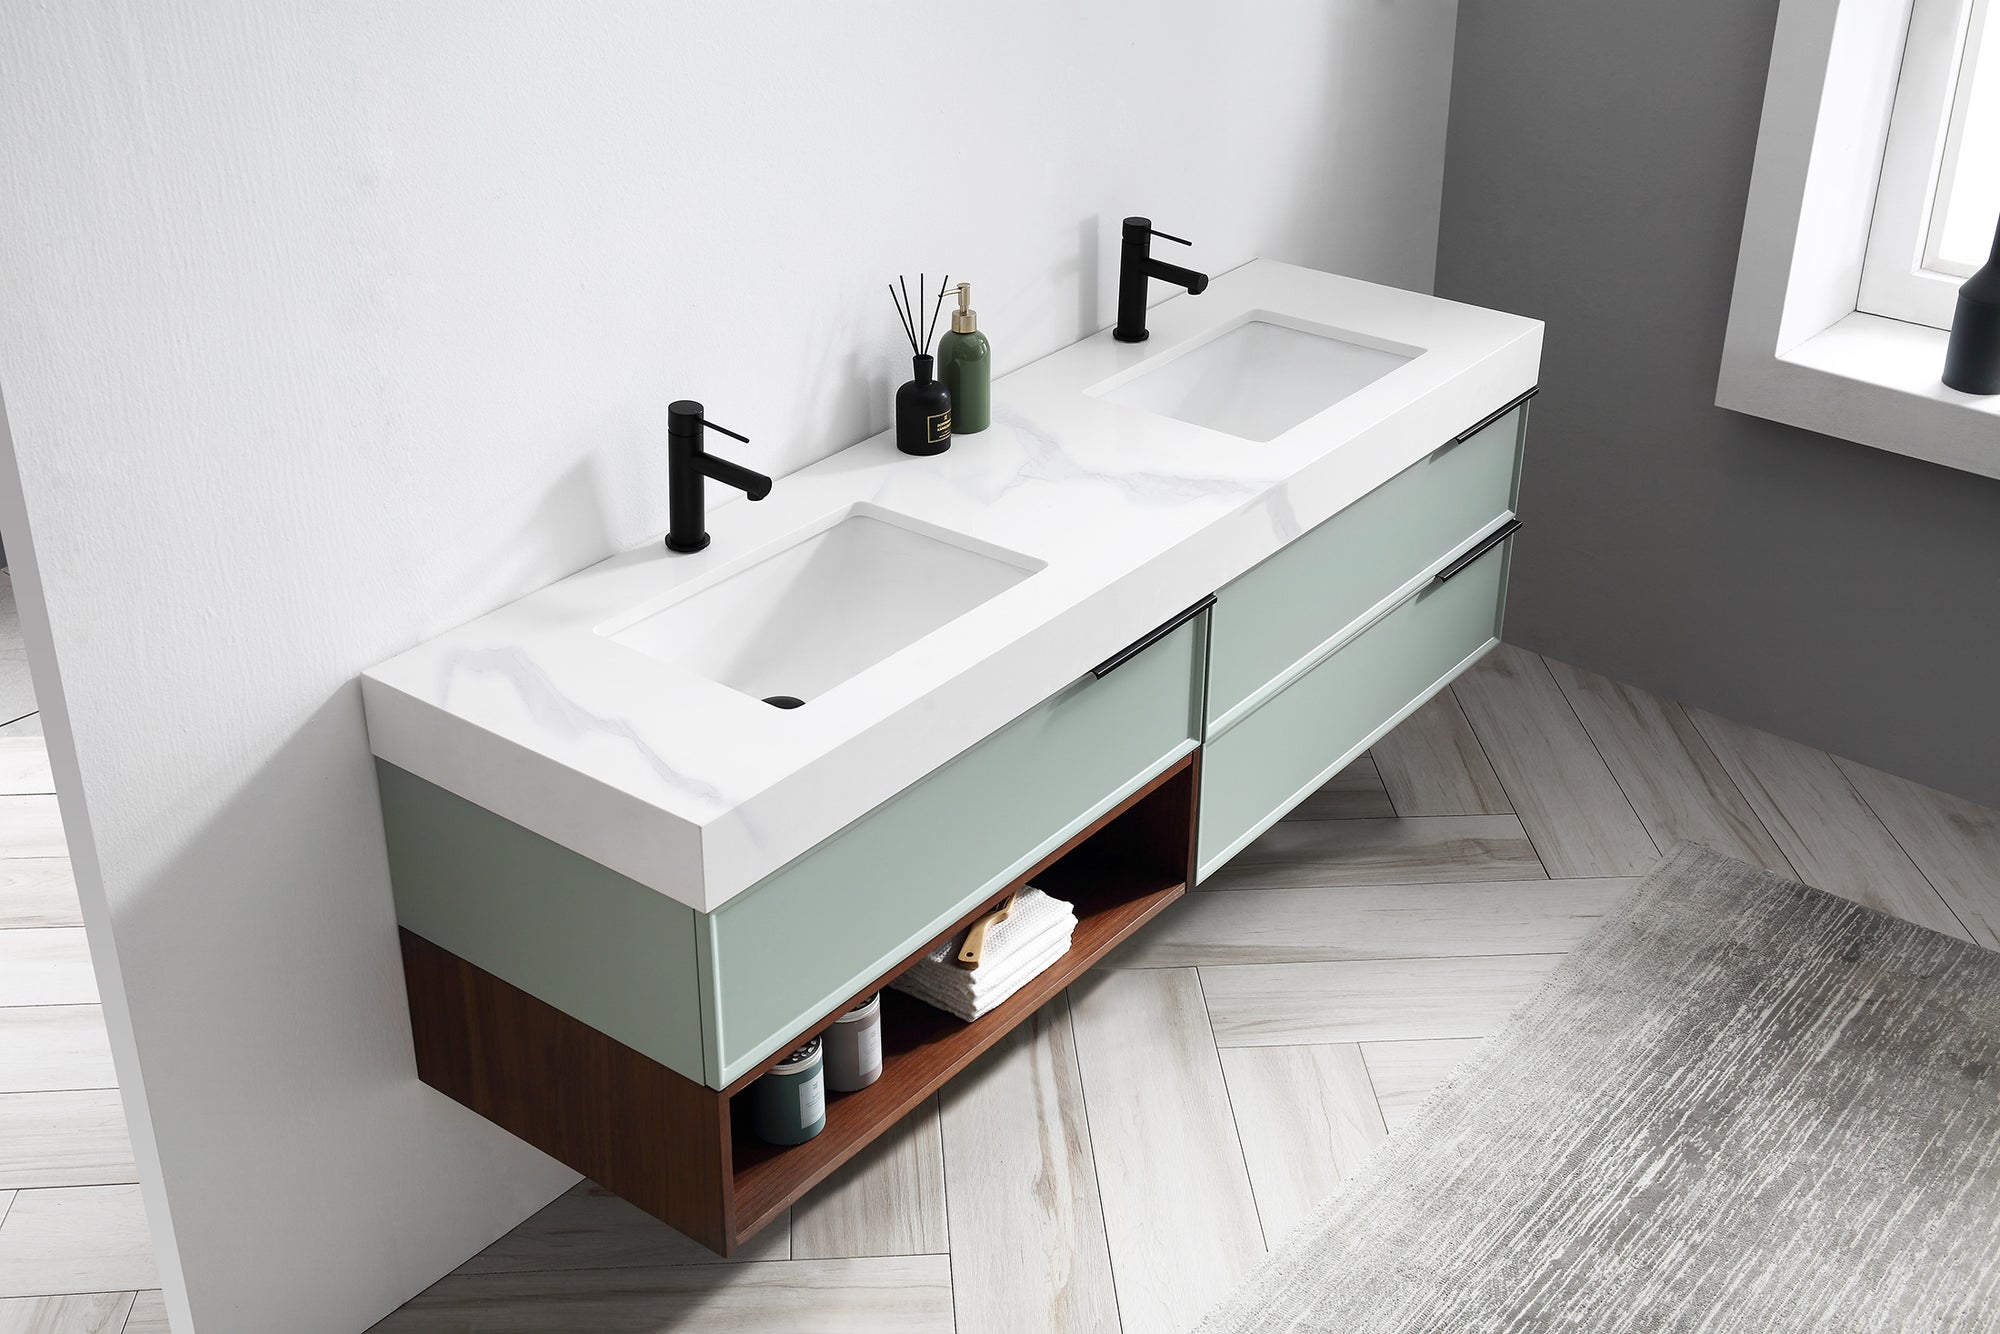
Before diving into the installation process, let’s explore why wall-mounted vanities are a popular choice for bathrooms:
- Space-saving: Wall-mounted vanities free up floor space, making small bathrooms feel more spacious.
- Modern design: These vanities offer a contemporary look that complements various bathroom styles.
- Easy cleaning: With no legs to clean around, wall-mounted vanities simplify the cleaning process.
- Customizable height: You can adjust the height of the vanity to suit your preferences and needs.
- Storage options: Some wall-mounted vanities feature open shelving or drawers for convenient storage.
Tools and Materials Needed

Before you begin the installation process, gather the necessary tools and materials:
Tools:
- Tape measure
- Level
- Drill/driver
- Circular saw
- Chisel
- Screwdriver
- Adjustable wrench
- Hole saw
Materials:
- Wall-mounted vanity
- Countertop
- Sink(s)
- Faucet(s)
- Bracing materials (2×6 board, deck screws)
- Silicone caulk
- Plumber’s putty
- Lag screws and washers
- Backsplash
- Paint and base molding (if needed)
Step 1: Preparation
Measure and Plan:
Before purchasing a wall-mounted vanity, accurately measure the available space in your bathroom where the vanity will be installed. Consider the dimensions of the vanity itself, ensuring it will fit comfortably within the allotted space without overcrowding the room. Take into account the width, depth, and height of the vanity, as well as any additional clearance needed for doors, drawers, or other fixtures.
Determine Vanity Height:
Decide on the desired height for the vanity, taking into consideration factors such as the height of the users, the style of the bathroom, and any specific needs or preferences. Keep in mind that the standard height for most vanities is around 31 inches, but wall-mounted vanities offer flexibility in adjusting the height to suit your individual requirements. Subtract the thickness of the countertop from the desired finished height to determine the placement of the vanity on the wall.
Notch the Studs:
To provide sturdy support for the wall-mounted vanity, it’s necessary to notch the studs in the wall where the vanity will be attached. Mark the width of the vanity above the rough plumbing and use a circular saw to carefully notch the studs at the appropriate height for the bracing. This step ensures that the vanity will be securely anchored to the wall and can support the weight of the countertop, sink(s), and any additional fixtures.
Consider Plumbing:
Take into account the location of existing plumbing lines in the wall when planning the placement of the vanity. Ensure that there is sufficient space behind the vanity to accommodate the plumbing connections for the sink(s) and faucet(s). If necessary, adjust the positioning of the vanity to align with the plumbing lines, or consult a plumber to relocate the plumbing as needed.
Plan for Electrical Outlets:
If your bathroom has electrical outlets near the installation area, consider their placement in relation to the vanity. Ensure that the outlets are easily accessible and not obstructed by the vanity or any other fixtures. If necessary, hire a licensed electrician to relocate or install additional outlets to accommodate the vanity installation.
Step 2: Install Bracing
Cut and Attach Bracing:
- Cutting the Bracing: Begin by cutting a piece of 2×6 board to the appropriate length for the vanity. It’s essential to use sturdy and durable material that can support the weight of the vanity, countertop, and sinks.
- Applying Construction Adhesive: Apply construction adhesive to the notches previously made in the studs during Step 1. This adhesive helps create a strong bond between the bracing and the studs, enhancing the overall stability of the installation.
- Attaching the Bracing: Once the adhesive is applied, carefully position the bracing in the notches on the studs. Ensure that the bracing is level and flush against the wall. Use deck screws to securely fasten the bracing to each stud, driving the screws through the bracing and into the studs at regular intervals.
Ensuring Proper Support:
- The bracing serves as a crucial support structure for the wall-mounted vanity, distributing the weight evenly across the studs and preventing sagging or instability.
- By securely attaching the bracing to the studs with construction adhesive and deck screws, you can create a solid foundation for the vanity installation.
- Properly installed bracing ensures that the vanity remains securely attached to the wall, even with the added weight of the countertop, sinks, and plumbing fixtures.
Professional Assistance:
- If you’re unsure about cutting and attaching the bracing yourself, or if you encounter any challenges during the process, don’t hesitate to seek assistance from a professional contractor or carpenter.
- A skilled professional can ensure that the bracing is installed correctly and securely, minimizing the risk of structural issues or instability down the line.
Final Check:
Before proceeding to the next step of the installation process, double-check that the bracing is securely attached to the studs and level. Any discrepancies in the bracing could affect the overall stability and performance of the wall-mounted vanity.
Step 3: Mark the Location

Determine Vanity Height:
- Personal Preference: Consider the height that feels most comfortable for you and your household members. While standard vanity heights range from 30 to 36 inches, you have the flexibility to customize the height according to your needs.
- Functional Considerations: Think about how the vanity height will impact your daily routines. For example, consider whether children will be using the bathroom and adjust the height accordingly.
Marking the Level Line:
- Precision: Use a tape measure and level to mark a straight and level line on the wall. This line will serve as a guide for mounting the vanity at the correct height.
- Accuracy: Take your time to ensure the level line is accurately positioned. A crooked line could lead to an uneven installation, affecting the overall aesthetic and functionality of the vanity.
Consider Plumbing and Clearance:
- Plumbing Connections: Take into account the location of existing plumbing lines in the wall. Ensure that there is enough space behind the vanity to accommodate the plumbing connections for the sink(s) and faucet(s).
- Electrical Outlets: Consider the placement of electrical outlets in relation to the vanity. Ensure that they are easily accessible and not obstructed by the vanity or any other fixtures.
Double-Check Measurements:
- Verification: Before proceeding with the installation, double-check your measurements and markings to ensure accuracy. Use the tape measure and level to confirm that the level line is straight and aligned correctly with your desired height for the vanity.
- Adjustments: If necessary, make any adjustments to ensure that the vanity will be mounted securely and at the correct height.
Professional Assistance:
- Expert Input: If you’re uncertain about determining the height or marking the location on the wall, consider consulting with a professional contractor or carpenter.
- Guidance: A skilled professional can provide valuable insights and assistance to ensure that the vanity is mounted at the optimal height and properly aligned with plumbing and electrical fixtures.
Final Check:
- Validation: Take a final look at your measurements and markings before proceeding to the next step of the installation process. Confirm that everything is accurate and aligned according to your specifications.
- Precision Matters: Making precise measurements and markings at this stage will lay the groundwork for a successful installation of your wall-mounted vanity.
Step 4: Cut Plumbing Holes
Measure and Mark:
- Precise Measurements: Begin by measuring and marking the locations of the water supply lines and drainpipe on the back of the vanity. These markings will guide you in cutting the plumbing holes to ensure proper alignment with the existing plumbing connections in the wall.
- Consider Clearance: Take into account the space needed for the pipes to fit through the holes without any obstruction. Ensure that the holes are large enough to accommodate the pipes comfortably.
Select the Right Tools:
- Hole Saw: Use a hole saw with the appropriate diameter to cut the plumbing holes in the back of the vanity. Ensure that the size of the hole saw matches the diameter of the pipes to be accommodated.
- Safety Gear: Wear safety goggles and gloves to protect yourself during the cutting process, especially if working with power tools.
Cut the Holes:
- Start from the Outside: Begin cutting the plumbing holes from the outside of the vanity, using the hole saw to drill through the plywood back panel. Apply steady pressure and keep the saw level to ensure clean and accurate cuts.
- Finish from the Inside: Once the pilot bit of the hole saw has pierced through the plywood, switch to the inside of the vanity to complete the cutting process. This helps prevent tear-out and ensures a clean finish around the edges of the holes.
Test Fit:
- Check Fitment: After cutting the plumbing holes, test fit the vanity against the wall to ensure that the holes align properly with the existing plumbing connections. Verify that there is enough clearance for the pipes to pass through without any interference.
- Make Adjustments: If necessary, make any adjustments to the size or positioning of the holes to ensure a perfect fit with the plumbing connections.
Seal Edges:
Prevent Moisture Damage: To prevent moisture from seeping into the vanity and causing damage, seal the edges of the plumbing holes with silicone caulk. Apply a bead of caulk around the perimeter of each hole, ensuring a watertight seal between the pipes and the vanity.
Final Inspection:
- Thorough Check: Before proceeding with the installation, conduct a final inspection to confirm that the plumbing holes are cut accurately and sealed properly. Ensure that there are no sharp edges or rough surfaces that could cause damage to the pipes or interfere with the installation process.
- Address any Issues: If you notice any issues or discrepancies during the inspection, address them promptly to ensure a smooth and successful installation of the wall-mounted vanity.
Step 5: Hang the Vanity

Positioning the Vanity:
- Alignment: Begin by positioning the vanity at the desired height on the wall, ensuring that it aligns with the level line previously marked in Step 3.
- Support: Use a 5-gallon bucket or similar support structure to temporarily hold the vanity in place while you secure it to the wall.
Making Pilot Holes:
- Preparation: With the help of a helper, hold the vanity against the wall at the desired height. Use a pencil to mark the location of the mounting holes on the back of the vanity.
- Drilling: Use a drill with a small drill bit (such as 1/4 inch) to make pilot holes at the marked locations on the back of the vanity. These pilot holes will serve as guides for driving the mounting screws into the wall.
Securing the Vanity:
- Using Lag Screws: Once the pilot holes are drilled, use lag screws and washers to secure the vanity to the wall. Start by driving a lag screw through each pilot hole and into the wall stud behind it.
- Check for Level: As you drive the lag screws, periodically check the level of the vanity to ensure that it remains straight and properly aligned with the level line on the wall.
- Multiple Mounting Points: Depending on the size and weight of the vanity, you may need to drive additional lag screws at regular intervals along the back of the vanity for added support.
Final Adjustments:
- Fine-Tuning: Once all the lag screws are in place, use a level to make any final adjustments to the positioning of the vanity. Ensure that it is perfectly level and aligned with the surrounding fixtures.
- Tightening: Use a socket wrench or impact driver to securely tighten the lag screws, ensuring that the vanity is firmly anchored to the wall and will not wobble or shift.
Removing Support:
- Safety First: With the vanity securely mounted to the wall and properly leveled, carefully remove the temporary support structure (e.g., 5-gallon bucket) that was used to hold the vanity in place.
- Stability Check: Double-check the stability of the vanity to ensure that it remains securely attached to the wall without any signs of sagging or instability.
Professional Assistance:
- Seeking Help: If you encounter any difficulties during the hanging process, or if you’re unsure about the structural integrity of the wall or the mounting hardware, consider seeking assistance from a professional contractor or carpenter.
- Safety Concerns: It’s essential to prioritize safety when hanging a heavy object like a wall-mounted vanity, especially if you’re working with unfamiliar tools or materials.
Step 6: Install Countertop and Sinks
Preparing the Countertop:
- Positioning: Flip the countertop over so the underside faces up, and place it on a protected surface such as cardboard to prevent damage.
- Marking: Identify the locations for the faucet and handle installations on the countertop. These markings will guide you when cutting holes in the countertop surface.
Cutting Faucet and Handle Holes:
- Selecting the Tools: Use a hole saw with the appropriate diameter to cut holes in the countertop for the faucets and handles. Ensure that the size of the hole saw matches the specifications of the faucets and handles.
- Careful Cutting: Apply even pressure while cutting through the countertop to create clean and precise holes. Avoid rushing this step to prevent accidental damage to the countertop surface.
Attaching the Sinks:
- Applying Adhesive: Wipe the dust from the countertop surface and apply a bead of silicone caulk on the flange of each sink. This caulk acts as an adhesive to secure the sinks in place.
- Positioning: Carefully position each sink in its designated location on the countertop, ensuring proper alignment with the faucet and handle holes.
- Securing with Clips: Attach steel clips at each corner of the sink, clamping it securely to the underside of the countertop. Wipe away any excess caulk that may squeeze out into the sink basin.
Installing Faucets and Handles:
- Applying Putty: Apply plumber’s putty beneath the handles and spout of each faucet. This putty helps create a watertight seal and prevents leaks.
- Feeding Through Holes: Feed the faucet handles and spout through the corresponding holes in the countertop from below. Ensure that the orientation of the handles aligns correctly with the hot and cold water supply lines.
- Securing with Nuts: Place washers and lock nuts over the threaded ends of the faucets, and tighten them securely using a screwdriver or wrench. Ensure that the faucets are firmly anchored to the countertop to prevent movement or leaks.
Connecting Plumbing:
- Installing Drain Assembly: Use plumber’s putty to install the drain assembly in each sink, ensuring a tight seal to prevent leaks. Connect the faucet lift rod to the drain’s stopper rod and test the stopper mechanism.
- Connecting Supply Lines: Connect the supply lines to the faucets, ensuring that they are securely tightened to prevent leaks. Curl and thread the supply lines to the mixing tee, and tighten each connection with a wrench.
Final Touches:
- Applying Sealant: Apply a bead of siliconized acrylic caulk to the top edge of the vanity to create a watertight seal between the countertop and the vanity base.
- Removing Spacers: With the help of a helper, carefully remove any spacers used to support the countertop during installation. Ensure that the countertop is properly aligned and evenly supported before proceeding.
- Adding Backsplash: If desired, attach a backsplash to the rear edge of the countertop using siliconized acrylic caulk. Press the backsplash firmly against the wall and countertop to create a seamless connection.
Professional Assistance:
- Seeking Help: If you encounter any challenges during the installation of the countertop and sinks, or if you’re unsure about connecting the plumbing fixtures, consider seeking assistance from a professional plumber or contractor.
- Ensuring Quality: Proper installation of the countertop and sinks is crucial to prevent leaks and ensure long-term durability. It’s essential to prioritize accuracy and attention to detail during this step.
Step 7: Add Finishings

Preparing for Faucets:
- Flipping the Countertop: Begin by flipping the countertop over so the underside faces up, placing it on a protected surface.
- Identifying Faucet Locations: Identify the pre-marked locations on the countertop for the faucets and handles. These markings will guide you when cutting holes in the countertop surface.
Cutting Faucet and Handle Holes:
- Selecting the Tools: Utilize a hole saw with the appropriate diameter to cut holes in the countertop for the faucets and handles. Ensure the size of the hole saw matches the specifications of the fixtures.
- Careful Cutting: Apply even pressure while cutting through the countertop to create clean and precise holes. Take care not to rush this step to avoid accidental damage to the surface.
Applying Adhesive to Sinks:
- Wiping and Preparing: Wipe any dust or debris from the countertop surface. Apply a bead of silicone caulk on the flange of each sink. This caulk acts as an adhesive to secure the sinks in place.
- Positioning Sinks: Carefully position each sink in its designated location on the countertop, ensuring proper alignment with the faucet and handle holes.
- Securing with Clips: Attach steel clips at each corner of the sink, clamping it securely to the underside of the countertop. Wipe away any excess caulk that may squeeze out into the sink basin.
Installing Faucets and Handles:
- Applying Plumber’s Putty: Apply plumber’s putty beneath the handles and spout of each faucet to create a watertight seal.
- Feeding Through Holes: Feed the faucet handles and spout through the corresponding holes in the countertop from below. Ensure proper orientation of the handles with respect to hot and cold water supply lines.
- Securing with Nuts: Place washers and lock nuts over the threaded ends of the faucets and tighten them securely using a screwdriver or wrench. Ensure firm anchorage to prevent movement or leaks.
Connecting Plumbing:
- Installing Drain Assembly: Utilize plumber’s putty to install the drain assembly in each sink, ensuring a tight seal to prevent leaks. Connect the faucet lift rod to the drain’s stopper rod and test the stopper mechanism.
- Connecting Supply Lines: Connect the supply lines to the faucets, ensuring secure tightening to prevent leaks. Curl and thread the supply lines to the mixing tee and tighten each connection with a wrench.
Adding Sealant:
Applying Siliconized Acrylic Caulk: Apply a bead of siliconized acrylic caulk to the top edge of the vanity to create a watertight seal between the countertop and the vanity base.
Final Steps:
- Removing Spacers: With assistance, carefully remove any spacers used to support the countertop during installation.
- Adding Backsplash: If desired, attach a backsplash to the rear edge of the countertop using siliconized acrylic caulk. Press the backsplash firmly against the wall and countertop to create a seamless connection.
Professional Assistance:
- Seeking Help: If encountering challenges during the installation of finishings or unsure about connecting plumbing fixtures, consider seeking assistance from a professional plumber or contractor.
- Quality Assurance: Proper installation of finishings is crucial to prevent leaks and ensure long-term durability. Prioritize accuracy and attention to detail during this step.
Step 8: Final Touches
Applying Sealant:
- Ensuring Watertight Seals: Use siliconized acrylic caulk to seal any gaps or joints between the countertop, backsplash (if applicable), and walls. This helps prevent water from seeping into the gaps and causing damage to the vanity or surrounding surfaces.
- Smooth Application: Apply the caulk in a continuous bead along the edges, using a caulk gun for precise application. Smooth the caulk with a finger or caulking tool to create a neat finish.
Securing Fixtures:
- Checking Stability: Double-check the stability and alignment of all fixtures, including faucets, handles, and sinks. Ensure that they are securely fastened and properly aligned to avoid leaks or wobbling.
- Tightening Connections: If necessary, use a wrench to tighten any loose connections or fittings. Pay attention to supply lines, drain assemblies, and faucet connections to ensure they are snug and leak-free.
Adjusting Doors:
- Ensuring Smooth Operation: Check the operation of cabinet doors and drawers to ensure they open and close smoothly without any sticking or binding. Adjust hinges or slides as needed to achieve proper alignment and functionality.
- Fine-Tuning: Use a screwdriver to adjust the position of hinges or slides, ensuring that doors and drawers are properly aligned within their frames.
Final Inspection:
- Thorough Examination: Conduct a comprehensive inspection of the entire vanity setup, paying attention to details such as alignment, finish quality, and overall appearance.
- Addressing Imperfections: If you notice any imperfections or irregularities, take the necessary steps to correct them before finalizing the installation. This may include touching up paint, repositioning fixtures, or adjusting hardware.
Clean-Up:
- Removing Debris: Clean up any dust, debris, or construction materials that may have accumulated during the installation process. Use a vacuum cleaner or damp cloth to remove dirt and debris from the vanity, countertop, and surrounding area.
- Polishing Surfaces: Wipe down the vanity surfaces with a mild cleaning solution to remove any residue and restore shine. Buff the countertop and fixtures with a soft cloth to achieve a polished finish.
Final Verification:
- Functional Testing: Test the functionality of all vanity components, including faucets, handles, and drains. Run water through the faucets and drains to ensure they are operating correctly and free of leaks.
- Visual Inspection: Step back and visually inspect the completed installation from various angles to ensure that everything is in order and meets your expectations.
Professional Assistance:
- Seeking Expert Input: If you encounter any challenges during the final touches or are unsure about any aspect of the installation, consider seeking assistance from a professional contractor or installer.
- Ensuring Satisfaction: Prioritize your satisfaction and peace of mind by ensuring that the vanity installation meets your standards of quality and craftsmanship.
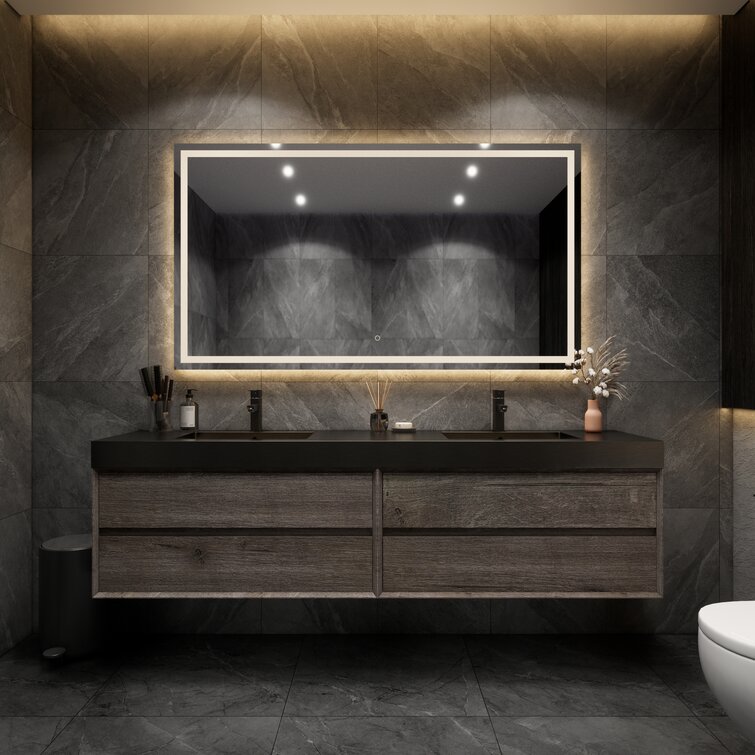
Conclusion
Installing a wall-mounted vanity is a rewarding project that can elevate the look and functionality of your bathroom. By following the detailed steps outlined in this guide, you can tackle the installation process with confidence and achieve professional results. From preparation and bracing to mounting the vanity, attaching the countertop and sinks, and adding finishing touches, each step is crucial to ensuring a successful outcome.
A wall-mounted vanity offers numerous benefits, including space-saving design, modern aesthetics, and customizable height options. With the right tools, materials, and techniques, you can transform your bathroom into a stylish and efficient space that meets your needs and preferences.
Whether you’re a seasoned DIY enthusiast or a novice homeowner looking to tackle your first home improvement project, installing a wall-mounted vanity is a manageable and rewarding endeavor. Take your time, follow the instructions carefully, and don’t hesitate to seek professional assistance if needed. With patience and attention to detail, you can achieve a beautiful and functional bathroom that you’ll enjoy for years to come.