Bathroom tiles are susceptible to various stains, with black mold being one of the most stubborn and unsightly. Over time, black mold can accumulate on the grout and surfaces of bathroom tiles, making them appear dirty and unhygienic. Fortunately, there are several effective methods for removing black stains from bathroom tiles, restoring their cleanliness and appearance. In this comprehensive guide, we will explore various techniques and products to help you tackle black stains in your bathroom.
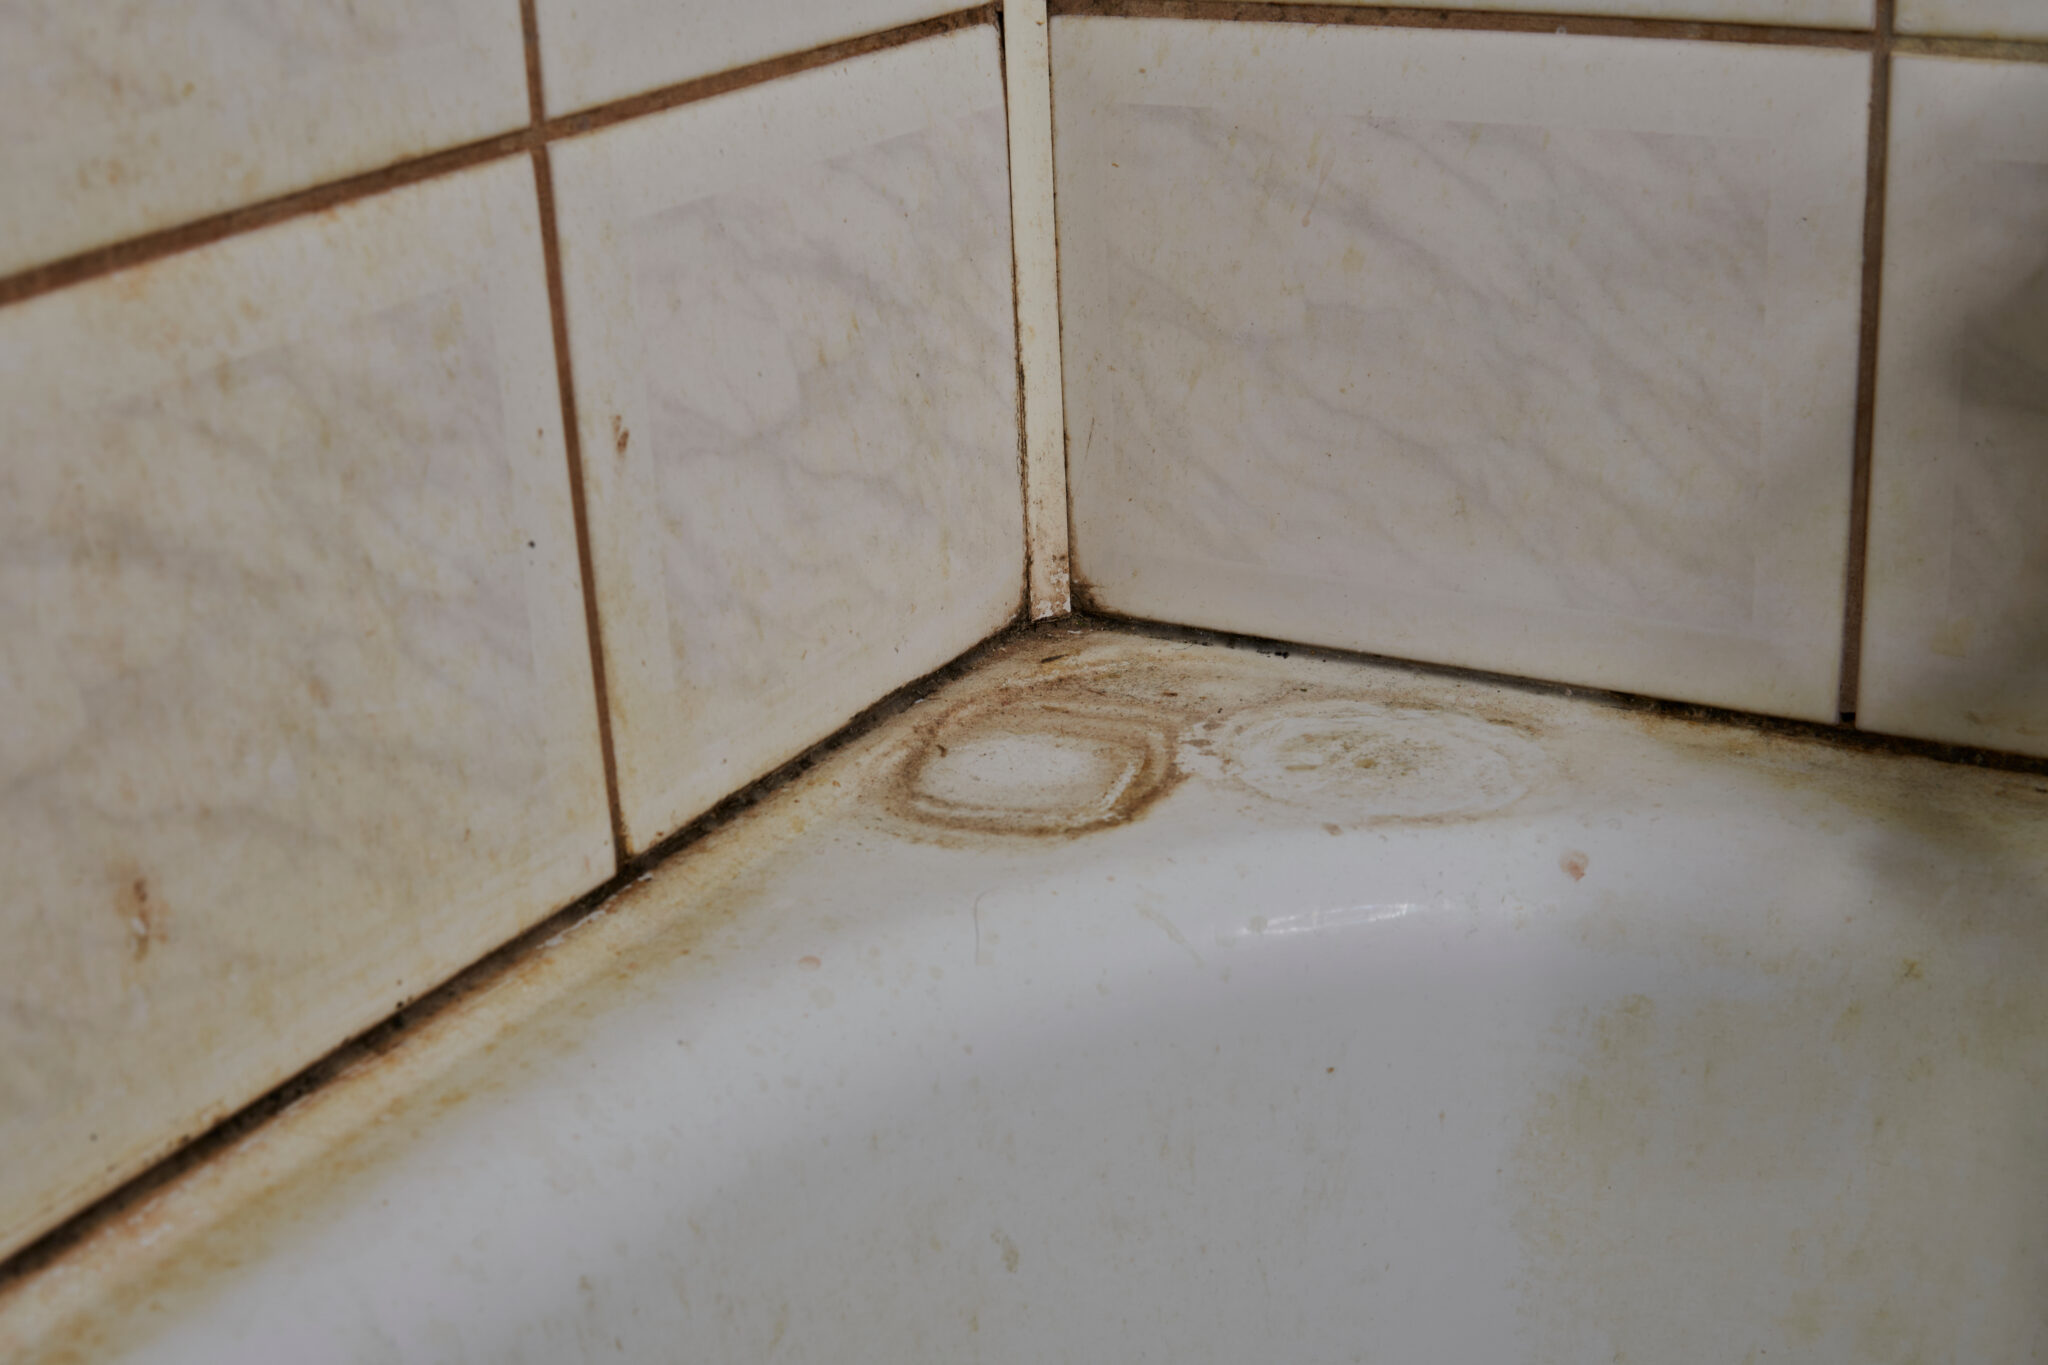
Before diving into removal methods, it’s essential to understand the nature of black stains on bathroom tiles. Black stains are often caused by mold and mildew, which thrive in moist and humid environments commonly found in bathrooms. Lack of proper ventilation, infrequent cleaning, and residual moisture can contribute to the growth of black mold on tile surfaces and grout lines. Additionally, soap scum, mineral deposits, and dirt can exacerbate the problem, leading to stubborn stains that are challenging to remove.
Precautions Before Cleaning
Before embarking on any cleaning process, it’s crucial to take certain precautions to ensure safety and effectiveness:
- Ventilation: Proper ventilation is essential to prevent exposure to harsh cleaning chemicals and to facilitate the drying process. When cleaning the bathroom, open windows and turn on exhaust fans to promote air circulation. Ventilating the space helps to disperse fumes from cleaning products, reducing the risk of inhaling harmful chemicals. Additionally, adequate ventilation helps to minimize moisture buildup, which can contribute to the growth of mold and mildew.
- Protective Gear: It’s important to wear appropriate protective gear to safeguard your skin, eyes, and respiratory system from exposure to cleaning agents and airborne particles. This includes wearing gloves to protect your hands from harsh chemicals, goggles to shield your eyes from splashes, and a mask to prevent inhalation of fumes and dust. These protective measures minimize the risk of skin irritation, eye irritation, respiratory discomfort, and other adverse health effects associated with cleaning chemicals.
- Test in an Inconspicuous Area: Before applying any cleaning solution to the entire surface, it’s advisable to test it in a small, inconspicuous area to ensure compatibility and avoid potential damage. This test spot allows you to assess how the cleaning product interacts with the tile and grout without risking damage to visible areas. By conducting a test patch, you can determine whether the cleaner is safe to use and whether it effectively removes black stains without causing discoloration or deterioration of the tile surface.
- Follow Instructions: It’s essential to read and follow the instructions provided by the manufacturer of cleaning products. This includes adhering to recommended dilution ratios, application methods, and safety precautions specified on the product label. By following the manufacturer’s instructions, you can maximize the effectiveness of the cleaning solution and minimize the risk of adverse reactions. Additionally, following instructions helps to ensure safe handling and proper disposal of cleaning agents, reducing environmental impact and potential hazards.
Effective Methods for Removing Black Stains
1. Commercial Mold and Mildew Cleaners
:max_bytes(150000):strip_icc()/spr-primary-best-mold-removers-jthompson-0032-1e041981ca4c44a793b22bb9e988cba4.jpg)
How They Work:
- Bleach-Based Cleaners: Many commercial mold and mildew cleaners contain bleach as their active ingredient. Bleach, or sodium hypochlorite, is a powerful disinfectant that kills mold spores on contact. It works by oxidizing the molecules of the mold, breaking them down and rendering them inactive. Additionally, bleach-based cleaners have whitening properties that help to remove stains and brighten tile surfaces.
- Hydrogen Peroxide-Based Cleaners: Some mold and mildew cleaners contain hydrogen peroxide as the active ingredient. Hydrogen peroxide is a strong oxidizing agent that effectively kills mold spores and breaks down organic matter. It produces oxygen bubbles upon contact with mold, which help to lift and remove stains from tile surfaces.
- Quaternary Ammonium Compounds (Quats): Quats are a type of disinfectant commonly found in commercial cleaners. They work by disrupting the cell membranes of mold and bacteria, leading to their destruction. Quats are effective at killing a wide range of microorganisms and preventing their growth on tile surfaces.
How to Use Them Effectively:
- Preparation: Before applying the cleaner, it’s important to prepare the area by removing any loose debris and dust from the tile surfaces. This can be done by sweeping or vacuuming the area.
- Application: Spray or apply the cleaner directly onto the affected areas, ensuring thorough coverage of the black stains and mold-infested grout lines. Allow the cleaner to penetrate the mold and mildew for the recommended dwell time specified on the product label.
- Agitation: In cases of stubborn stains, it may be necessary to agitate the surface with a scrub brush or sponge to loosen the mold and dirt. Be careful not to scrub too vigorously, as this can damage the tile surface or grout.
- Rinsing: After allowing the cleaner to dwell and agitating the surface if necessary, rinse the area thoroughly with water to remove the cleaning solution and any residual mold and mildew. Use a clean cloth or sponge to wipe away excess moisture and ensure the tiles are left clean and dry.
Safety Precautions:
- Ventilation: Ensure proper ventilation by opening windows and using exhaust fans to dissipate fumes from the cleaning products. Avoid inhaling or coming into direct contact with the cleaning solution.
- Protective Gear: Wear gloves, goggles, and a mask to protect your skin, eyes, and respiratory system from exposure to cleaning chemicals and airborne particles.
- Read Instructions: Always read and follow the instructions provided by the manufacturer of the cleaner, including dilution ratios, application methods, and safety precautions. Avoid mixing different cleaning products, as this can produce harmful fumes or reduce effectiveness.
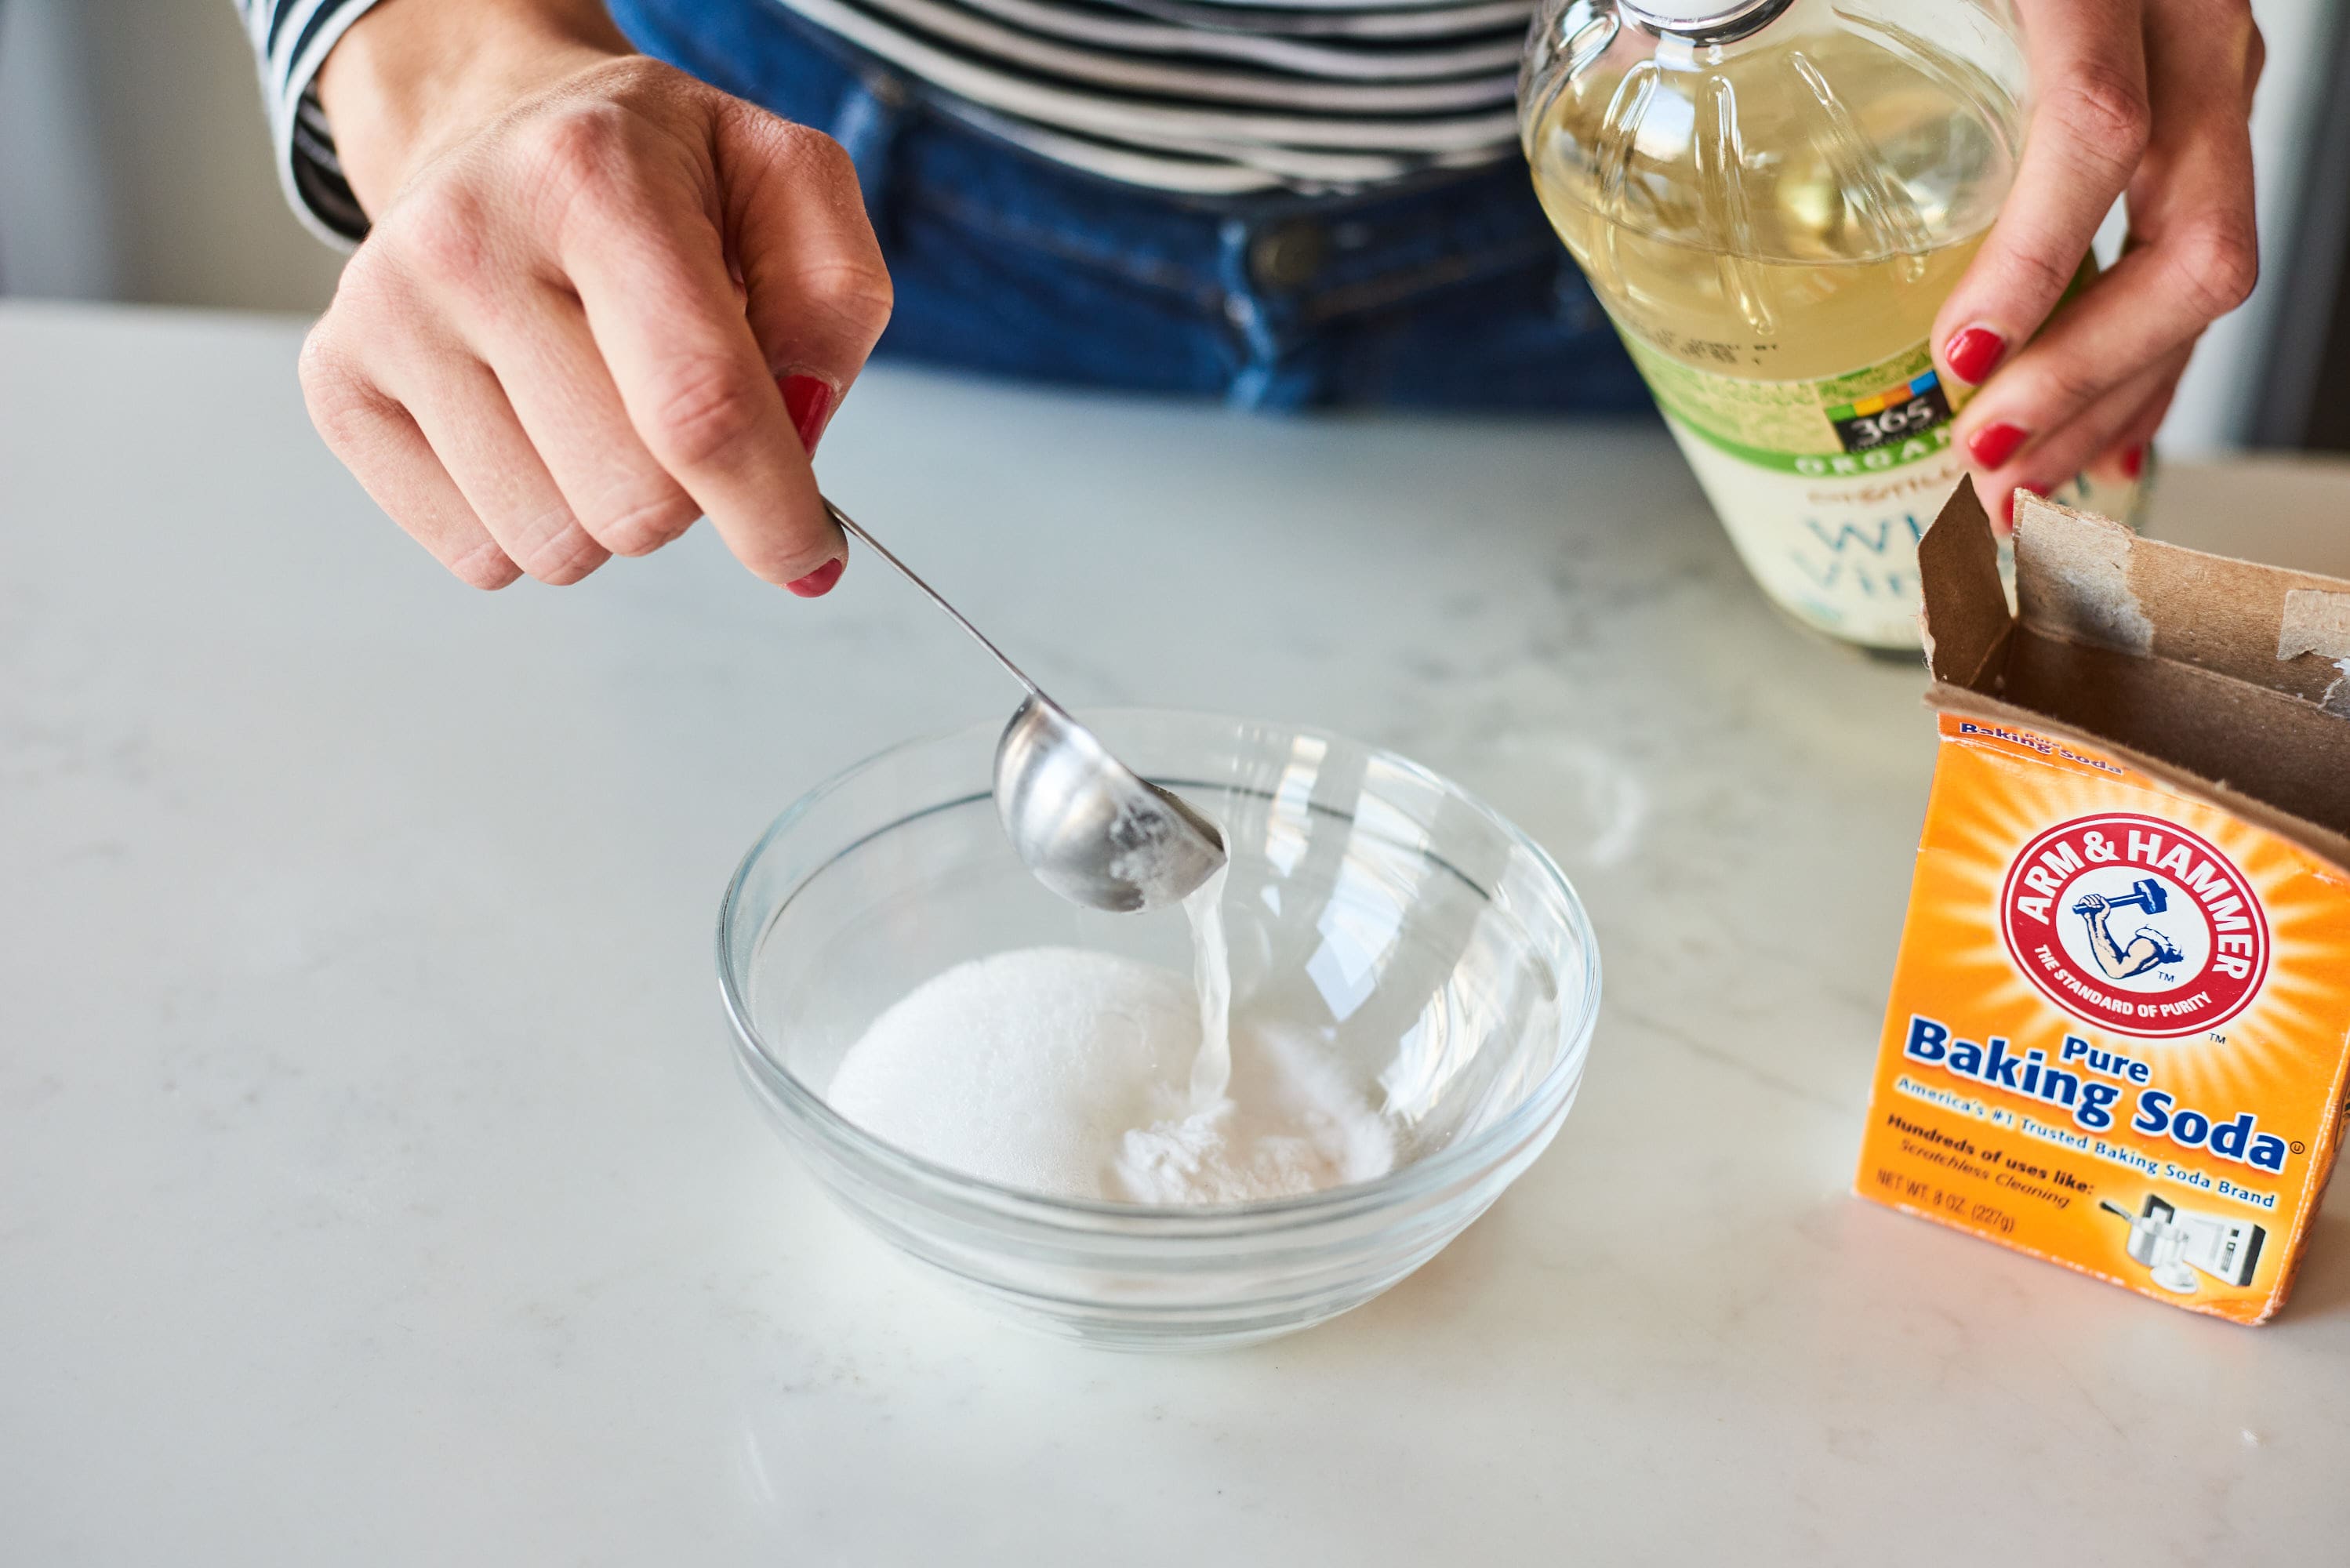
2. Baking Soda and Vinegar
How They Work:
- Baking Soda (Sodium Bicarbonate): Baking soda is a versatile cleaning agent with mild abrasive properties. When mixed with water, it forms a paste that can be applied to the black stains on bathroom tiles. The abrasive action of baking soda helps to loosen dirt and grime from the tile surface and grout lines, making it easier to remove.
- Vinegar (Acetic Acid): Vinegar is a natural disinfectant and acidic cleaner that helps to dissolve mineral deposits, soap scum, and other tough stains. Its acidic nature makes it effective at breaking down organic matter, including mold and mildew. When combined with baking soda, vinegar creates a foaming reaction that helps to lift and remove stains from the tile surface.
How to Use Them Effectively:
- Make a Paste: Start by mixing baking soda with water to create a thick paste. The paste should have a consistency similar to toothpaste, making it easy to apply and spread onto the black stains on the bathroom tiles.
- Apply the Paste: Using a sponge or scrub brush, apply the baking soda paste directly onto the affected areas, focusing on grout lines and heavily stained areas. Ensure thorough coverage of the stains with the paste.
- Spray with Vinegar: Once the baking soda paste is applied, spray or pour vinegar onto the paste-covered areas. The vinegar will react with the baking soda, creating a foaming reaction that helps to lift and dissolve stains from the tile surface.
- Let it Sit: Allow the baking soda and vinegar mixture to sit on the stains for at least 15-20 minutes to penetrate and loosen the dirt and grime. This dwell time allows the cleaning agents to work effectively and break down stubborn stains.
- Scrub and Rinse: After allowing the mixture to sit, use a scrub brush or sponge to agitate the surface and scrub away the loosened stains. Rinse the area thoroughly with water to remove the baking soda and vinegar residue, ensuring the tiles are left clean and residue-free.
Safety Precautions:
- Ventilation: Ensure proper ventilation by opening windows and using exhaust fans to dissipate any fumes produced by the vinegar. Avoid inhaling or coming into direct contact with the cleaning solution.
- Protective Gear: While baking soda and vinegar are natural cleaning agents, it’s still advisable to wear gloves to protect your hands from irritation. Additionally, avoid getting the cleaning solution in your eyes or mouth.
- Test in an Inconspicuous Area: Before applying the baking soda and vinegar mixture to the entire surface, test it in a small, inconspicuous area to ensure compatibility and avoid potential damage to the tiles or grout.
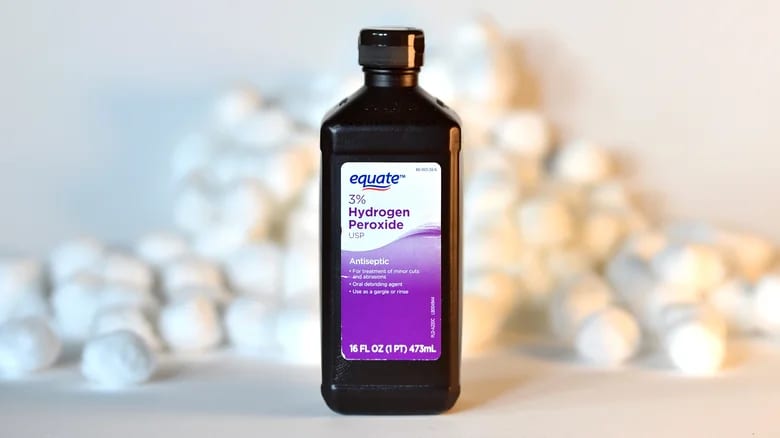
3. Hydrogen Peroxide
How It Works:
- Oxidizing Properties: Hydrogen peroxide (H2O2) is a chemical compound composed of hydrogen and oxygen atoms. It is a strong oxidizing agent, meaning it can break down organic compounds by releasing oxygen atoms. When applied to black stains on bathroom tiles, hydrogen peroxide reacts with the mold spores and organic matter, breaking them down and rendering them inactive.
- Disinfectant: In addition to its oxidizing properties, hydrogen peroxide also acts as a disinfectant, killing bacteria, viruses, and mold spores on contact. This makes it an effective cleaner for sanitizing bathroom surfaces and preventing the growth of mold and mildew.
- Safe and Eco-Friendly: Hydrogen peroxide is a relatively safe and environmentally friendly cleaning agent. It breaks down into water (H2O) and oxygen (O2) when exposed to light or heat, leaving behind no harmful residues or fumes. This makes it suitable for use in households with children, pets, or individuals with sensitivities to harsh chemicals.
How to Use It Effectively:
- Application: Pour or spray hydrogen peroxide directly onto the black stains on the bathroom tiles, ensuring thorough coverage of the affected areas. Use a spray bottle for precise application and to avoid wastage.
- Dwell Time: Allow the hydrogen peroxide to sit on the stains for 10-15 minutes to penetrate and disinfect the surface. This dwell time allows the hydrogen peroxide to break down mold spores and organic matter, making it easier to remove.
- Agitation: If necessary, use a scrub brush or sponge to agitate the surface and loosen stubborn stains. Be careful not to scrub too vigorously, as this can damage the tile surface or grout.
- Rinsing: After allowing the hydrogen peroxide to dwell and agitating the surface if necessary, rinse the area thoroughly with water to remove the cleaning solution and any residual stains. Use a clean cloth or sponge to wipe away excess moisture and ensure the tiles are left clean and dry.
Safety Precautions:
- Ventilation: Ensure proper ventilation by opening windows and using exhaust fans to dissipate fumes from the hydrogen peroxide. Avoid inhaling or coming into direct contact with the cleaning solution.
- Protective Gear: While hydrogen peroxide is relatively safe to use, it’s still advisable to wear gloves to protect your hands from irritation. Additionally, avoid getting the cleaning solution in your eyes or mouth.
- Test in an Inconspicuous Area: Before applying hydrogen peroxide to the entire surface, test it in a small, inconspicuous area to ensure compatibility and avoid potential damage to the tiles or grout.
Preventive Measures to Avoid Future Stains

1. Ventilate the Bathroom:
- Importance: Proper ventilation is crucial for reducing humidity levels and preventing moisture buildup in the bathroom, which creates an ideal environment for mold and mildew growth.
- Strategies:
- Install an exhaust fan to remove moisture and odors from the bathroom during and after showering.
- Open windows or doors to improve air circulation and promote ventilation.
- Keep the bathroom door open after showering to allow moisture to dissipate more quickly.
2. Dry Surfaces After Use:
- Importance: Damp surfaces provide a breeding ground for mold and mildew, leading to the formation of black stains on tiles. Drying surfaces promptly helps to prevent moisture-related issues.
- Strategies:
- Use a squeegee or towel to wipe down wet surfaces, such as shower walls, tubs, and countertops, after each use.
- Pay special attention to areas prone to moisture buildup, such as grout lines and corners.
- Empty and clean soap dishes and other bathroom accessories regularly to prevent water pooling.
3. Clean Regularly:
- Importance: Regular cleaning prevents the accumulation of dirt, soap scum, and other substances that can contribute to black stains on bathroom tiles. Maintaining a consistent cleaning routine helps to keep surfaces clean and hygienic.
- Strategies:
- Establish a weekly or bi-weekly cleaning schedule to address all areas of the bathroom, including tiles, grout, shower walls, and fixtures.
- Use mildew-resistant cleaners or homemade solutions containing ingredients like vinegar or hydrogen peroxide to inhibit mold and mildew growth.
- Scrub grout lines regularly to remove dirt, soap scum, and mildew buildup.
4. Use Shower Curtains or Doors:
- Importance: Shower curtains or doors help to contain water within the shower enclosure, preventing it from splashing onto surrounding surfaces and causing moisture-related issues.
- Strategies:
- Install a shower curtain or door to create a barrier between the shower area and the rest of the bathroom.
- Ensure that the curtain or door is properly sealed to prevent water leakage and minimize moisture buildup.
- Clean and maintain shower curtains and doors regularly to prevent mold and mildew growth.
5. Apply Sealant to Grout and Tile Surfaces:
- Importance: Applying a sealant or waterproof coating to grout lines and tile surfaces creates a protective barrier that helps to repel water, dirt, and stains. Sealed surfaces are easier to clean and less prone to black stains.
- Strategies:
- Use a quality grout sealer to protect grout lines from moisture infiltration and staining.
- Apply a waterproof coating or sealant to tile surfaces to enhance their resistance to water and stains.
- Reapply sealant as needed, following the manufacturer’s recommendations for frequency and application method.
Conclusion
Removing black stains from bathroom tiles requires patience, persistence, and the right cleaning methods. Whether you opt for commercial cleaners, natural remedies, or household ingredients, it’s essential to prioritize safety and follow proper cleaning techniques. By understanding the causes of black stains and implementing preventive measures, you can maintain a clean and hygienic bathroom environment for years to come. With these tips and strategies, you can bid farewell to stubborn black stains and enjoy sparkling clean tiles in your bathroom.