Bathroom renovations are exciting projects that can breathe new life into your space. Whether you’re upgrading to modern fixtures or simply refreshing the look, one common task is removing the old vanity top. However, doing so without causing damage can be a challenge. In this comprehensive guide, we’ll walk you through the steps to safely remove a bathroom vanity top without causing any harm to your fixtures or surrounding surfaces.
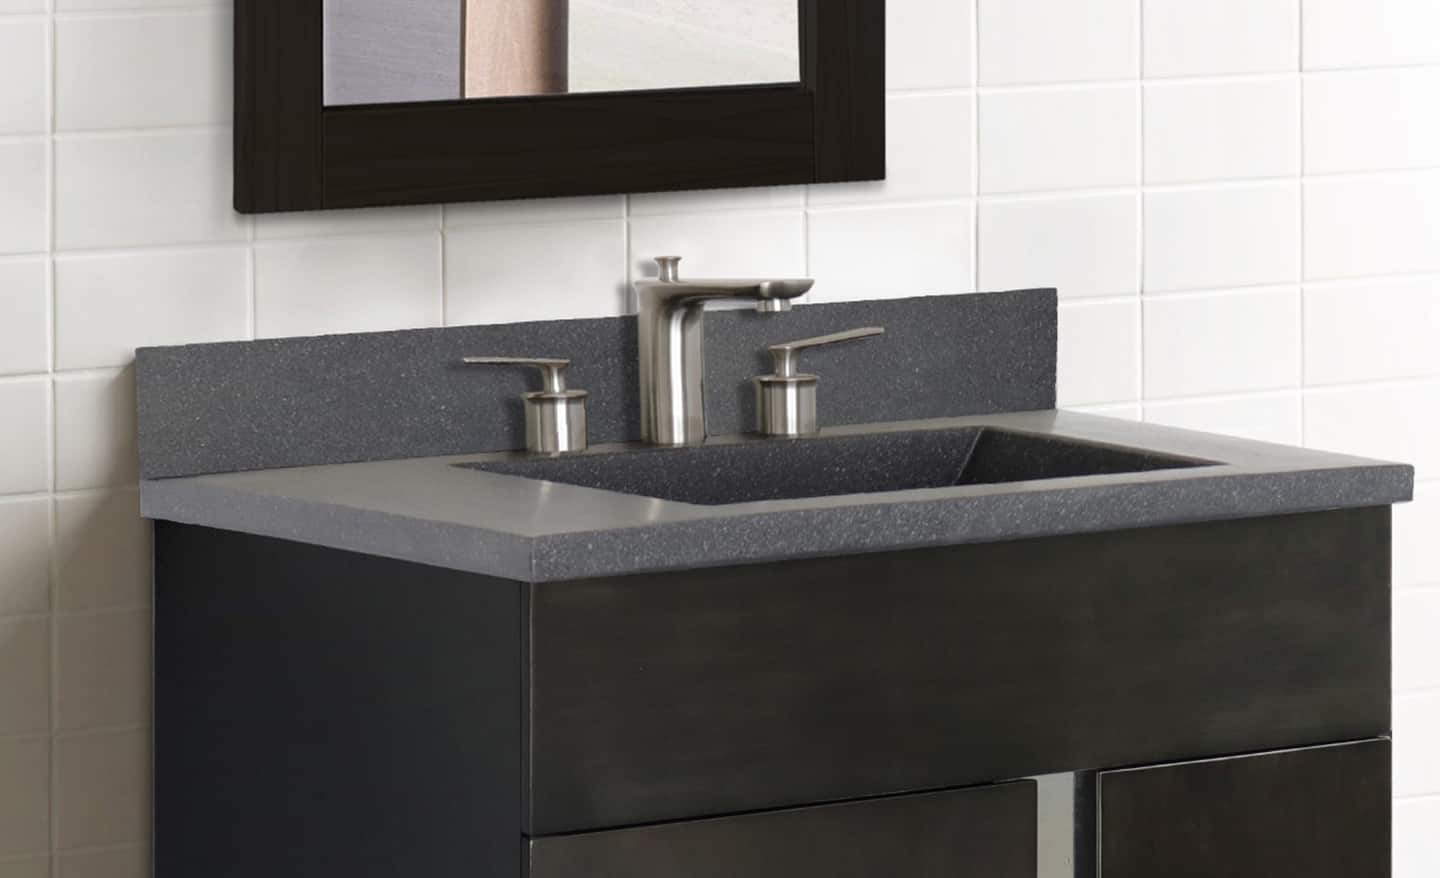
![5 Easy Steps On How To Remove A Bathroom Vanity [DIY Guide]](https://ajalberts.com/wp-content/uploads/remove-bathroom-vanity-top.jpeg)
Removing a bathroom vanity top may seem daunting, but with the right tools and techniques, it can be a straightforward process. By following these steps carefully, you can avoid damage to your vanity, sink, and surrounding areas, ensuring a smooth transition to your new countertop.
Tools and Materials Needed

Before you begin, gather the necessary tools and materials:
- Screwdriver or drill
- Utility knife
- Adjustable wrench
- Pliers
- Towels or rags
- Bucket or drip pan
- Silicone caulk remover
- Safety gloves
Having these items on hand will make the removal process much easier and help protect your bathroom from potential damage.
Steps to Remove the Vanity Top
Step 1: Clear the Vanity
Items to Remove:
- Personal Items: Remove any personal items such as toiletries, cosmetics, toothbrushes, or decorative items from the vanity top and surrounding areas.
- Cleaning Supplies: Clear out any cleaning supplies or tools stored in or around the vanity area, such as sponges, scrub brushes, or cleaning solutions.
- Towels and Linens: Take out any towels, washcloths, or linens stored in or around the vanity, including those hanging on towel bars or hooks.
- Trash: Dispose of any trash or debris present in or around the vanity area to prevent it from getting in the way during the removal process.
- Floor Mats or Rugs: If there are any floor mats or rugs in front of the vanity, temporarily remove them to provide clear access to the area.
Organization:
- Keep Items Nearby: While clearing the vanity, keep items organized and easily accessible nearby. This ensures that you can quickly retrieve any necessary items after the removal process is complete.
- Temporary Storage: If space allows, designate a nearby area for temporarily storing the items removed from the vanity. This prevents clutter and ensures that the items remain safe and easily retrievable.
Safety Considerations:
- Avoid Clutter: Removing clutter from the vanity area reduces the risk of accidents or injuries during the removal process. Clearing the space helps prevent tripping hazards and ensures a safer work environment.
- Protect Valuables: Take care to protect any valuable or delicate items removed from the vanity to prevent damage or breakage. Store them in a safe location away from the work area until the removal process is complete.
Benefits:
- Ease of Access: Clearing the vanity of items allows for easy access to the vanity top and surrounding areas, facilitating a smoother removal process.
- Reduced Risk of Damage: Removing items from the vanity minimizes the risk of accidental damage to personal belongings or decorative items during the removal process.
- Improved Workspace: A clutter-free workspace promotes efficiency and reduces distractions, allowing you to focus on the task at hand and complete the removal process more effectively.
Step 2: Turn Off the Water Supply
Locating the Shut-off Valves:
- Underneath the Sink: In most bathrooms, the shut-off valves for the sink’s hot and cold water supply lines are located underneath the sink, usually mounted on the wall or the back of the vanity cabinet.
- Types of Valves: Shut-off valves may be in the form of traditional compression valves, quarter-turn ball valves, or other types, depending on the plumbing configuration.
Turning Off the Water:
- Clockwise Rotation: To shut off the water supply, turn the shut-off valves clockwise (to the right) until they are fully closed. This action stops the flow of water to the sink’s faucet.
- Confirming Closure: After turning the valves, briefly open the faucet handles to confirm that the water supply has been successfully shut off. If no water flows from the faucet, the valves are closed.
Safety Considerations:
- Preventing Water Damage: Turning off the water supply prevents any accidental leaks or spills from occurring while disconnecting the plumbing components. This helps protect your bathroom from water damage.
- Avoiding Plumbing Accidents: Shutting off the water supply reduces the risk of encountering pressurized water when disconnecting the water lines or P-trap underneath the sink, minimizing the chances of injury or accidents.
Benefits:
- Safety: Turning off the water supply ensures a safe working environment by eliminating the risk of water-related accidents or damage during the removal process.
- Control: Shutting off the water supply gives you greater control over the plumbing connections, allowing for a smoother and more controlled disconnection process.
- Preventive Measure: Taking this precautionary step helps prevent potential water leaks or spills that could occur if the water supply were left on during the removal process.
Verification:
- Visual Inspection: After turning off the shut-off valves, visually inspect the area around the valves and underneath the sink to ensure that there are no signs of water leakage or drips.
- Testing the Faucet: Test the sink’s faucet by turning it on briefly to verify that no water flows from the spout. If water still comes out, double-check the shut-off valves to ensure they are fully closed.
Note:
Always remember to turn the water supply back on once the removal process is complete and the new vanity top is installed. Failure to do so will result in an inability to use the sink and faucet.
Step 3: Disconnect the Plumbing
Water Supply Lines:
- Location: The water supply lines connect the sink’s faucet to the shut-off valves located underneath the sink.
- Materials: These lines are typically made of flexible hoses, often made of braided stainless steel, and are connected to the shut-off valves and faucet with compression fittings.
- Disconnecting: To disconnect the water supply lines, use an adjustable wrench to loosen the compression fittings at both ends of the hoses. Turn the nuts counterclockwise (to the left) to loosen them until the hoses can be easily removed.
P-trap:
- Function: The P-trap is a curved section of pipe located underneath the sink that traps debris and prevents sewer gases from entering the bathroom.
- Connection: The P-trap is connected to the sink’s drain tailpiece and the horizontal drain pipe leading to the main plumbing system.
- Disconnection: Loosen the slip nuts at both ends of the P-trap using pliers or an adjustable wrench. Turn the nuts counterclockwise to loosen them until the P-trap can be detached from the drain tailpiece and the horizontal drain pipe.
Safety Precautions:
- Use Gloves: Wear safety gloves to protect your hands from any residual water or debris that may be present in the plumbing components.
- Drip Pan: Place a bucket or drip pan beneath the P-trap to catch any water that may drain out when disconnecting the plumbing.
Verification:
- Inspect for Leaks: After disconnecting the water supply lines and the P-trap, inspect the connections for any signs of leaks or water damage. Address any issues promptly to prevent water damage to the surrounding areas.
- Test Drainage: Test the sink’s drainage by briefly running water through the faucet to ensure that the plumbing connections have been properly disconnected and resealed.
Benefits:
- Prevents Damage: Disconnecting the plumbing components allows for the safe removal of the vanity top without damaging the plumbing or surrounding areas.
- Facilitates Removal: By freeing the vanity top from the plumbing connections, this step makes it easier to lift and remove the top from the base cabinet.
Note:
Handle the plumbing components carefully to avoid damaging them during the disconnection process. If you’re unsure about how to disconnect the plumbing, consider seeking assistance from a professional plumber.
Step 4: Remove the Faucet
- Mounted on the Vanity Top: In most cases, the faucet is installed directly onto the vanity top, usually through pre-drilled holes.
- Connected to Water Supply Lines: The faucet is connected to the water supply lines underneath the sink via flexible hoses or rigid pipes.
Tools Needed:
- Screwdriver or Drill: Depending on the type of fasteners used, you may need a screwdriver or drill to remove the faucet.
- Plumber’s Wrench: A plumber’s wrench may be necessary to loosen any nuts or bolts securing the faucet to the vanity top.
Steps to Remove the Faucet:
- Locate Fasteners: Examine the underside of the vanity top to locate the fasteners securing the faucet in place. These may be screws, bolts, or nuts.
- Unscrew Fasteners: Use a screwdriver or drill to unscrew the fasteners holding the faucet in place. Keep track of any screws or bolts removed, as they will be needed for reinstallation.
- Disconnect Water Lines: If the faucet is connected to water supply lines, use pliers or an adjustable wrench to loosen the nuts or fittings connecting the lines to the faucet. Turn the nuts counterclockwise (to the left) to loosen them until the water lines can be detached.
- Remove Faucet: Once all fasteners and water lines have been disconnected, lift the faucet away from the vanity top. Be careful not to damage the surrounding surfaces or plumbing components.
- Inspect and Clean: After removing the faucet, inspect the area where it was installed for any signs of damage or debris. Clean the surface to prepare it for the installation of the new faucet or vanity top.
Safety Precautions:
- Protect Surfaces: Place a towel or rag on the vanity top to protect it from scratches or damage while removing the faucet.
- Turn Off Water Supply: Ensure that the water supply to the faucet has been turned off before attempting to remove the faucet to prevent any leaks or spills.
Benefits:
- Allows for Complete Removal: Removing the faucet ensures that the vanity top can be fully detached from the base cabinet without any obstructions, facilitating a smooth removal process.
- Prevents Damage: By carefully removing the faucet, you can avoid damaging the surrounding surfaces or plumbing components, preserving the integrity of your bathroom fixtures.
Note:
If you’re unsure about how to remove the faucet or encounter any difficulties, consider seeking assistance from a professional plumber to avoid causing damage to the plumbing or surrounding areas.
Step 5: Loosen the Caulk
Location of Caulk:
Caulk is typically applied along the edges of the vanity top where it meets the base cabinet or wall. It may also be present around the perimeter of the sink bowl.
Tools Needed:
- Utility Knife: A utility knife with a sharp blade is the most effective tool for cutting through caulk.
- Caulk Removal Tool: Alternatively, a specialized caulk removal tool or scraper may be used to loosen the caulk.
Steps to Loosen the Caulk:
- Score the Caulk: Use a utility knife to carefully score along the edges of the vanity top where the caulk is applied. Apply gentle pressure to avoid damaging the vanity top or surrounding surfaces.
- Work in Sections: Begin by scoring a small section of caulk, then gradually work your way around the entire perimeter of the vanity top. Take your time to ensure thorough coverage.
- Apply Caution: Exercise caution when working near the sink bowl and faucet holes to avoid accidentally damaging these components.
- Use a Caulk Removal Tool: If desired, use a specialized caulk removal tool or scraper to further loosen the caulk. These tools are designed to help pry away caulk without damaging the surfaces underneath.
Safety Precautions:
- Wear Safety Gloves: Protect your hands by wearing safety gloves while working with sharp tools like utility knives.
- Protect Surfaces: Place a towel or rag along the edges of the vanity top to protect the surrounding surfaces from scratches or damage during the caulk removal process.
Benefits:
- Facilitates Removal: Loosening the caulk allows for easier separation of the vanity top from the base cabinet or wall, making the removal process smoother and less likely to cause damage.
- Preserves Surfaces: By carefully scoring and removing the caulk, you can preserve the integrity of the vanity top and surrounding surfaces, minimizing the need for repairs or touch-ups.
Note:
While loosening the caulk, be mindful of any hidden fasteners or screws that may be securing the vanity top in place. These will need to be removed before the top can be lifted away.
Step 6: Lift Off the Vanity Top
Technique for Lifting Off:
- Ensure Readiness: Before lifting off the vanity top, ensure that all plumbing connections have been disconnected, caulk has been loosened, and any fasteners securing the top in place have been removed.
- Enlist Assistance: If the vanity top is large or heavy, it’s advisable to enlist the help of a friend or family member to assist with lifting. This reduces the risk of injury and ensures a smoother removal process.
- Lift Gradually: Position yourself on one side of the vanity top and have your assistant stand on the opposite side. Lift the vanity top gradually and evenly, using your legs to provide support and minimize strain on your back.
- Check for Obstructions: As you lift the vanity top, be mindful of any obstructions or protruding plumbing components underneath. Lift the top slowly and carefully to avoid snagging or damaging these components.
- Clear the Base Cabinet: Once the vanity top has been fully lifted away, carefully set it aside in a safe location. Inspect the base cabinet for any debris or remaining caulk that may need to be cleaned up before installing the new top.
Safety Precautions:
- Use Proper Lifting Techniques: When lifting the vanity top, bend your knees and keep your back straight to avoid strain or injury. Lift with your legs rather than your back.
- Wear Safety Gloves: Protect your hands by wearing safety gloves while handling the vanity top to avoid cuts or abrasions.
Benefits:
- Prevents Damage: Lifting off the vanity top with care helps prevent damage to the top itself, as well as the base cabinet, walls, and plumbing components underneath.
- Facilitates Replacement: Once the old vanity top has been removed, you can proceed with installing the new top or making any necessary repairs or modifications to the base cabinet.
Note:
If the old vanity top is no longer needed, dispose of it properly according to local regulations. Consider recycling or donating it if possible to minimize waste.
Step 7: Clean and Prepare for Installation
Cleaning Process:
- Remove Debris: Begin by removing any debris or leftover caulk from the base cabinet, walls, and surrounding areas. Use a vacuum cleaner or a brush and dustpan to clear away any loose particles.
- Clean Surfaces: Wipe down the base cabinet and walls with a damp cloth to remove any dust, dirt, or grime. Pay particular attention to areas where the old vanity top was attached, as well as any exposed plumbing components.
- Remove Residual Caulk: Use a caulk removal tool or scraper to gently remove any remaining caulk or adhesive from the edges of the base cabinet and walls. Take care not to damage the surfaces underneath.
- Inspect for Damage: Thoroughly inspect the base cabinet, walls, and plumbing components for any signs of damage, such as water stains, mold, or rot. Address any issues promptly to ensure a stable and secure installation of the new vanity top.
- Make Repairs if Necessary: If any damage is detected, such as water damage or rot, make the necessary repairs before proceeding with the installation of the new vanity top. This may involve patching holes, replacing damaged materials, or reinforcing structural supports.
- Leveling: Check the levelness of the base cabinet to ensure that the new vanity top will sit evenly and securely. Use shims or adjustable feet to level the cabinet if needed.
- Allow Surfaces to Dry: Allow the cleaned surfaces to dry completely before proceeding with the installation of the new vanity top. This ensures proper adhesion of any caulking or adhesive used during the installation process.
Safety Precautions:
- Protective Gear: Wear safety gloves and eye protection when handling cleaning products or sharp tools to prevent injury.
- Ventilation: Ensure adequate ventilation in the bathroom while cleaning to avoid inhaling fumes from cleaning products.
Benefits:
- Optimal Installation: Cleaning and preparing the area ensures a clean, smooth surface for the installation of the new vanity top, promoting proper adhesion and stability.
- Long-Term Durability: By addressing any damage or repairs before installing the new top, you can help ensure its long-term durability and performance.
Note:
Allow sufficient time for thorough cleaning and inspection before proceeding with the installation of the new vanity top. Rushing through this step can lead to issues later on.
Tips for Success

Conclusion
Removing a bathroom vanity top without causing damage requires careful planning and execution. By following the steps outlined in this guide and taking the necessary precautions, you can successfully remove your old vanity top and prepare for the installation of a fresh new look. With patience and attention to detail, your bathroom renovation project will be off to a smooth start.