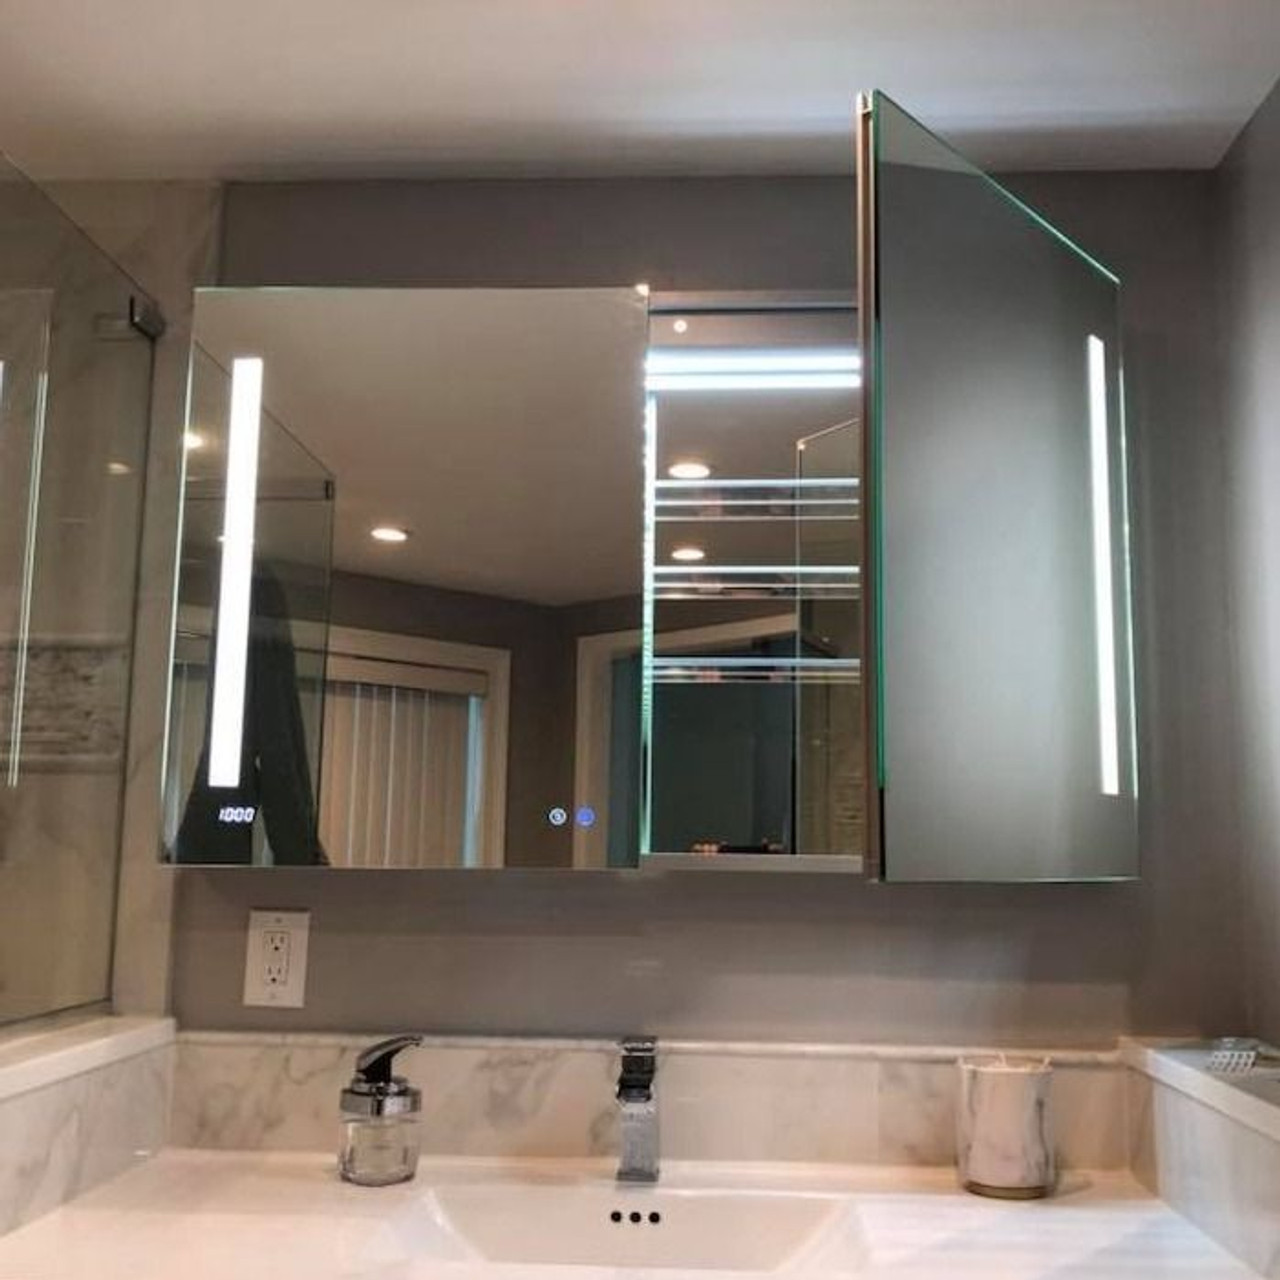
Installing a bathroom mirror cabinet can enhance both the aesthetics and functionality of your bathroom space. Not only does it provide storage for your toiletries and other essentials, but it also adds a stylish touch to the room. In this comprehensive guide, we’ll walk you through the step-by-step process of installing a bathroom mirror cabinet, covering everything from preparation and tools needed to mounting the cabinet securely. Let’s get started!
Bathroom mirror cabinets are versatile additions to any bathroom, offering storage space while also serving as a mirror for grooming and other activities. Before diving into the installation process, it’s essential to gather the necessary tools and materials and understand the different types of mirror cabinets available.
Tools and Materials Needed
- Tape measure
- Level
- Drill
- Screwdriver
- Pencil
- Wall anchors (if necessary)
- Screws
- Bathroom mirror cabinet
- Stud finder (optional)
Preparing for Installation

Preparing for the installation of a bathroom mirror cabinet involves several crucial steps to ensure a smooth and successful process. Let’s delve deeper into each aspect:
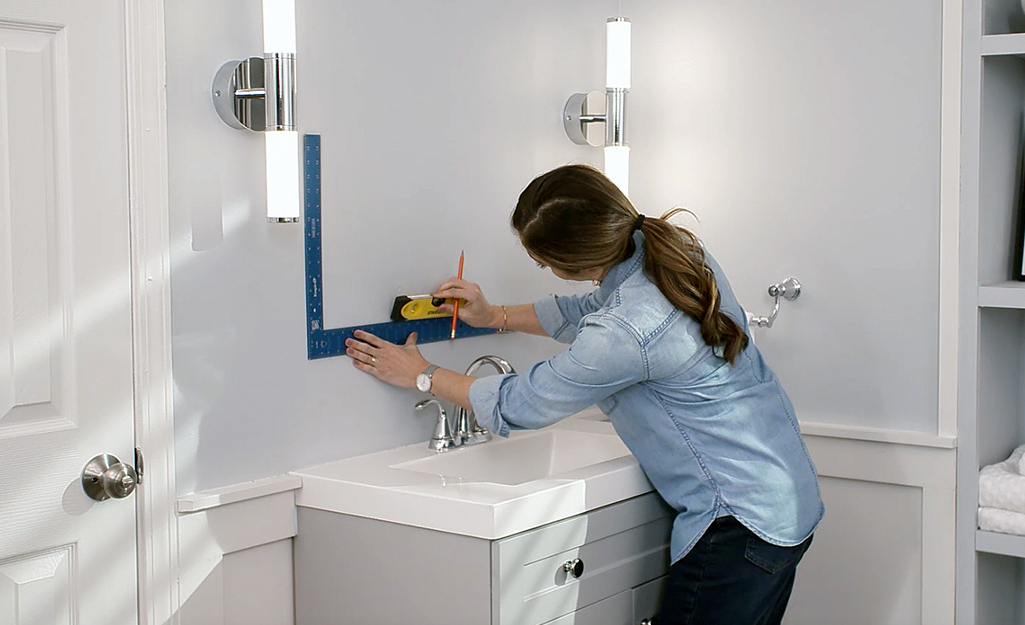
- Measure the Space: Begin by accurately measuring the space where you intend to install the mirror cabinet. Use a tape measure to determine the width, height, and depth of the area. This step helps you choose a cabinet that fits perfectly without overwhelming the space or interfering with existing fixtures.
- Locate Studs: If your mirror cabinet will be mounted on a wall, use a stud finder to locate the wooden studs behind the drywall. Mounting the cabinet to studs provides extra support and stability, especially if the cabinet will hold heavy items. Mark the stud locations on the wall with a pencil for reference during installation.
- Clear the Area: Before installation, remove any objects or fixtures from the wall or surrounding area where the mirror cabinet will be mounted. This includes removing existing mirrors, shelves, or decorations. Clearing the area ensures a clean and unobstructed workspace, making it easier to maneuver during installation.
- Clean the Wall Surface: Take the time to clean the wall surface where the mirror cabinet will be mounted. Use a damp cloth or mild cleaner to remove dust, dirt, and any residue that may prevent the cabinet from adhering securely to the wall. A clean surface promotes better adhesion and ensures a professional-looking installation.
- Plan for Electrical Outlets: If your mirror cabinet includes built-in lighting or electrical outlets, consider the proximity to existing electrical wiring. Ensure there is easy access to power sources for installation and future maintenance. If necessary, consult with a licensed electrician to ensure compliance with electrical codes and safety regulations.
Installing the Bathroom Mirror Cabinet

Now that you’ve prepared the area and gathered your tools, it’s time to install the mirror cabinet. Follow these step-by-step instructions for a successful installation:
Step 1: Determine Mounting Height
- Mark Mounting Height: Begin by deciding the ideal height at which you want to mount the mirror cabinet on the wall. Consider factors such as the height of the vanity or countertop below, the average eye level of users, and any obstructions such as light switches or outlets. Typically, the bottom edge of the cabinet should be positioned a few inches above the vanity to allow for easy access and a visually pleasing appearance.
- Consider User Comfort: Keep in mind the comfort and convenience of the primary users when determining the mounting height. Ideally, the mirror should be positioned at a height that allows users to comfortably view themselves without straining or bending down excessively. Consider the height of the tallest and shortest users in the household to find a suitable compromise.
- Use a Level: Once you’ve decided on the mounting height, use a level to ensure that your markings are straight and level across the wall. Place the level horizontally against the wall at the desired height and adjust the markings as needed to ensure accuracy. A level installation not only looks visually appealing but also ensures that the cabinet functions properly and doors swing freely.
- Account for Future Adjustments: Before finalizing the mounting height, consider any potential adjustments or modifications that may be needed in the future. For example, if you plan to replace the vanity or make other renovations in the future, choose a mounting height that allows for flexibility and easy adaptation to changes in the room layout.
Step 2: Mount the Cabinet
- Position the Cabinet: Begin by holding the mirror cabinet against the wall at the previously marked mounting height. Ensure that the cabinet is centered both horizontally and vertically within the space where you intend to install it. Use a level to confirm that the cabinet is perfectly straight and aligned.
- Mark Hole Locations: With the cabinet in position, use a pencil to mark the locations of the mounting holes on the wall. Most mirror cabinets come with pre-drilled holes or mounting brackets on the back, which serve as guides for placement. Make sure the markings align precisely with these holes to ensure a proper fit.
- Drill Pilot Holes: Once the hole locations are marked, remove the cabinet from the wall and set it aside temporarily. Use an appropriate drill bit to create pilot holes at each marked location on the wall. The size of the drill bit should match the diameter of the screws or anchors you’ll be using to secure the cabinet.
- Mount the Cabinet: With the pilot holes drilled, hold the mirror cabinet back in place against the wall, aligning the mounting holes on the cabinet with the pilot holes in the wall. Depending on the type of wall and mounting hardware provided, you may need to use wall anchors for added support. Secure the cabinet to the wall using screws or bolts, making sure they are tightened securely.
- Check for Stability: Once the cabinet is mounted, gently test its stability by applying light pressure to different areas. Ensure that the cabinet feels secure and does not wobble or shift when touched. If necessary, tighten the screws further or adjust the mounting hardware to achieve a stable installation.
- Final Adjustments: Double-check the alignment and levelness of the cabinet using a level. Make any necessary adjustments to ensure that the cabinet is perfectly straight and centered within the space. This step is essential for achieving a professional-looking installation.
Step 3: Final Adjustments
- Check for Level: Begin by using a level to verify that the mirror cabinet is perfectly level horizontally and vertically. Place the level along the top edge of the cabinet to check for horizontal alignment and along the sides to check for vertical alignment. If the cabinet is not level, make the necessary adjustments by loosening the screws slightly and repositioning the cabinet until it is level.
- Verify Stability: Once the cabinet is level, gently test its stability by applying light pressure to different areas. Ensure that the cabinet feels secure and does not wobble or shift when touched. If you notice any instability, double-check the tightness of the mounting screws and make any necessary adjustments to ensure a stable installation.
- Test Cabinet Doors: Open and close the cabinet doors to ensure they operate smoothly and without any obstructions. Check for proper clearance between the doors and the cabinet frame, as well as between the doors and any adjacent walls or fixtures. If the doors are rubbing or sticking, adjust the hinges or mounting hardware as needed to ensure proper functionality.
- Secure Shelves (if applicable): If your mirror cabinet includes adjustable shelves, ensure they are securely in place before loading them with items. Adjust the shelf positions as needed to accommodate different-sized items and ensure they are evenly spaced within the cabinet.
- Evaluate Aesthetic Appearance: Step back and visually inspect the installed mirror cabinet to ensure it complements the overall aesthetic of the bathroom. Check for any visible gaps between the cabinet and the wall or discrepancies in alignment. Make any final adjustments to achieve a polished and professional-looking installation.
- Clean-Up: Once you are satisfied with the positioning and functionality of the mirror cabinet, clean up any debris or dust that may have accumulated during the installation process. Use a damp cloth to wipe down the cabinet and surrounding area, leaving it clean and ready for use.
Conclusion
Installing a bathroom mirror cabinet is a relatively straightforward DIY project that can be completed in just a few hours. By following the steps outlined in this guide and taking the time to properly prepare the area and gather the necessary tools, you can enjoy the added storage and functionality that a mirror cabinet provides. With your new mirror cabinet securely mounted, your bathroom will not only look more spacious but also be more organized and functional.