In any bathroom, the mirror plays a crucial role in both functionality and aesthetics. A round bathroom mirror can add a touch of elegance and style to the space, but hanging it properly is essential to ensure it stays secure and looks its best. In this guide, we’ll walk you through the steps to hang a round bathroom mirror effectively.
1. Choose the Right Mirror
Selecting the perfect round bathroom mirror involves considering several factors to ensure it complements your space both aesthetically and functionally.
Size and Proportion
Begin by measuring the available space where you intend to hang the mirror. Consider the dimensions of your vanity or sink area to determine the appropriate size for the mirror. Ideally, the mirror should be proportionate to the size of the wall and other elements in the bathroom. A mirror that is too small may look lost on a large wall, while one that is too large can overwhelm the space.
Style and Design
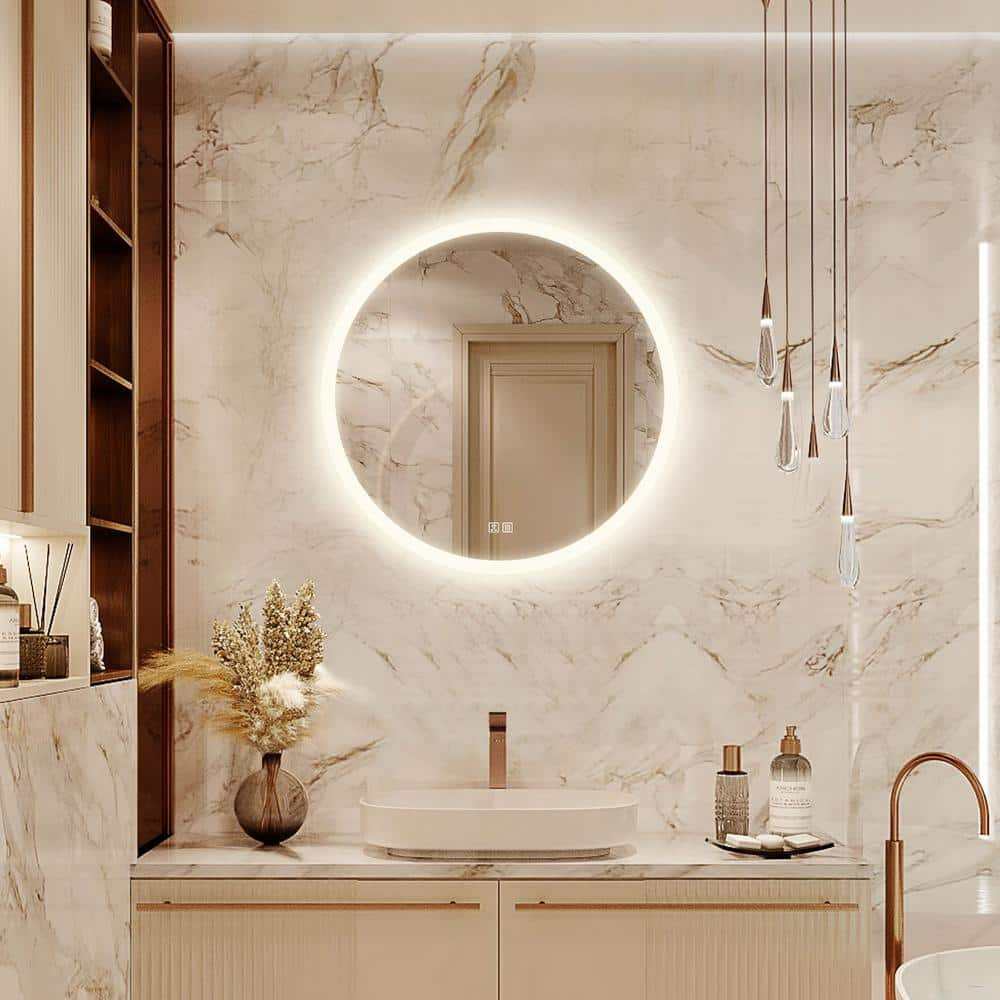
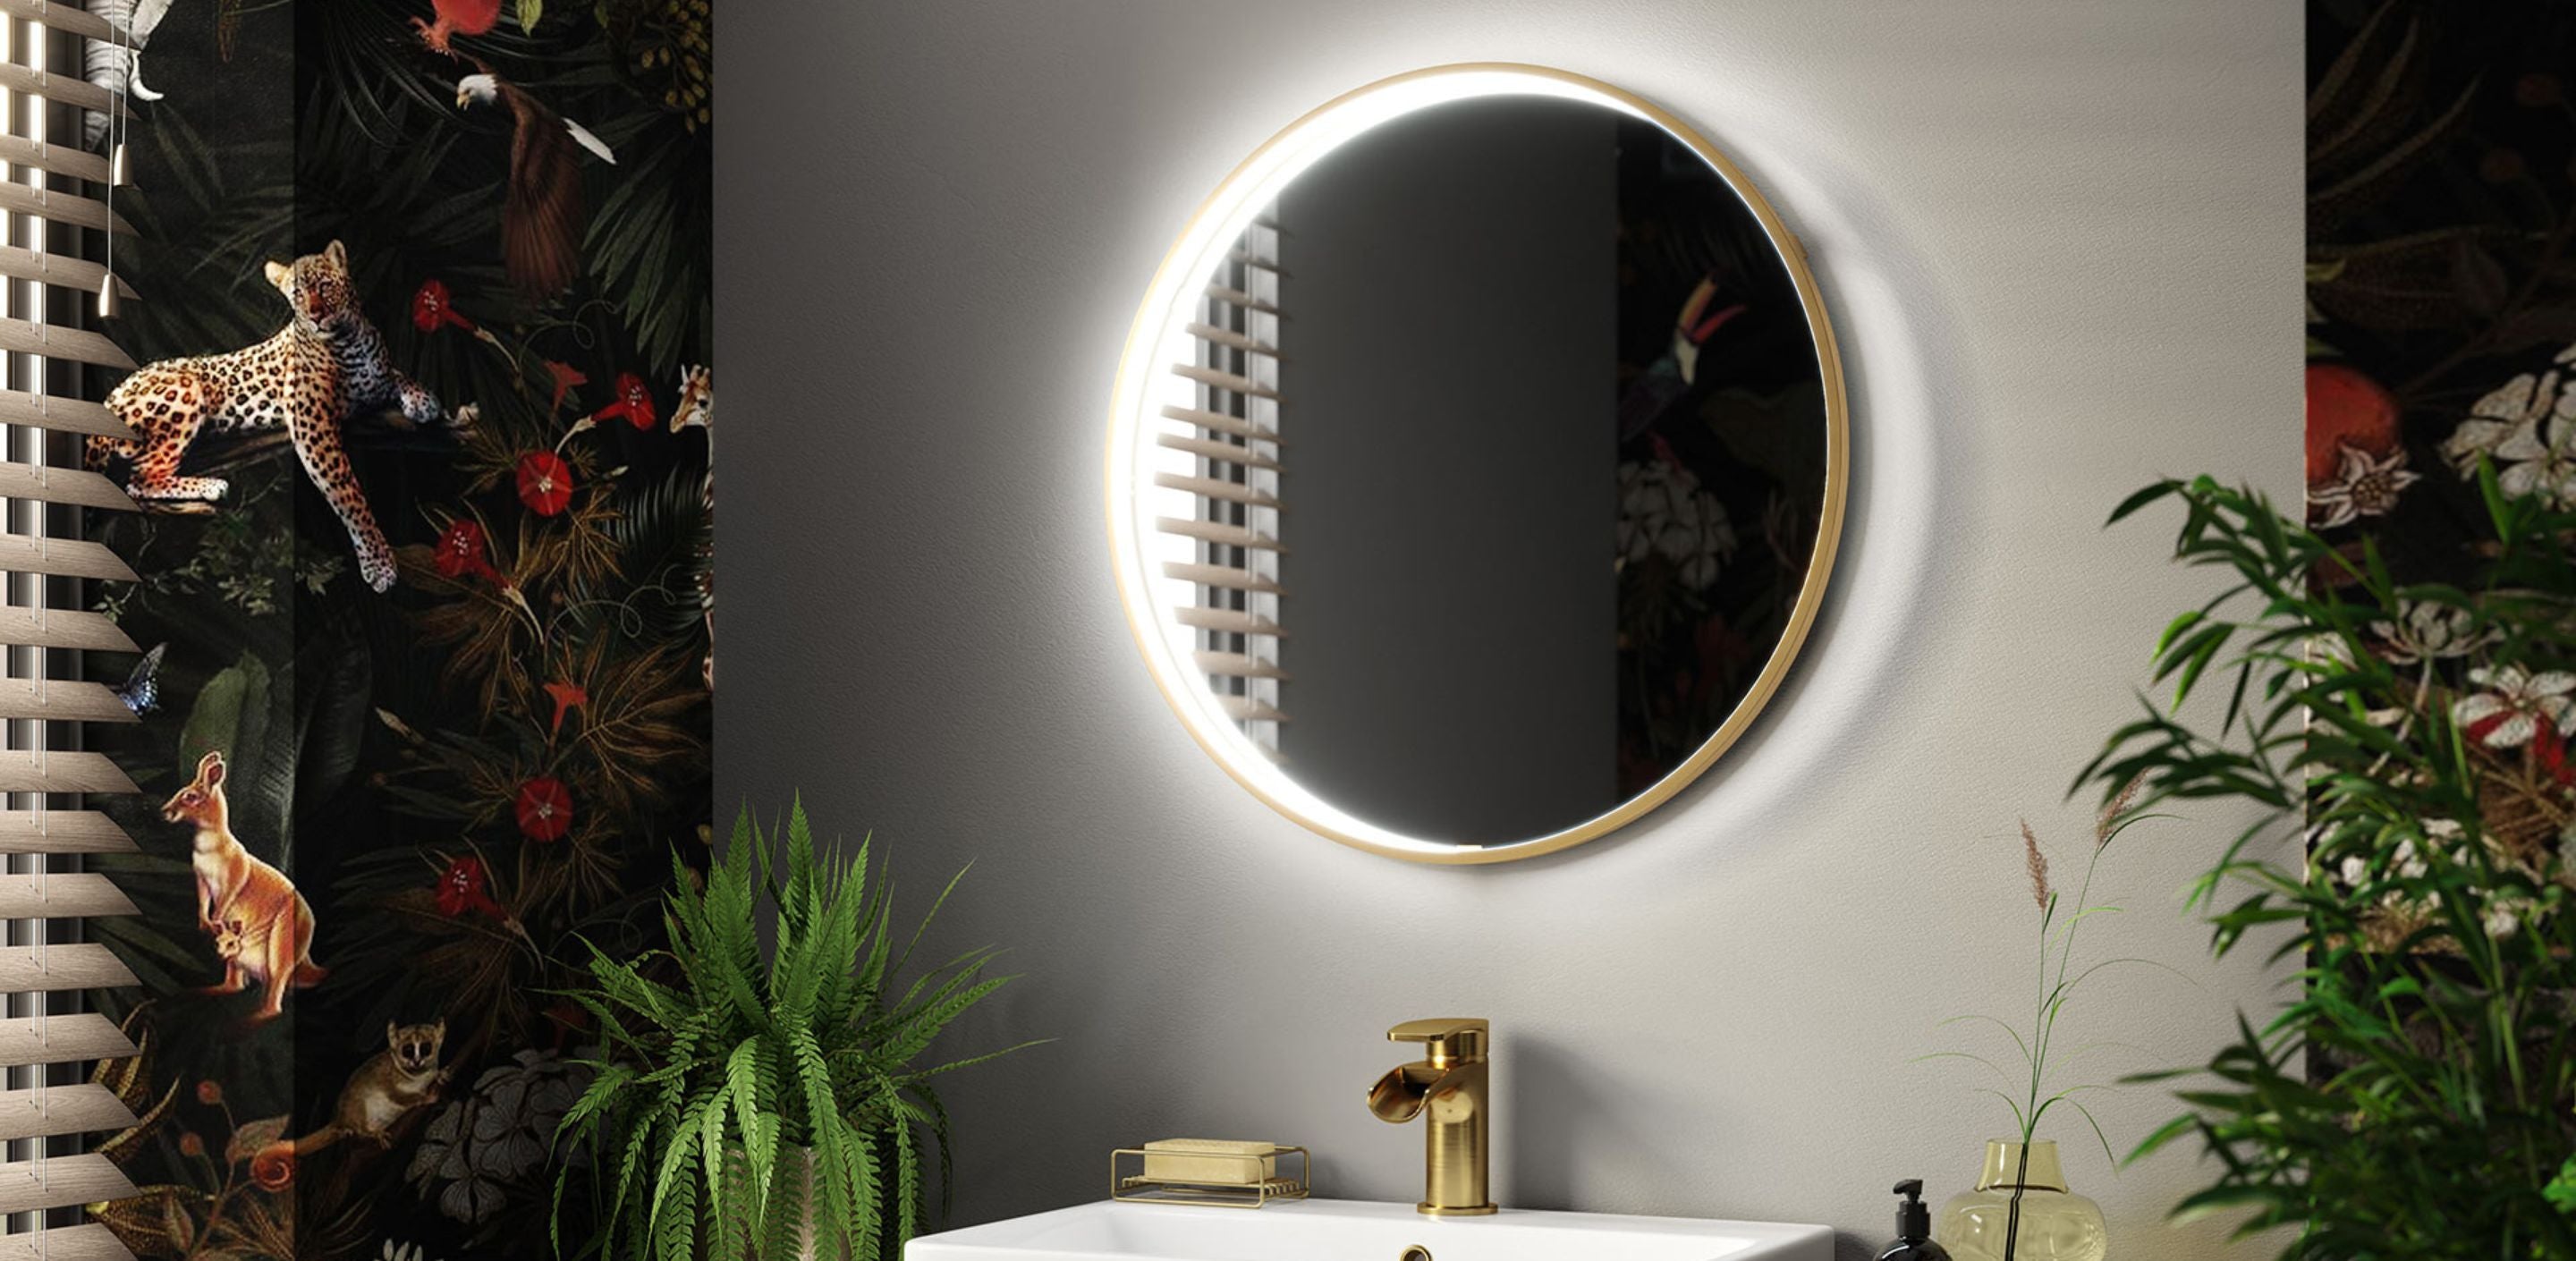
Round bathroom mirrors come in a variety of styles and designs, ranging from sleek and modern to ornate and traditional. Consider the overall design aesthetic of your bathroom and choose a mirror that complements it. For a contemporary bathroom, opt for a mirror with clean lines and a minimalist frame. In a more traditional bathroom, a mirror with decorative detailing or a vintage-inspired frame may be more suitable.
Functionality
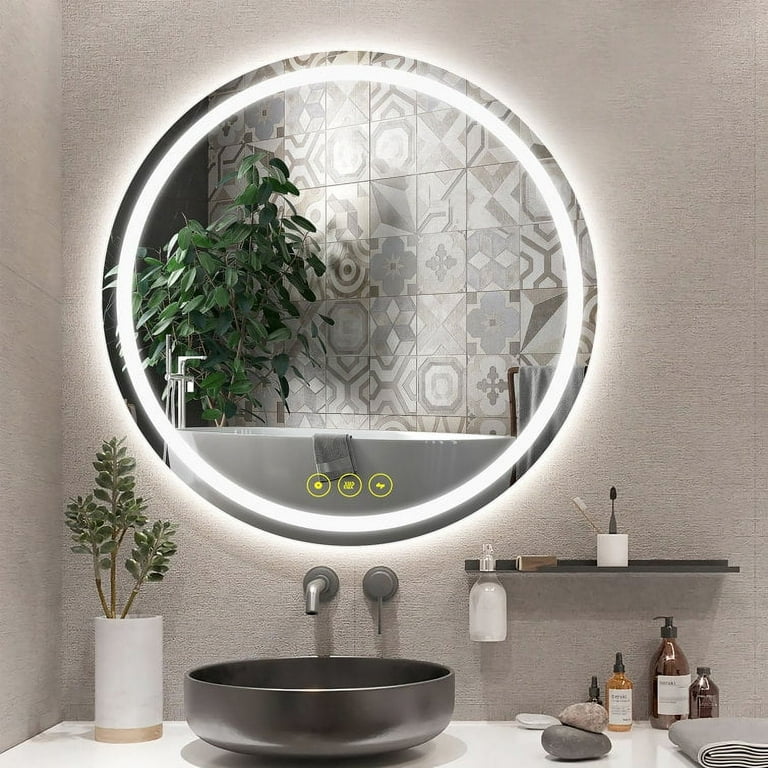
Think about how you will use the mirror on a daily basis. If you need ample space for grooming tasks, such as applying makeup or shaving, consider a mirror with built-in lighting or magnification features. Additionally, some round mirrors come with fog-resistant coatings, which can be beneficial in bathrooms with high humidity levels.
Material and Finish
Round bathroom mirrors are available in a variety of materials, including metal, wood, and glass. Consider the material and finish of the mirror in relation to other fixtures and accents in the bathroom. For example, a metal-framed mirror can add a sleek, industrial touch to a modern bathroom, while a wooden frame can bring warmth and texture to a more rustic space.
Budget
Finally, consider your budget when choosing a round bathroom mirror. Prices can vary widely depending on factors such as size, material, and brand. Set a budget beforehand and explore options that fit within your price range while still meeting your criteria for style and functionality.
2. Gather Your Tools and Materials
Before beginning the process of hanging your round bathroom mirror, it’s essential to have all the necessary tools and materials on hand to ensure a smooth and successful installation.
Tools
- Measuring Tape: Use a measuring tape to accurately measure the dimensions of your bathroom space and determine the placement of the mirror.
- Pencil: A pencil will be used to mark the desired location for the mirror on the wall, as well as any drilling or anchoring points.
- Level: A level is crucial for ensuring that the mirror is hung straight and level on the wall, preventing any crooked or uneven installation.
- Drill: Depending on the type of wall material and mounting hardware being used, you may need a drill to create pilot holes for screws or anchors.
Materials
- Round Bathroom Mirror: Choose a mirror that fits the size and style requirements for your bathroom space. Ensure that it comes with any necessary mounting hardware or purchase it separately if needed.
- Wall Anchors or Screws: If you’re not mounting the mirror directly into studs, you’ll need wall anchors or screws to secure it to the wall. Choose anchors or screws that are appropriate for the type of wall material in your bathroom (e.g., drywall, plaster, tile).
- Mounting Hardware: If the mirror does not come with mounting hardware or if you prefer to use different hardware, make sure to have the appropriate brackets, clips, or hooks for hanging the mirror securely.
- Optional: Mirror Adhesive or Clips: Depending on your preferences and the design of the mirror, you may choose to use adhesive or clips to secure it to the wall. Mirror adhesive can provide a flush, frameless installation, while clips can offer a more traditional mounting method.
3. Determine Placement
Choosing the right placement for your round bathroom mirror is crucial to ensure it not only enhances the functionality of the space but also contributes to the overall aesthetics of the room.
Consider Height and Eye Level
When determining the placement of your mirror, consider the height at which it will be installed. For most bathrooms, the ideal height for a mirror is at eye level, which typically ranges from 36 to 48 inches above the floor. However, this can vary depending on the height of the users and the design of the space.
Vanity or Sink Area
In most bathrooms, the mirror is placed above the vanity or sink area. Measure the width of the vanity and choose a mirror that is proportional to it. The mirror should ideally extend slightly beyond the width of the vanity to provide ample reflection space.
Clearance and Functionality
Ensure that there is enough clearance between the mirror and any adjacent fixtures or objects, such as faucets, light fixtures, or shelving. Leave at least a few inches of space between the mirror and these items to prevent overcrowding and ensure ease of use.
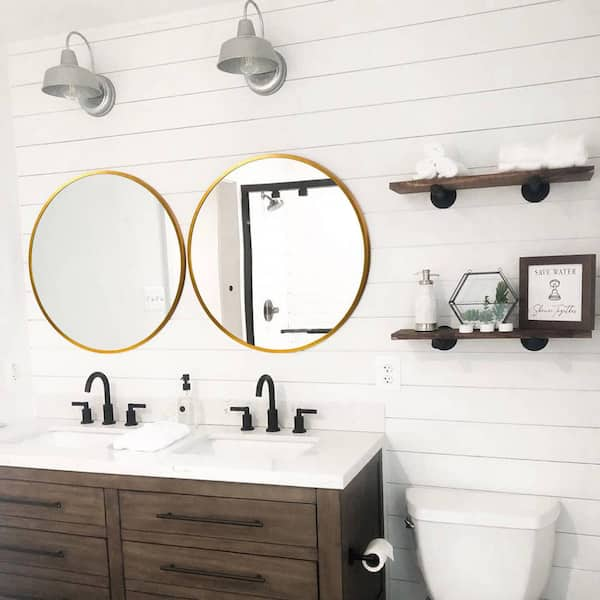
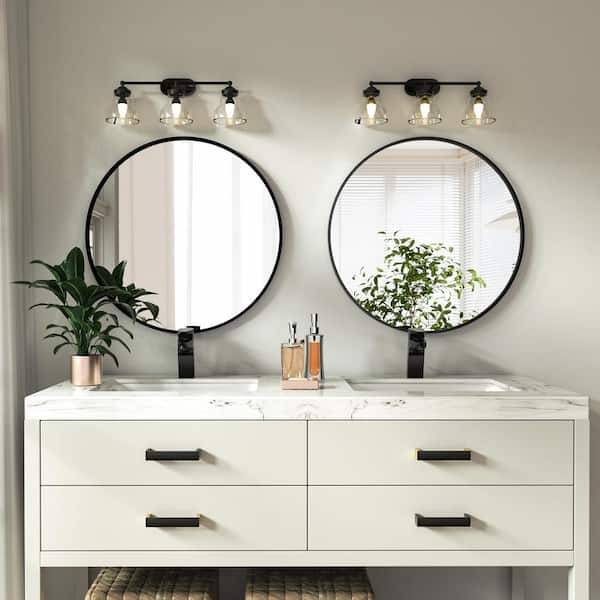
Symmetry and Balance
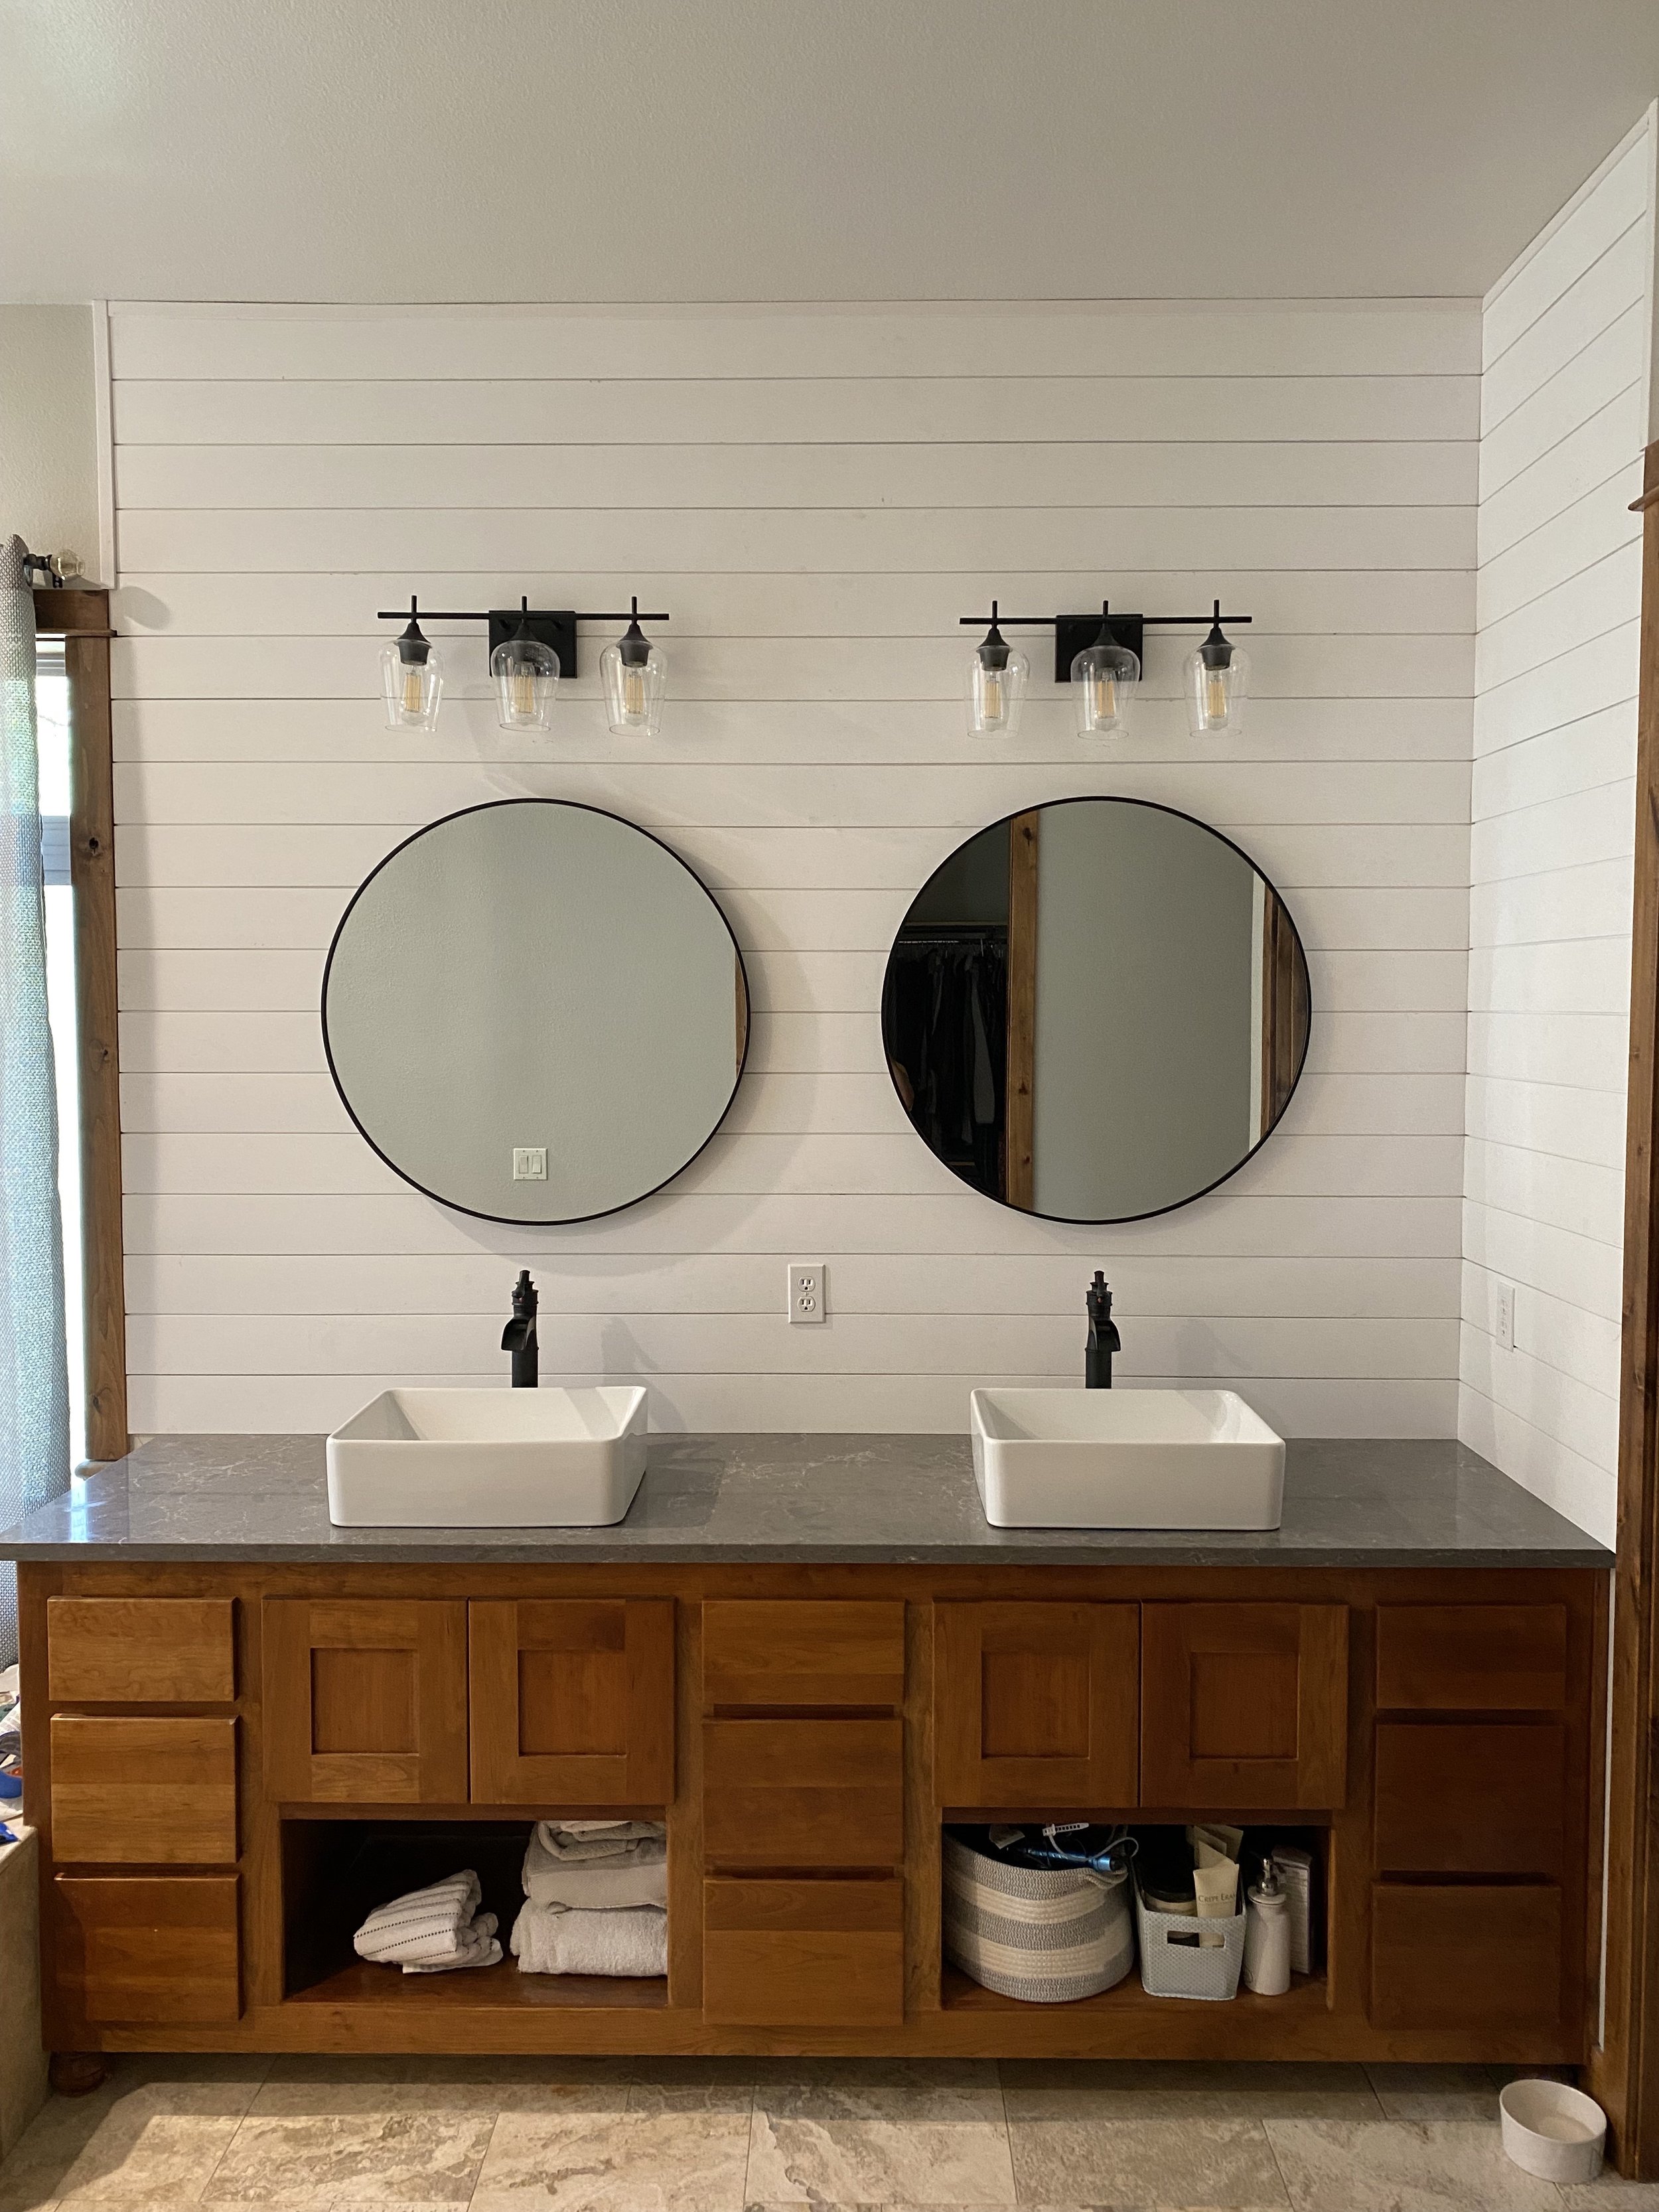
For bathrooms with multiple sinks or vanities, aim for symmetry and balance when placing mirrors. If you have dual sinks, consider installing a mirror above each sink to create a cohesive and balanced look. Make sure the mirrors are evenly spaced and aligned with each other and other elements in the room.
Natural Light and Reflection
Take advantage of natural light sources when positioning your mirror. Placing the mirror opposite a window or skylight can help maximize natural light and create a brighter, more open feel in the bathroom. Additionally, consider how the mirror will reflect other elements in the room, such as artwork, plants, or architectural features, to enhance the overall ambiance.
Mock Installation
Before drilling any holes or mounting the mirror, consider doing a mock installation using a large piece of cardboard or a paper template cut to the size of the mirror. This will allow you to experiment with different placement options and visualize how the mirror will look in the space before making any permanent changes.
4. Prepare the Wall
Locate Studs
Start by using a stud finder to locate the studs in the wall where you plan to hang the mirror. Studs are vertical wooden or metal beams behind the drywall that provide additional support and stability. Mounting the mirror to studs will ensure a stronger hold compared to attaching it directly to drywall.
Mark Mounting Points
Once you’ve located the studs, use a pencil to mark the mounting points for the mirror on the wall. Measure and mark the desired height and width for the mirror, ensuring that it will be centered and level. If the mirror will be attached to studs, mark the locations of the studs on the wall as well.
Prepare Drywall
If you’re unable to mount the mirror directly to studs or if you’re using wall anchors, you’ll need to prepare the drywall for installation. Use a drill with an appropriate drill bit to create pilot holes at the marked mounting points. Be careful not to drill too deeply or too wide, as this can weaken the drywall.
Install Wall Anchors
If you’re using wall anchors, insert them into the pilot holes in the drywall. Tap them gently with a hammer until they are flush with the surface of the wall. Wall anchors provide additional support and stability for mounting hardware when studs are not available.
Check for Level
Before proceeding with the installation, use a level to ensure that the mounting points are straight and level. Adjust the positioning if necessary to achieve a perfectly level surface for mounting the mirror. This will help ensure that the mirror hangs straight and looks its best once installed.
Final Check
Before attaching the mirror to the wall, double-check all measurements, markings, and preparations to ensure everything is in order. Make any final adjustments as needed to ensure a smooth and successful installation process.
5. Install Mounting Hardware
Review Manufacturer’s Instructions
If your round bathroom mirror came with mounting hardware, carefully review the manufacturer’s instructions for installation. Pay attention to any specific guidelines or recommendations provided to ensure proper installation and optimal performance of the mirror.
Select Appropriate Hardware
Choose the appropriate mounting hardware based on the type of wall surface and the weight of the mirror. For mounting on drywall, use wall anchors or toggle bolts to provide secure support. If mounting directly into studs, use screws that are long enough to penetrate the stud by at least 1 inch for stability.
Position Hardware on Mirror
Position the mounting hardware on the back of the mirror according to the manufacturer’s instructions. This may involve attaching brackets, clips, or hooks securely to the mirror frame. Ensure that the hardware is centered and level to ensure a straight and balanced installation.
Mark Mounting Points on Wall
Once the hardware is positioned on the mirror, hold the mirror up to the wall in the desired location. Use a pencil to mark the mounting points on the wall through the pre-drilled holes or slots in the hardware. Double-check the alignment and ensure that the mirror is level before proceeding.
Drill Pilot Holes
Using a drill with an appropriate drill bit, drill pilot holes at the marked mounting points on the wall. The size of the drill bit should match the diameter of the screws or wall anchors being used. Be careful not to drill too deeply or too wide, as this can weaken the wall surface.
Attach Hardware to Wall
If using wall anchors, insert them into the pilot holes and tap them gently with a hammer until they are flush with the wall surface. If mounting directly into studs, align the mounting hardware with the pilot holes and secure them in place using screws.
Hang the Mirror
With the mounting hardware securely attached to both the mirror and the wall, carefully hang the mirror in the desired location. Ensure that the hardware is properly aligned with the mounting points on the wall and that the mirror is level. Once in position, make any final adjustments as needed.
Test Stability
After hanging the mirror, give it a gentle shake to test its stability and ensure that it is securely attached to the wall. If necessary, tighten any screws or adjust the mounting hardware to improve stability.
6. Hang the Mirror

Lift the Mirror Into Position
Carefully lift the round bathroom mirror and position it in front of the mounting hardware on the wall. Ensure that the mounting brackets, clips, or hooks on the back of the mirror align with the corresponding mounting points on the wall.
Check Alignment and Level
Use a level to check that the mirror is straight and level before proceeding with the installation. Adjust the position of the mirror as needed to ensure it is properly aligned with the surrounding space and other elements in the room.
Mark Screw or Anchor Locations
With the mirror in position, use a pencil to mark the locations of the screws or anchors on the wall through the pre-drilled holes or slots in the mounting hardware. Double-check the alignment and ensure that the marks are accurate before proceeding.
Drill Pilot Holes
Using a drill with an appropriate drill bit, drill pilot holes at the marked locations on the wall. The size of the drill bit should match the diameter of the screws or wall anchors being used. Be careful not to drill too deeply or too wide, as this can weaken the wall surface.
Secure the Mirror to the Wall
If you’re using wall anchors, insert them into the pilot holes and tap them gently with a hammer until they are flush with the wall surface. If mounting directly into studs, align the mounting hardware with the pilot holes and secure them in place using screws.
Double-Check Alignment and Stability
Once the mirror is securely attached to the wall, double-check the alignment and stability. Use a level to ensure the mirror is still straight and level, and give it a gentle shake to test its stability. Make any necessary adjustments to improve alignment or stability.
Final Adjustments
After hanging the mirror, step back and take a final look to ensure everything looks as desired. Make any final adjustments to the positioning or alignment of the mirror if needed. Once you’re satisfied with the placement, admire your newly hung round bathroom mirror.
7. Secure the Mirror

Hanging the round bathroom mirror is the final step in the installation process. Ensuring that the mirror is securely attached to the wall and properly aligned is essential for both safety and aesthetic reasons. Here’s a deeper look at how to hang your mirror effectively:
Lift and Position Carefully
Handle the mirror with care to avoid any damage. Lift it slowly and position it in front of the mounting hardware on the wall. Ensure that the brackets, clips, or hooks on the back of the mirror align accurately with the corresponding mounting points on the wall.
Check Alignment and Level
Using a level, verify that the mirror is straight and level before proceeding. An unevenly hung mirror can detract from the overall appearance of the bathroom. Make any necessary adjustments to ensure the mirror is aligned with the surrounding space and fixtures.
Mark Screw or Anchor Locations
With the mirror in position, mark the locations of the screws or anchors on the wall through the pre-drilled holes or slots in the mounting hardware. This step ensures that you drill the pilot holes in the correct spots for secure attachment.
Drill Pilot Holes
Using a drill with the appropriate drill bit, carefully drill pilot holes at the marked locations on the wall. Take care not to drill too deeply or at an angle, as this can compromise the stability of the installation and damage the wall surface.
Secure the Mirror to the Wall
If using wall anchors, insert them into the pilot holes and tap them gently with a hammer until they are flush with the wall. If mounting directly into studs, align the mounting hardware with the pilot holes and secure them in place using screws. Ensure that all screws are tightened securely to prevent the mirror from coming loose.
Double-Check Alignment and Stability
After attaching the mirror to the wall, double-check its alignment and stability. Use the level to confirm that the mirror is still straight and level, and give it a gentle shake to test its stability. Make any necessary adjustments to improve alignment or stability.
Final Adjustments and Inspection
Step back and take a final look at the mirror to ensure everything looks as desired. Check for any visible gaps or unevenness in the installation. Make any final adjustments to the positioning or alignment of the mirror if needed. Once satisfied, admire your newly hung round bathroom mirror.
Consider Safety Measures
To enhance safety, especially in households with children or pets, consider using mirror adhesive or safety clips to secure the mirror to the wall further. These additional measures can help prevent accidents and injuries caused by the mirror accidentally falling or becoming dislodged.
8. Finishing Touches
Clean the Mirror Surface
Before admiring your newly installed mirror, take a moment to clean the surface using a gentle glass cleaner or a mixture of water and vinegar. Wipe away any fingerprints, smudges, or dust to reveal the mirror’s clarity and shine.
Check for Alignment and Symmetry
Step back and visually inspect the mirror to ensure it is aligned properly and symmetrical with the surrounding space. Use a level to confirm that the mirror is straight and level. Adjust the positioning if necessary to achieve a balanced and aesthetically pleasing appearance.
Add Decorative Accents
Enhance the visual appeal of the mirror by adding decorative accents around its perimeter. Consider placing a frame or border around the mirror to complement the bathroom decor and create a cohesive look. Alternatively, adorn the surrounding wall space with artwork, shelves, or plants to enhance the overall ambiance of the room.
Consider Lighting
Evaluate the lighting in the bathroom and its impact on the mirror’s appearance. If necessary, install additional lighting fixtures, such as sconces or overhead lights, to enhance visibility and illuminate the mirror area. Proper lighting can also create a warm and inviting atmosphere in the bathroom.
Secure Loose Ends
Ensure that any loose ends or protruding hardware from the installation process are properly secured and concealed. Trim any excess screws or anchors and touch up any paint or finish as needed to achieve a seamless and professional-looking result.
Test Functionality
Before considering the installation complete, test the functionality of the mirror. Ensure that it provides clear and distortion-free reflection for grooming tasks such as shaving, applying makeup, or styling hair. Verify that the mirror is securely attached to the wall and can withstand everyday use without any issues.
Step Back and Admire
Once you’ve completed the finishing touches, step back and admire your work. Take pride in the successful installation of your round bathroom mirror and appreciate how it enhances the overall look and feel of the space. Enjoy the beauty and functionality it brings to your bathroom for years to come.
Conclusion
Hanging a round bathroom mirror may seem like a daunting task, but with the right tools and techniques, it can be a straightforward process. By following the steps outlined in this guide, you can ensure that your mirror is securely attached to the wall and enhances the overall look of your bathroom. So go ahead and give your bathroom a stylish upgrade with a beautiful round mirror!