In a home, the bathroom often serves as a sanctuary, a place of relaxation and rejuvenation. However, limited space in the bathroom can sometimes pose challenges, especially when it comes to storage and functionality. One common issue is the lack of sufficient space on the bathroom vanity top to accommodate all essentials. Fortunately, extending the bathroom vanity top is a practical solution that can enhance both the aesthetics and functionality of your bathroom. In this comprehensive guide, we’ll walk you through the process of extending your bathroom vanity top step by step.
Why Extend Your Bathroom Vanity Top?
Before delving into the details of how to extend your bathroom vanity top, it’s essential to understand the reasons behind this decision. Here are some common scenarios that may necessitate extending your vanity top:
- Insufficient Space: If your current vanity top is too small to accommodate all your essentials, extending it can provide additional surface area for storage and organization.
- Height Adjustment: Sometimes, the height of the existing vanity top may not be ideal for comfortable use. Extending the top allows you to customize the height to better suit your needs.
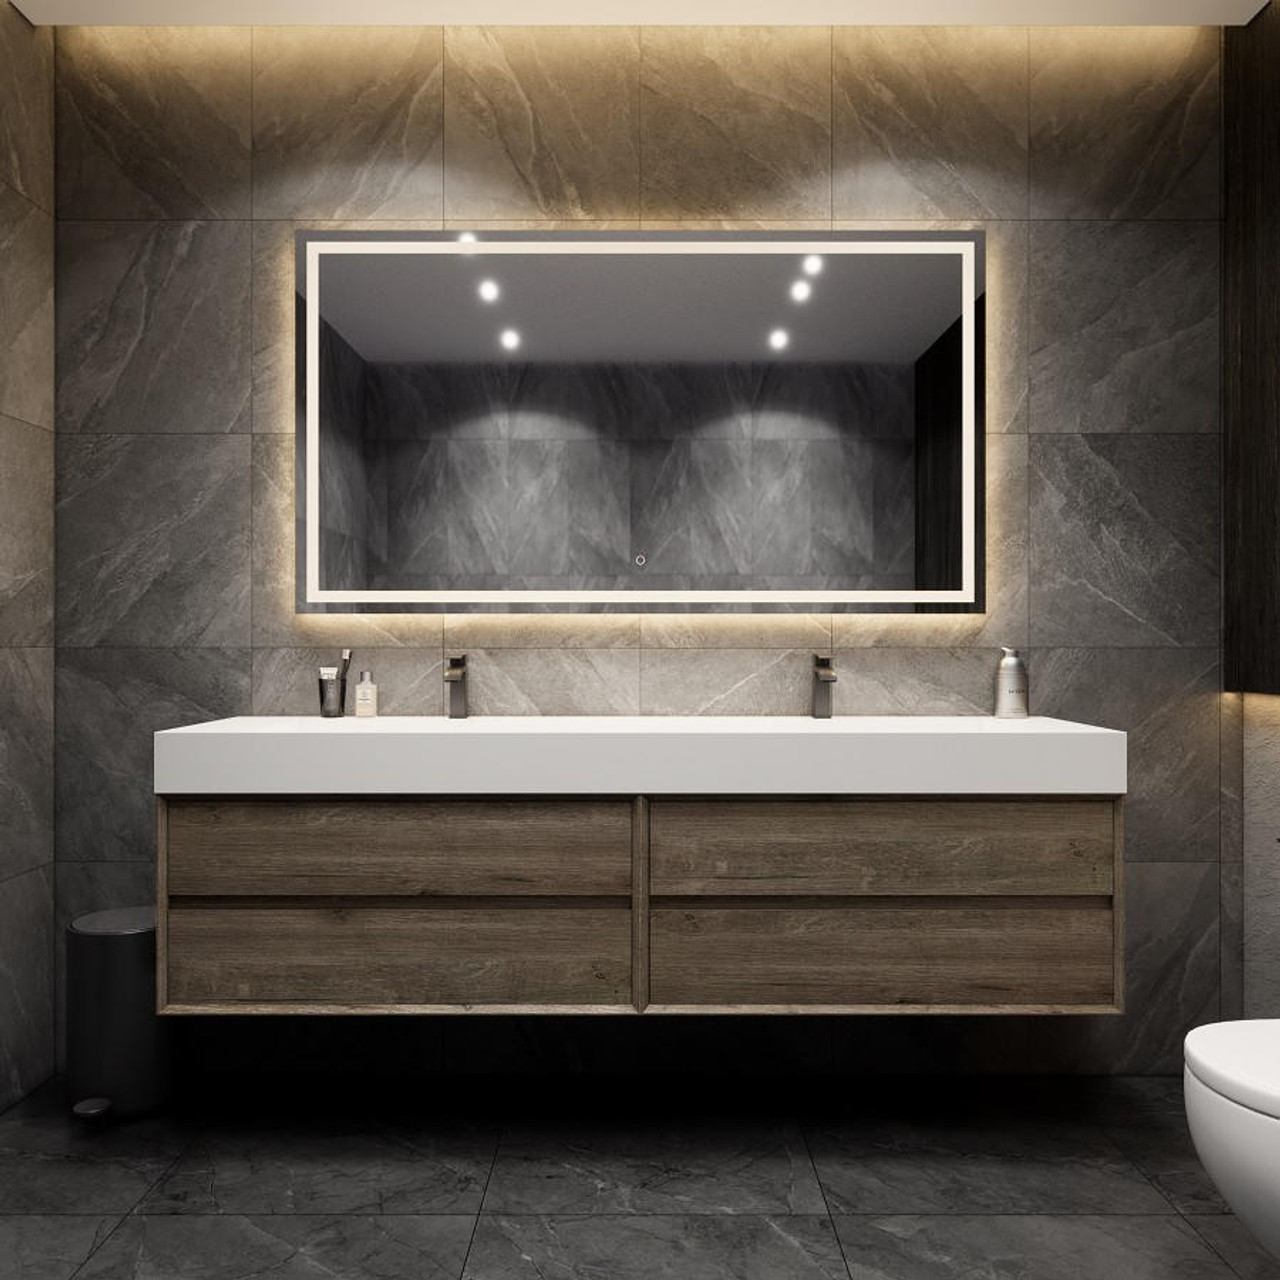
- Enhanced Functionality: By extending the vanity top, you can create space for additional features such as double sinks, integrated storage solutions, or decorative elements.
Now that you understand the benefits of extending your bathroom vanity top, let’s proceed to the step-by-step guide.
Step 1: Assess Your Needs and Space
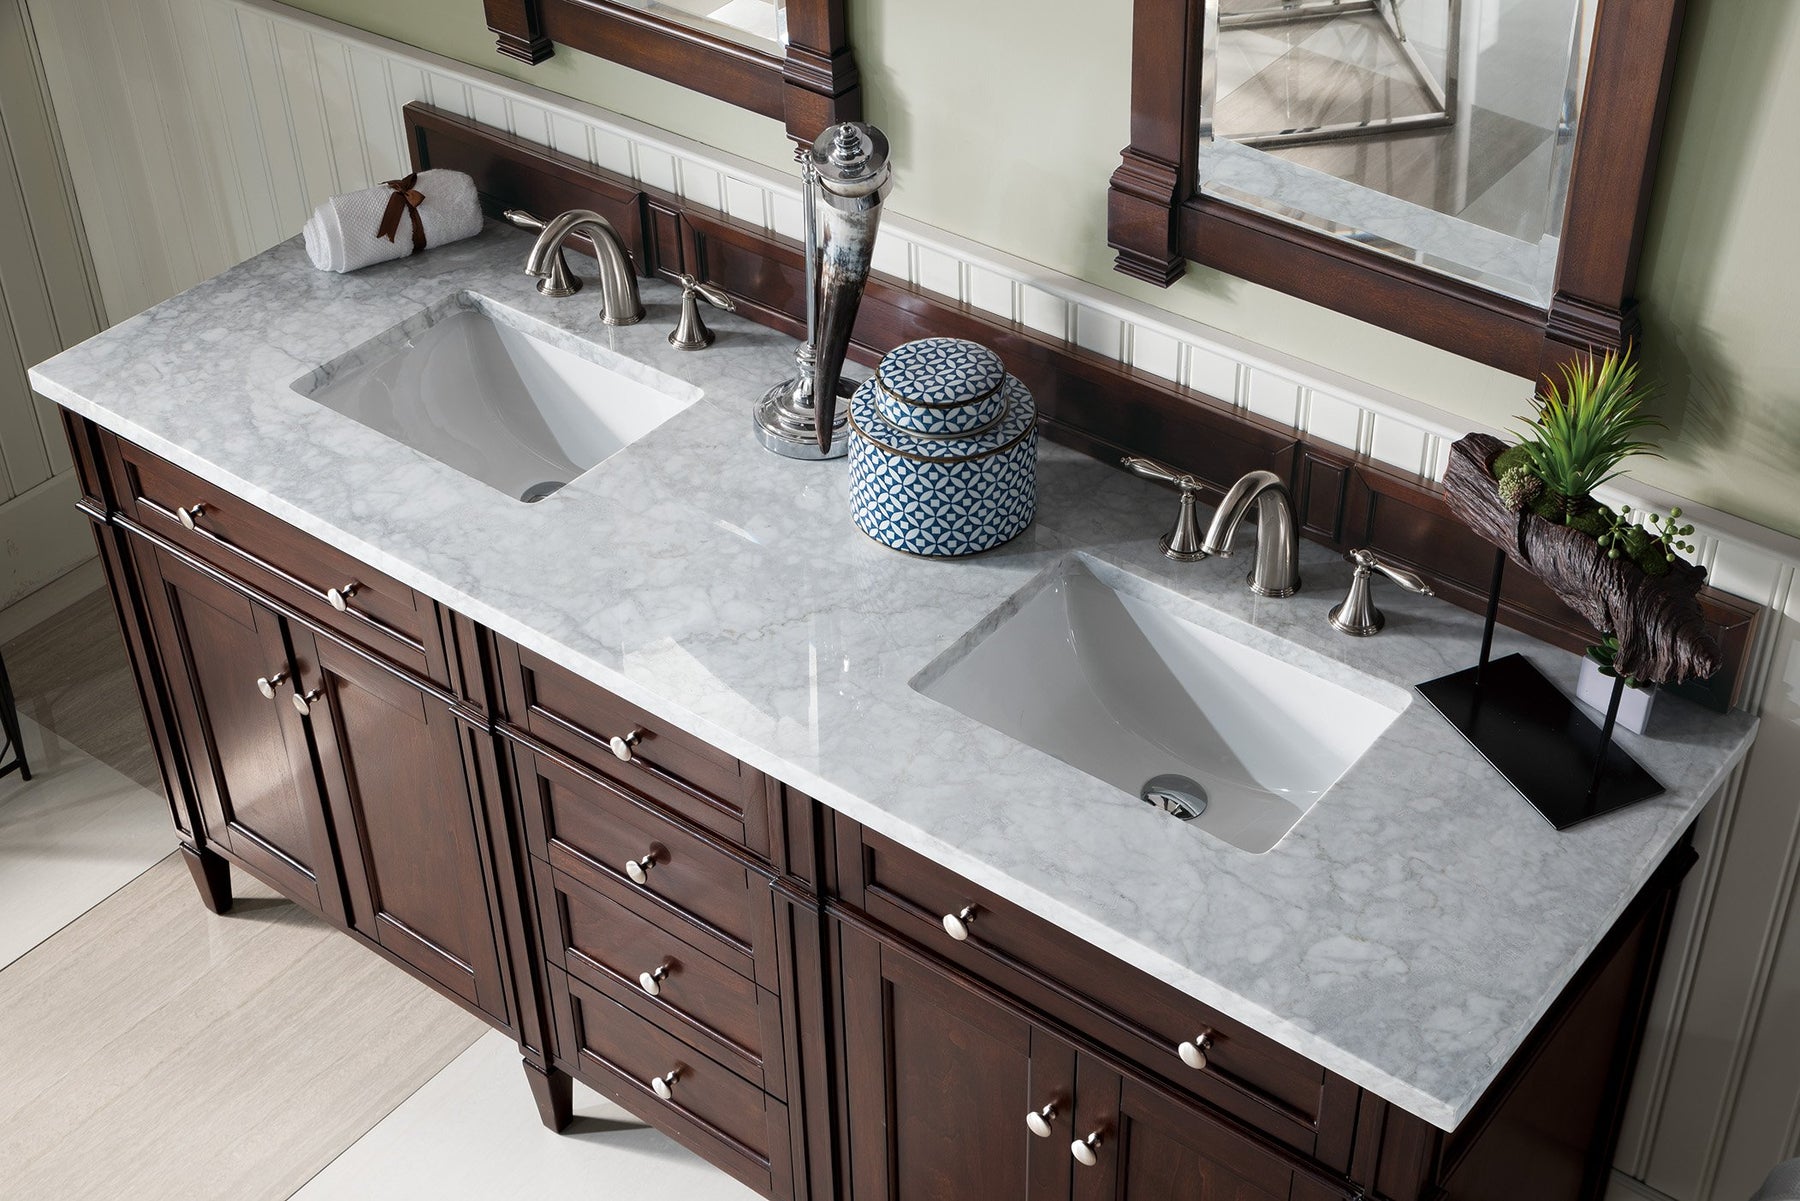
:max_bytes(150000):strip_icc()/DoubleBasinBathroomVanityTop-56731bd13df78ccc15ff6b9f.JPG)
The first step in extending your bathroom vanity top is to assess your specific requirements and the available space. Consider factors such as:
Size Consideration:
- Available Space: Take into account the overall layout of your bathroom and the space available for the extended vanity top. Ensure that the extension does not obstruct other fixtures or impede movement within the bathroom.
- Storage Needs: Assess the items you typically store on your vanity top, such as toiletries, cosmetics, or grooming essentials. Determine the amount of surface area required to accommodate these items comfortably.
- Visual Impact: Consider the aesthetic aspect of the extension and how it will complement the existing decor and style of your bathroom. Choose a size and design that seamlessly integrates with the overall look and feel of the space.
Functional Requirements:
Beyond size considerations, it’s essential to evaluate the functional requirements that drive the need for extending your vanity top. This involves:
- Storage Solutions: Identify specific storage needs, such as additional shelf space or drawer capacity, that the extended vanity top can fulfill. Consider incorporating features such as built-in shelves, cabinets, or organizers to optimize storage efficiency.
- Accessibility: Assess the accessibility of the vanity top and its contents, especially if you have specific mobility or ergonomic requirements. Ensure that the extension enhances accessibility and convenience for daily use.
- Customization Options: Explore customization options that allow you to tailor the extended vanity top to your unique preferences and lifestyle. This may include features such as integrated lighting, charging stations, or adjustable height mechanisms.
Future Considerations:
As you plan for the extension of your bathroom vanity top, it’s important to consider the long-term implications and potential future needs. Take into account factors such as:
- Resale Value: Assess how the extension may impact the resale value of your home. Opt for durable materials and timeless design elements that appeal to a broad range of potential buyers.
- Maintenance Requirements: Consider the maintenance requirements of the extended vanity top, including cleaning, sealing, and repair considerations. Choose materials and finishes that are easy to maintain and resistant to wear and tear.
- Flexibility: Anticipate any future changes or renovations in your bathroom layout or design preferences. Ensure that the extended vanity top is adaptable to evolving needs and can accommodate future modifications seamlessly.
Step 2: Gather Materials and Tools
Once you have assessed your needs and space requirements for extending your bathroom vanity top, the next crucial step is to gather all the necessary materials and tools. Proper preparation ensures a smooth and efficient installation process, allowing you to achieve professional-quality results. Let’s delve deeper into the materials and tools required for this step:
Materials:
- New Vanity Top: Select a high-quality vanity top that aligns with your aesthetic preferences and functional requirements. Consider factors such as material, color, and finish to ensure compatibility with your existing bathroom decor.
- Waterproof Sealant: Choose a waterproof sealant designed for bathroom use to protect the edges of the extended vanity top from moisture and water damage.
- Adhesive: Depending on the installation method, you may need adhesive or construction adhesive to secure the new vanity top to the existing base.
- Sandpaper: Opt for fine-grit sandpaper to smooth any rough edges or imperfections on the vanity top and achieve a polished finish.
- Protective Finish (Optional): Consider applying a protective finish, such as polyurethane or clear coat, to the vanity top to enhance durability and resistance to stains and scratches.
Tools:
- Saw: Select a saw appropriate for cutting the new vanity top to size. Depending on the material of the vanity top, options may include a circular saw, jigsaw, or handsaw.
- Drill: Use a drill equipped with the appropriate drill bits to create holes for fixtures such as sinks or faucets on the vanity top.
- Tape Measure: Ensure accurate measurements by using a tape measure to determine the dimensions of both the existing vanity and the new top.
- Level: Maintain precision during installation by using a level to ensure that the new vanity top is installed evenly and securely.
- Safety Equipment: Prioritize safety by wearing protective gear such as gloves and goggles to prevent injuries during the installation process.
- Cleaning Supplies: Have cleaning supplies on hand to remove any debris or adhesive residue from the installation area and ensure a clean finish.
Considerations:
- Quality and Compatibility: Invest in high-quality materials and tools that are suitable for the specific requirements of your bathroom vanity top extension project. Ensure compatibility between the materials and tools selected to achieve optimal results.
- Safety Precautions: Prioritize safety throughout the installation process by following manufacturer guidelines and wearing appropriate safety gear. Take precautions when using power tools or handling sharp objects to minimize the risk of accidents or injuries.
- Preparation and Organization: Organize your materials and tools in advance to streamline the installation process and minimize disruptions. Create a designated workspace with adequate lighting and ventilation for optimal working conditions.
- Budget and Timeline: Consider your budget and timeline constraints when selecting materials and tools for the project. Balance cost-effectiveness with quality to achieve the desired outcome within your allotted timeframe.
Step 3: Remove the Existing Vanity Top
Assessment of Attachment Method:
Begin by assessing how the existing vanity top is attached to the vanity base. The method of attachment will determine the approach you need to take to remove it effectively. Common attachment methods include:
- Glued: Some vanity tops are secured to the vanity base using adhesive or construction glue. These tops may require more effort to remove, as the adhesive bond can be strong and resistant to separation.
- Screwed: In other cases, the vanity top may be attached using screws that secure it to the vanity base. These screws are typically located underneath the top or along the edges and can be removed using a screwdriver or power drill.
Removal Process:
Once you have identified the attachment method, proceed with the removal process accordingly:
- Glued Tops: If the vanity top is glued to the vanity base, you will need to carefully break the bond between the two surfaces. Start by using a putty knife or scraper to loosen the edges of the top from the base. Apply gentle pressure and work your way around the perimeter of the top to gradually separate it from the base. Be patient and cautious to avoid causing damage to the vanity or surrounding surfaces.
- Hammer and Chisel Method: In some cases, you may need to use a hammer and chisel to break the adhesive bond. Insert the chisel between the top and the base and carefully tap it with a hammer to create separation. Work your way around the perimeter of the top, gradually loosening it from the base until it can be lifted off completely.
- Screwed Tops: If the vanity top is secured with screws, locate and remove these screws to detach the top from the base. Use a screwdriver or power drill to loosen and remove the screws, taking care not to strip the screw heads or damage the surrounding area. Once the screws have been removed, lift the top off the base carefully to avoid causing any damage.
Safety Considerations:
Throughout the removal process, prioritize safety to prevent injuries or accidents. Take the following precautions:
- Protective Gear: Wear appropriate safety gear, including gloves and goggles, to protect yourself from sharp edges, debris, and potential hazards.
- Stability: Ensure that the vanity top is stable and securely supported during removal to prevent it from tipping or falling unexpectedly.
- Careful Handling: Handle the vanity top with care to avoid damaging the surrounding area or causing injury to yourself or others. Lift and maneuver the top with caution, especially if it is heavy or cumbersome.
Inspection and Cleanup:
Once the old vanity top has been removed, take the time to inspect the vanity base and surrounding area for any damage or debris. Clean the surface of the vanity base to prepare it for the installation of the new vanity top. Remove any adhesive residue or debris left behind from the old top to ensure a clean and smooth surface for the installation.
Step 4: Cut and Prepare the New Vanity Top
Measurement and Marking:
Begin by measuring the dimensions of the vanity base and the space where the new vanity top will be installed. Use a tape measure to accurately determine the width, depth, and any other relevant dimensions. Once you have obtained these measurements, transfer them onto the new vanity top using a pencil or marker.
- Precision is Key: Take care to measure and mark the new vanity top accurately to ensure a precise fit. Double-check your measurements before making any cuts to avoid errors.
Cutting the Vanity Top:
Using the measurements and markings as a guide, proceed to cut the new vanity top to the desired size. The cutting method will depend on the material of the vanity top and the tools available:
- Saw: If the vanity top is made of materials such as wood, laminate, or composite, a saw (such as a circular saw, jigsaw, or handsaw) may be used to make the necessary cuts. Follow the marked lines carefully and use appropriate safety precautions when operating the saw.
- Special Considerations: Take into account any additional features or fixtures that need to be accommodated, such as sink openings or faucet holes. Ensure that these elements are accounted for in the cutting process to avoid errors.
Safety Precautions:
When cutting the new vanity top, prioritize safety to prevent accidents or injuries:
- Safety Gear: Wear appropriate safety gear, including goggles and gloves, to protect yourself from debris and potential hazards associated with cutting materials.
- Stability: Secure the vanity top firmly in place during cutting to prevent it from shifting or moving unexpectedly. Use clamps or other stabilizing devices as needed to ensure stability.
- Proper Technique: Follow recommended safety guidelines and cutting techniques for the specific type of saw being used. Exercise caution and maintain control over the cutting process at all times.
Smoothing Edges:
After the vanity top has been cut to size, take the time to smooth any rough edges or imperfections. This can be done using sandpaper or a sanding block to achieve a clean and polished finish. Pay special attention to areas where cuts were made to ensure a seamless transition between sections of the vanity top.
- Fine Grit Sandpaper: Use fine-grit sandpaper to gently sand down any rough edges or uneven surfaces. Work gradually and evenly to achieve a smooth and uniform finish.
- Check for Sharpness: Run your hand along the edges of the vanity top to check for any sharp or jagged areas. Sand down these areas as needed to eliminate sharp edges and create a safe and comfortable surface.
Final Inspection:
Once the new vanity top has been cut and prepared, perform a final inspection to ensure that it meets your specifications and quality standards. Check for proper fit, smoothness of edges, and overall appearance to confirm that the vanity top is ready for installation.
Step 5: Drill Holes for Fixtures
Marking Fixture Locations:
Begin by determining the precise locations where fixtures will be installed on the vanity top. Use measurements and markings to identify the center points for each fixture, taking into account factors such as:
- Sink Placement: Mark the center point for the sink opening based on the size and shape of the sink being installed. Ensure that there is adequate space between the sink and the edges of the vanity top for proper installation.
- Faucet Holes: Mark the locations for faucet holes based on the specific requirements of the faucet being installed. Pay attention to spacing and alignment to ensure that the faucet will function correctly once installed.
Selecting the Right Drill Bit:
Choose a drill bit that is appropriate for the material of the vanity top and the size of the holes being drilled. For most bathroom vanity tops, a standard twist drill bit will suffice. However, if the vanity top is made of a particularly hard or dense material, such as granite or quartz, a diamond-tipped drill bit may be necessary for drilling.
- Size Consideration: Select drill bits that are sized appropriately for the fixtures being installed. Measure the diameter of the fixtures’ mounting holes to ensure compatibility with the drill bit size.
Drilling the Holes:
Once you have marked the locations for the fixture holes and selected the appropriate drill bit, proceed to drill the holes in the vanity top. Follow these steps for drilling:
- Secure the Vanity Top: Ensure that the vanity top is securely supported and stabilized during drilling to prevent it from shifting or moving.
- Start Slowly: Begin drilling at a slow speed to create a pilot hole at the marked location. Apply steady, even pressure to the drill to prevent slipping or wandering.
- Gradually Increase Speed: Once the pilot hole is established, gradually increase the speed of the drill while continuing to apply steady pressure. Use a fluid, consistent motion to drill through the material until the desired depth is reached.
- Cooling and Lubrication: If drilling through hard or dense materials, such as stone or porcelain, consider using water or a lubricant to cool the drill bit and reduce friction. This can help prevent overheating and prolong the life of the drill bit.
Cleaning and Deburring:
After drilling the holes, take the time to clean any debris or residue from the surface of the vanity top. Use a soft brush or cloth to remove dust and particles from the holes and surrounding area. Additionally, check for any rough edges or burrs around the holes and use sandpaper or a deburring tool to smooth them out.
Final Inspection:
Once the holes have been drilled and cleaned, perform a final inspection to ensure that they are properly sized, positioned, and free of any defects. Check the alignment and fit of the fixtures to confirm that they will install securely and function correctly.
Step 6: Install the New Vanity Top
Preparation:
Before beginning the installation process, ensure that the vanity base is clean, level, and free of any debris or obstructions. Verify that all necessary holes for fixtures have been drilled in the vanity top, and any plumbing connections are accessible and properly aligned.
- Clean Surface: Wipe down the surface of the vanity base to remove any dust, dirt, or adhesive residue that may interfere with the installation process.
- Leveling: Use a level to confirm that the vanity base is level and stable. Make any necessary adjustments to ensure proper alignment and stability before proceeding with installation.
Positioning the Vanity Top:
Carefully lift the new vanity top and position it onto the vanity base, ensuring that it is aligned properly and centered within the space. Take measurements and make adjustments as needed to achieve the desired position and fit.
- Alignment: Check the alignment of the vanity top with the surrounding walls and other fixtures in the bathroom. Ensure that the edges of the vanity top are parallel to the walls and that there is uniform overhang on all sides.
Securing the Vanity Top:
Once the vanity top is properly positioned, secure it to the vanity base using the appropriate method for attachment:
- Adhesive: If the vanity top is designed to be glued or adhered to the vanity base, apply a bead of construction adhesive along the edges of the base. Carefully lower the vanity top onto the adhesive, pressing down firmly to ensure a strong bond.
- Fasteners: Alternatively, if the vanity top is secured with screws or other fasteners, use a screwdriver or power drill to drive the screws through the pre-drilled holes in the vanity top and into the base. Ensure that the screws are tightened securely but not over-tightened to avoid damage to the vanity top.
Checking Level and Stability:
After securing the vanity top, use a level to confirm that it is sitting evenly and securely on the vanity base. Make any necessary adjustments to ensure that the top is level and stable, as this will prevent issues such as uneven weight distribution or potential damage over time.
- Shimming: If the vanity top is not sitting level, use shims or spacers to adjust the height and alignment as needed. Place the shims under the edges of the vanity top to provide support and achieve a level surface.
Sealing and Finishing:
Once the vanity top is securely installed, take the time to seal the edges and seams to prevent water damage and ensure longevity. Apply a bead of waterproof silicone sealant along the perimeter of the vanity top where it meets the walls or backsplash.
- Smooth Edges: Use a damp cloth or finger to smooth the silicone sealant and create a clean, finished look. Wipe away any excess sealant to achieve a neat and professional appearance.
Final Inspection:
Perform a thorough inspection of the installed vanity top to ensure that it meets your expectations in terms of alignment, stability, and appearance. Check for any signs of damage, defects, or imperfections and address them accordingly before completing the installation process.
Step 7: Seal and Finish
Importance of Sealing:
Sealing the vanity top is crucial for maintaining its integrity and preventing water damage. Bathrooms are prone to moisture and humidity, which can penetrate porous materials and cause warping, discoloration, or deterioration over time. By sealing the vanity top, you create a protective barrier that repels water and guards against these potential issues.
- Waterproof Protection: Sealant acts as a waterproof barrier, preventing water from seeping into the vanity top and causing damage to the underlying materials.
- Stain Resistance: Sealing helps protect the vanity top from stains caused by spills, cosmetics, or other common bathroom products. It creates a non-porous surface that is easier to clean and maintain.
Choosing the Right Sealant:
Selecting the appropriate sealant is crucial for achieving optimal results and long-lasting protection. Consider factors such as the material of the vanity top, the desired level of protection, and compatibility with other finishes or treatments. Common types of sealants for bathroom vanity tops include:
- Silicone Sealant: Silicone sealant is a popular choice for sealing joints and seams in bathroom surfaces. It provides excellent waterproofing and flexibility, making it ideal for areas prone to movement or expansion.
- Polyurethane Sealant: Polyurethane sealant offers durable, long-lasting protection and resistance to moisture, chemicals, and abrasion. It creates a strong bond with a variety of materials and provides a high-gloss finish.
Application Process:
Follow these steps to properly seal the vanity top and achieve optimal results:
- Preparation: Ensure that the vanity top is clean, dry, and free of any dust, debris, or residues. Use a mild detergent or cleaner to remove any dirt or stains, and allow the surface to dry completely before applying the sealant.
- Application: Apply the sealant evenly along the edges and seams of the vanity top using a caulking gun or applicator tool. Use smooth, continuous strokes to create a uniform bead of sealant, ensuring full coverage of the joint or seam.
- Tooling: After applying the sealant, use a wet finger or a caulking tool to smooth and shape the sealant into a neat, uniform finish. This helps ensure proper adhesion and creates a professional-looking seal.
- Drying Time: Allow the sealant to dry completely according to the manufacturer’s instructions before using the vanity top. This typically involves a curing period of 24 to 48 hours, during which the sealant forms a strong bond and reaches its full protective capacity.
Finishing Touches:
Once the sealant has dried, take the time to inspect the vanity top and make any final adjustments or finishing touches:
- Cleanup: Remove any excess sealant or residue from the surface of the vanity top using a damp cloth or sponge. Wipe away any smudges or fingerprints to achieve a clean, polished appearance.
- Final Inspection: Perform a final inspection of the sealed vanity top to ensure that the sealant has been applied evenly and effectively. Check for any areas that may require additional sealing or touch-ups.
Maintenance:
Maintaining the sealed vanity top is essential for preserving its appearance and protective properties over time. Follow these tips for ongoing maintenance:
- Regular Cleaning: Clean the vanity top regularly with mild soap and water to remove dirt, grime, and buildup. Avoid harsh or abrasive cleaners that can damage the sealant.
- Reapplication: Periodically check the sealant for signs of wear or deterioration, such as cracking or peeling. Reapply sealant as needed to maintain optimal protection and performance.
Step 8: Final Touches and Inspection
Smoothing Rough Spots:
Before proceeding with the final inspection, take the time to inspect the surface of the vanity top for any rough spots or imperfections. Use sandpaper or a sanding block to gently smooth out any rough edges or uneven surfaces. Pay particular attention to areas where cuts were made or where sealant was applied to ensure a smooth and uniform finish.
- Fine Grit Sandpaper: Use fine-grit sandpaper to gently sand down rough spots and achieve a smooth, polished surface. Work in small, circular motions to gradually smooth out imperfections without causing damage to the vanity top.
Addressing Any Imperfections:
If you notice any imperfections or defects during the inspection process, take the necessary steps to address them before proceeding with the final touches. This may involve:
- Fill and Repair: Fill any cracks, chips, or gaps in the vanity top using an appropriate filler or repair compound. Allow the filler to dry completely, then sand it down to create a smooth surface that blends seamlessly with the surrounding area.
- Touch-Up Paint: If the vanity top is painted or finished, touch up any areas where the paint or finish may have been damaged during the installation process. Use a matching paint or finish to ensure a uniform appearance.
Cleaning and Polishing:
Once any imperfections have been addressed, clean the surface of the vanity top thoroughly to remove any dust, debris, or residue. Use a mild detergent or cleaner and a soft cloth or sponge to wipe down the surface, paying attention to corners, edges, and seams. After cleaning, use a dry cloth to polish the surface and achieve a shiny, polished finish.
- Glass Cleaner: If the vanity top is made of glass or has a glass component, use a glass cleaner to remove any smudges or streaks and achieve a crystal-clear finish.
- Stainless Steel Cleaner: For vanity tops with stainless steel components, use a stainless steel cleaner and polish to remove fingerprints, water spots, and other marks and restore the shine.
Final Inspection:
With the final touches complete, conduct a comprehensive inspection of the vanity top to ensure that everything is in order and meets your expectations. Pay attention to the following:
- Appearance: Evaluate the overall appearance of the vanity top, including its color, texture, and finish. Ensure that it complements the rest of the bathroom decor and meets your aesthetic preferences.
- Functionality: Test the functionality of any fixtures or accessories installed on the vanity top, such as sinks, faucets, or drawers. Ensure that they operate smoothly and securely without any issues.
- Quality: Assess the quality of the installation and materials used for the vanity top extension. Look for signs of damage, defects, or poor workmanship and address any concerns promptly.
Final Adjustments:
If any issues or concerns arise during the final inspection, make the necessary adjustments or corrections to ensure that the vanity top meets your standards of quality and craftsmanship. This may involve tightening screws, adjusting fixtures, or making minor repairs as needed.
Celebration of Completion:
Finally, take a moment to celebrate the completion of your bathroom vanity top extension project. Admire your hard work and attention to detail, and enjoy the satisfaction of transforming your bathroom space into a beautiful and functional oasis.
Conclusion
Extending your bathroom vanity top is a practical and rewarding DIY project that can significantly enhance the functionality and aesthetics of your bathroom. By following the step-by-step guide outlined above, you can successfully create additional space and customize your vanity to meet your specific needs. Whether you’re seeking more storage, improved functionality, or simply a fresh look, extending your vanity top is a worthwhile investment in your home.
Remember, while this guide provides a comprehensive overview of the extension process, it’s essential to approach the project with careful planning and attention to detail. With the right tools, materials, and techniques, you can achieve professional-quality results and enjoy a beautifully transformed bathroom space for years to come.