In today’s era of DIY culture, customizing your home fixtures has become increasingly popular. One area where this trend has gained significant traction is in the construction of custom bathroom vanities. Building your own bathroom vanity not only allows you to create a unique piece tailored to your specific needs and preferences but also provides a rewarding sense of accomplishment. In this comprehensive guide, we’ll take you through the step-by-step process of building a custom bathroom vanity from scratch.
:strip_icc()/modern-graphic-bathroom-natural-vanity-af5a8dee-ee59fe31171d4a52a3452c28851bee09.jpg)
Before diving into the construction process, let’s briefly discuss what a custom bathroom vanity entails and why you might choose to build one.
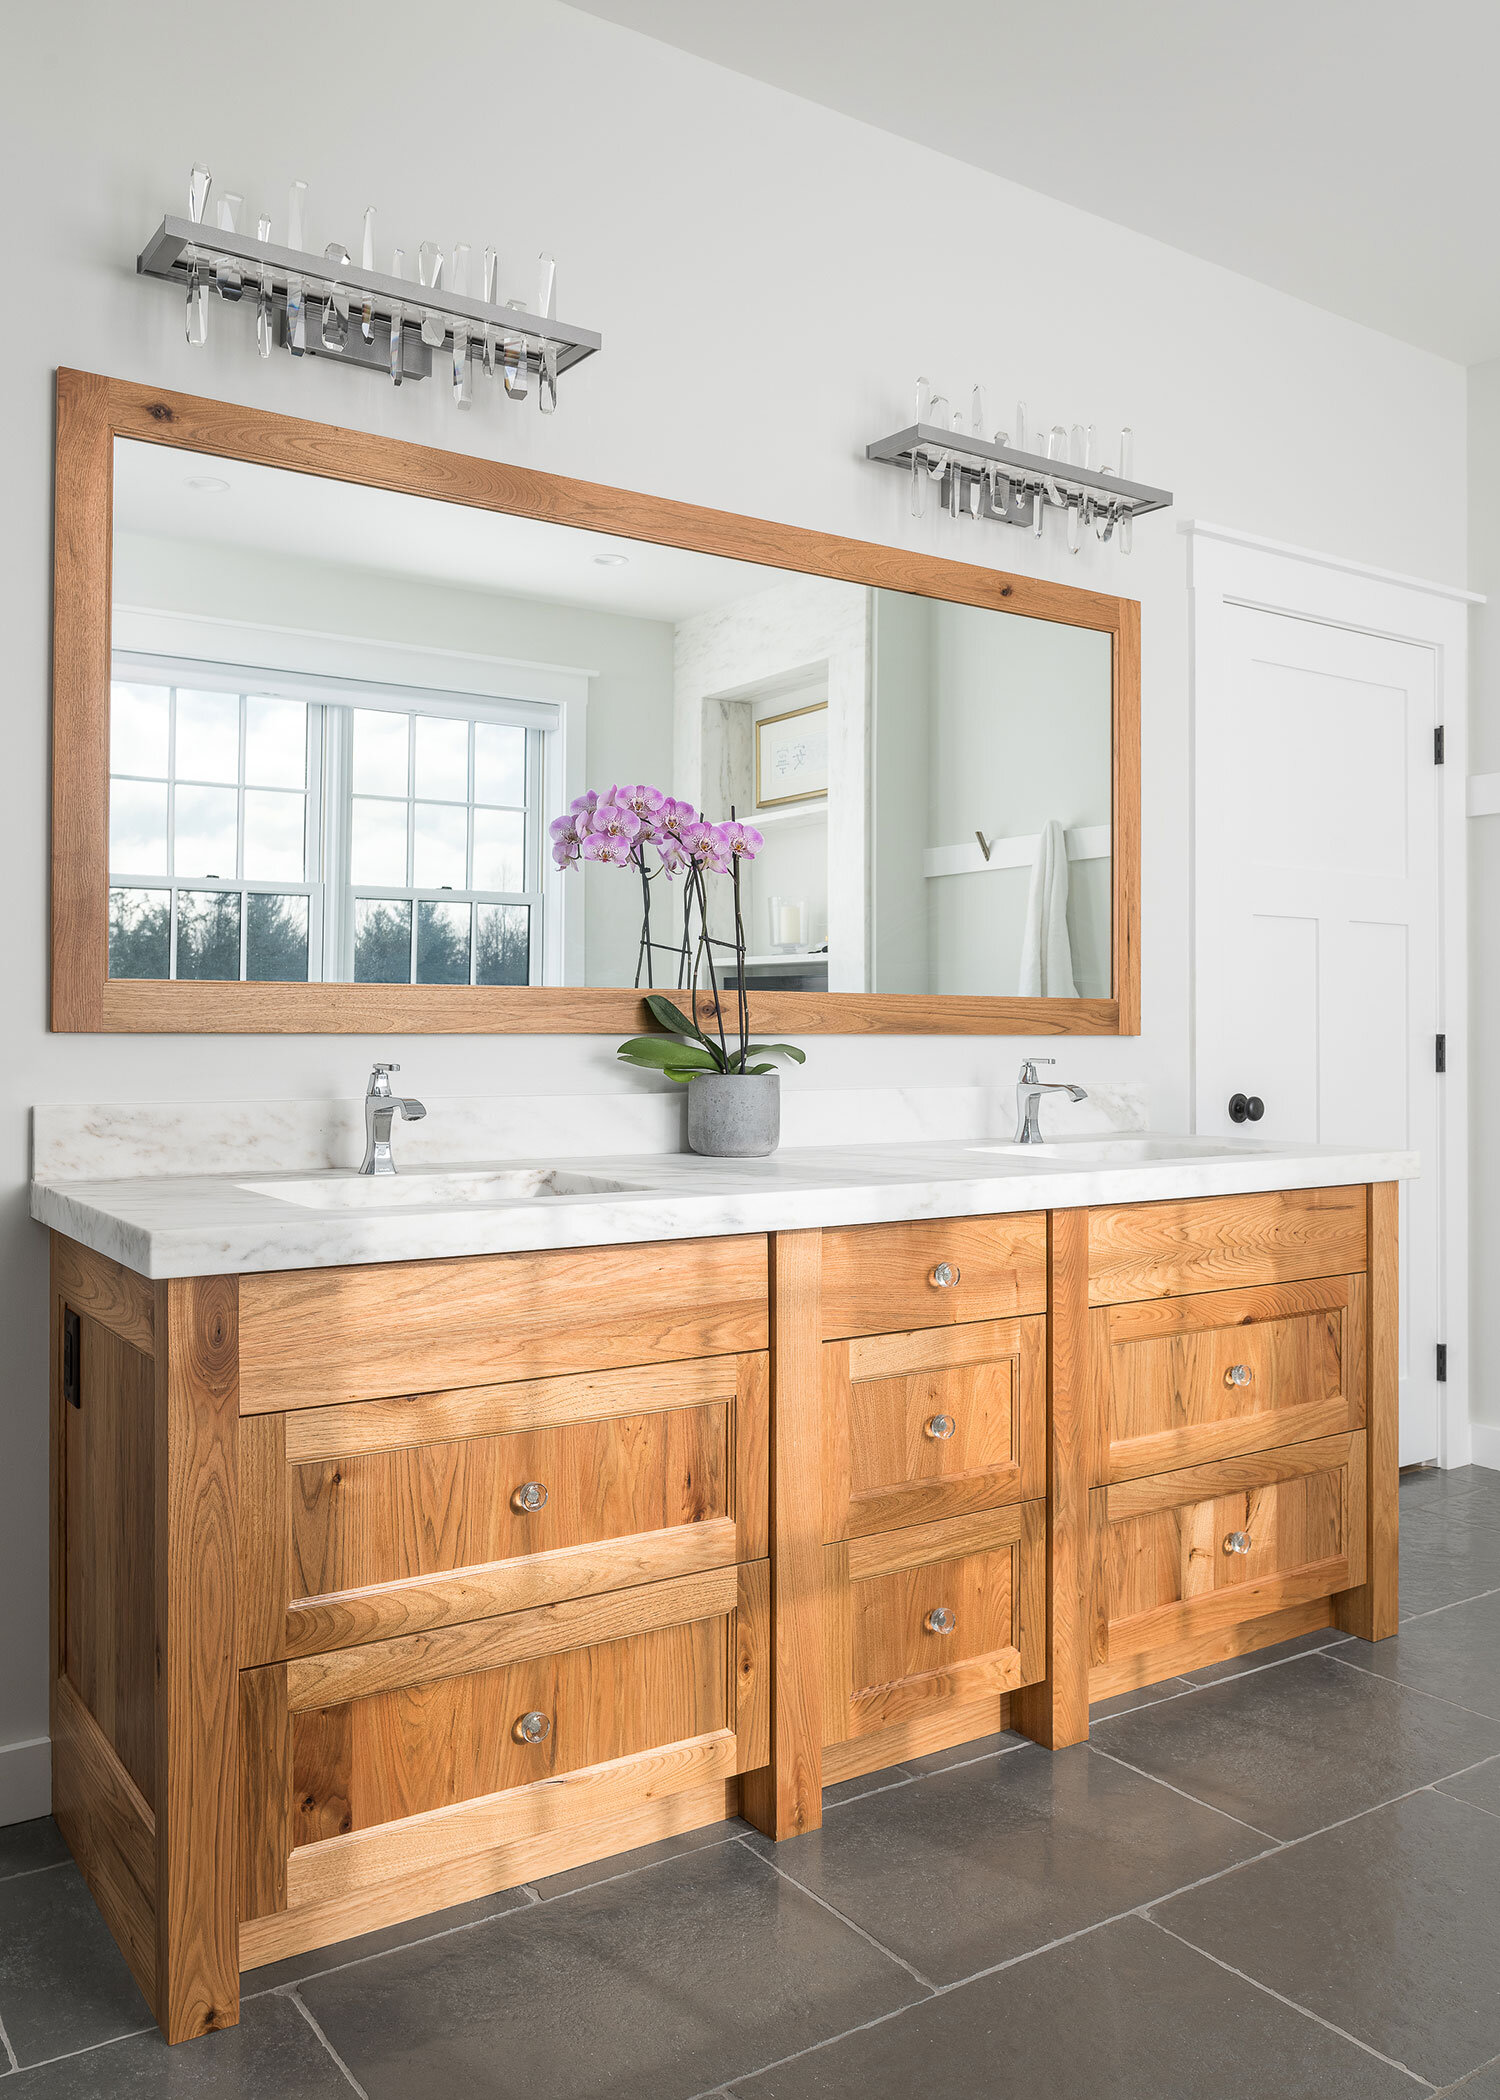
A custom bathroom vanity is a personalized storage unit typically installed in bathrooms to house sinks, faucets, and other essentials. Unlike pre-made vanities available in stores, custom vanities are designed and built according to individual specifications, allowing for greater flexibility in terms of size, style, and functionality.
Why Build a Custom Bathroom Vanity?
There are several reasons why you might opt to build a custom bathroom vanity rather than purchasing a ready-made one:
- Customization: Building your own vanity gives you full control over its design, allowing you to tailor it to your unique preferences and requirements.
- Quality: By handcrafting the vanity yourself, you can ensure the use of high-quality materials and construction methods, resulting in a durable and long-lasting fixture.
- Cost Savings: While custom vanities may require an initial investment of time and effort, they can often be more cost-effective than purchasing a pre-made unit, especially if you already have woodworking skills and access to tools.
Now that we’ve covered the basics, let’s delve into the step-by-step process of building a custom bathroom vanity.
Step 1: Planning and Preparation

Determine Your Requirements
Before beginning construction, take some time to assess your needs and preferences. Consider factors such as:
- Size: Measure the available space in your bathroom to determine the dimensions of your vanity.
- Style: Decide on the design aesthetic you want to achieve, whether it’s modern, rustic, traditional, or something else.
- Functionality: Consider the features you want your vanity to have, such as drawers, shelves, or cabinets for storage.
Gather Materials and Tools
Once you have a clear idea of your requirements, gather the necessary materials and tools for the project. Typical materials for building a bathroom vanity include:
- Wood: Choose a sturdy wood species such as oak, maple, or birch for the cabinet construction.
- Countertop: Select a durable and water-resistant material for the countertop, such as granite, quartz, or marble.
- Hardware: Purchase hinges, drawer slides, knobs, and other hardware components needed for assembly.
- Adhesives and Fasteners: Stock up on wood glue, screws, nails, and other fastening materials.
Ensure you have the appropriate tools on hand, including:
- Circular saw or table saw: For cutting wood to size.
- Drill: For making holes and driving screws.
- Sander: For smoothing rough edges and surfaces.
- Clamps: To hold pieces together during assembly.
- Measuring tape, square, and level: For accurate measurements and alignment.
Step 2: Building the Cabinet
Cut the Wood to Size
To begin, you’ll need to accurately measure and cut the wooden panels that will form the structure of the cabinet. These panels typically include the sides, top, bottom, back, and any internal dividers or shelves. Using a circular saw or table saw, carefully cut the panels to the dimensions specified in your design plan, ensuring precise cuts for a seamless fit during assembly.
Assemble the Cabinet Frame
With the panels cut to size, it’s time to assemble the cabinet frame. Start by joining the side panels to the bottom panel using wood glue and screws. Next, attach the top panel, followed by the back panel to enclose the cabinet. It’s essential to use clamps to hold the pieces in place during assembly, ensuring that everything is square and level for a sturdy and uniform structure.
Install Internal Components
Depending on your design, you may need to install internal components such as shelves or dividers to maximize storage space and organization within the cabinet. Position these components according to your design plan and secure them in place using screws or shelf pins. Ensure they are evenly spaced and securely attached to support the weight of any items stored within the cabinet.
Step 3: Constructing the Countertop

Choose a Countertop Material
The first decision to make when constructing the countertop is selecting the material. Various options are available, each with its own unique characteristics and aesthetic appeal. Common countertop materials include:
- Granite: Known for its durability, heat resistance, and natural beauty, granite is a popular choice for high-end bathroom vanities.
- Quartz: Engineered quartz countertops offer excellent durability, low maintenance, and a wide range of colors and patterns to choose from.
- Marble: prized for its timeless elegance and luxurious appearance, marble countertops add a touch of sophistication to any bathroom vanity.
- Laminate: Affordable and versatile, laminate countertops come in a variety of colors and patterns and are relatively easy to install.
Consider factors such as durability, maintenance requirements, and budget when choosing the countertop material that best suits your needs and preferences.
Cut and Shape the Countertop
Once you’ve selected the countertop material, it’s time to cut and shape it to fit the dimensions of your vanity cabinet. Using precise measurements, carefully cut the countertop material using a circular saw or a specialized cutting tool designed for the specific material. Pay close attention to detail, especially when cutting out openings for sinks and faucets, to ensure a precise fit.
If necessary, use a router or sanding tool to shape the edges of the countertop, creating a smooth and polished finish. Consider adding decorative edge profiles to enhance the appearance of the countertop and complement the overall design of your bathroom vanity.
Attach the Countertop to the Cabinet
With the countertop cut to size and shaped accordingly, it’s time to attach it to the cabinet. Depending on the material and design of the countertop, this may involve using adhesive, mounting brackets, or other fastening methods to secure it in place.
Ensure the countertop is properly aligned and level on the cabinet surface, using shims or adjustable feet to make any necessary adjustments. Once in position, secure the countertop firmly to the cabinet, taking care to avoid over-tightening screws or causing damage to the material.
Seal and Finish
Finally, apply a sealant or protective finish to the countertop surface to enhance its durability and resistance to moisture, stains, and scratches. Follow the manufacturer’s instructions for the specific countertop material, ensuring thorough coverage and proper curing time for optimal results.
Step 4: Adding Finishing Touches

Adding finishing touches to your custom bathroom vanity is the final step in the construction process and involves several key tasks to ensure the vanity’s functionality, durability, and aesthetic appeal. Let’s explore each subtask in more detail:
Install Hardware
Installing hardware such as hinges, drawer slides, knobs, and pulls is essential for the proper functioning of the vanity’s doors and drawers. Carefully follow the manufacturer’s instructions for each hardware component, ensuring proper alignment and secure attachment to the cabinet surfaces. Take your time to ensure that all hardware is installed correctly, as smooth operation of doors and drawers is essential for user satisfaction.
Apply Finish
Applying a protective finish to the wood surfaces of the vanity is crucial for enhancing durability and appearance while also providing resistance to moisture, stains, and scratches. Choose a finish that complements the style and color of your vanity, such as stain, paint, or polyurethane. Apply the finish evenly using a brush, roller, or sprayer, following the manufacturer’s instructions for application and drying times. Multiple coats may be required for optimal coverage and protection, so be patient and allow sufficient drying time between coats.
Install Sink and Faucet
Installing the sink and faucet into the pre-cut holes in the countertop is one of the final steps in completing your custom bathroom vanity. Carefully position the sink and faucet in their designated locations, ensuring proper alignment and fit. Use the manufacturer’s instructions to guide you through the installation process, including connecting water supply lines and drain fittings. Take care to seal all connections properly to prevent leaks and ensure the proper functioning of the sink and faucet.
Final Inspection and Testing
Once all finishing touches have been applied and hardware and fixtures have been installed, perform a final inspection of the vanity to ensure everything is in order. Check for any visible defects, loose hardware, or imperfections in the finish that may need to be addressed. Test the operation of doors, drawers, sinks, and faucets to ensure they function smoothly and without any issues. Make any necessary adjustments or repairs as needed to ensure the vanity meets your expectations in terms of appearance and functionality.
Step 5: Final Installation
Final installation is the last step in the process of building a custom bathroom vanity, and it involves mounting the vanity in its designated location in the bathroom, connecting plumbing fixtures, and adding any finishing touches. Here’s a deeper explanation of each subtask involved in this step:
Mount the Vanity
Position the completed vanity in its designated spot in the bathroom, ensuring it is aligned with the surrounding fixtures and walls. Use a level to check that the vanity is plumb and level, making any necessary adjustments using shims or adjustable feet to compensate for uneven floors or walls. Once properly positioned, secure the vanity to the wall studs using screws or mounting brackets, ensuring it is anchored securely and will not wobble or shift once installed.
Connect Plumbing
With the vanity securely mounted in place, it’s time to connect the plumbing fixtures, including the sink and faucet, to the water supply lines and drain fittings. Follow the manufacturer’s instructions for each fixture, ensuring proper alignment and tight connections to prevent leaks. Use plumber’s tape or sealant on threaded fittings to ensure a watertight seal, and test the water flow and drainage to ensure everything is functioning correctly. Take your time to ensure all connections are secure and properly sealed to avoid potential water damage or plumbing issues in the future.
Finishing Touches
Once the vanity is securely mounted and the plumbing fixtures are connected, add any final finishing touches to complete the installation. This may include attaching decorative trim or molding to the vanity cabinet, installing a backsplash or wall-mounted mirror above the vanity, or adding accessories such as towel bars or shelves to enhance functionality and style. Take care to coordinate these finishing touches with the overall design and aesthetic of the bathroom to create a cohesive and visually appealing space.
Final Inspection
After completing the installation, perform a final inspection of the vanity to ensure everything is in order. Check for any visible defects, loose hardware, or imperfections in the finish that may need to be addressed. Test the operation of doors, drawers, sinks, and faucets one last time to ensure they function smoothly and without any issues. Make any necessary adjustments or repairs as needed to ensure the vanity meets your expectations in terms of appearance and functionality.
Conclusion
Building a custom bathroom vanity is a rewarding project that allows you to create a functional and stylish fixture tailored to your exact specifications. By following the steps outlined in this guide and exercising patience and attention to detail, you can achieve professional-quality results that enhance the beauty and functionality of your bathroom for years to come. So roll up your sleeves, gather your materials, and get ready to embark on a DIY adventure that will leave you proud of your craftsmanship every time you step into your bathroom.